This post may contain affiliate links. Please see our disclosure policy.
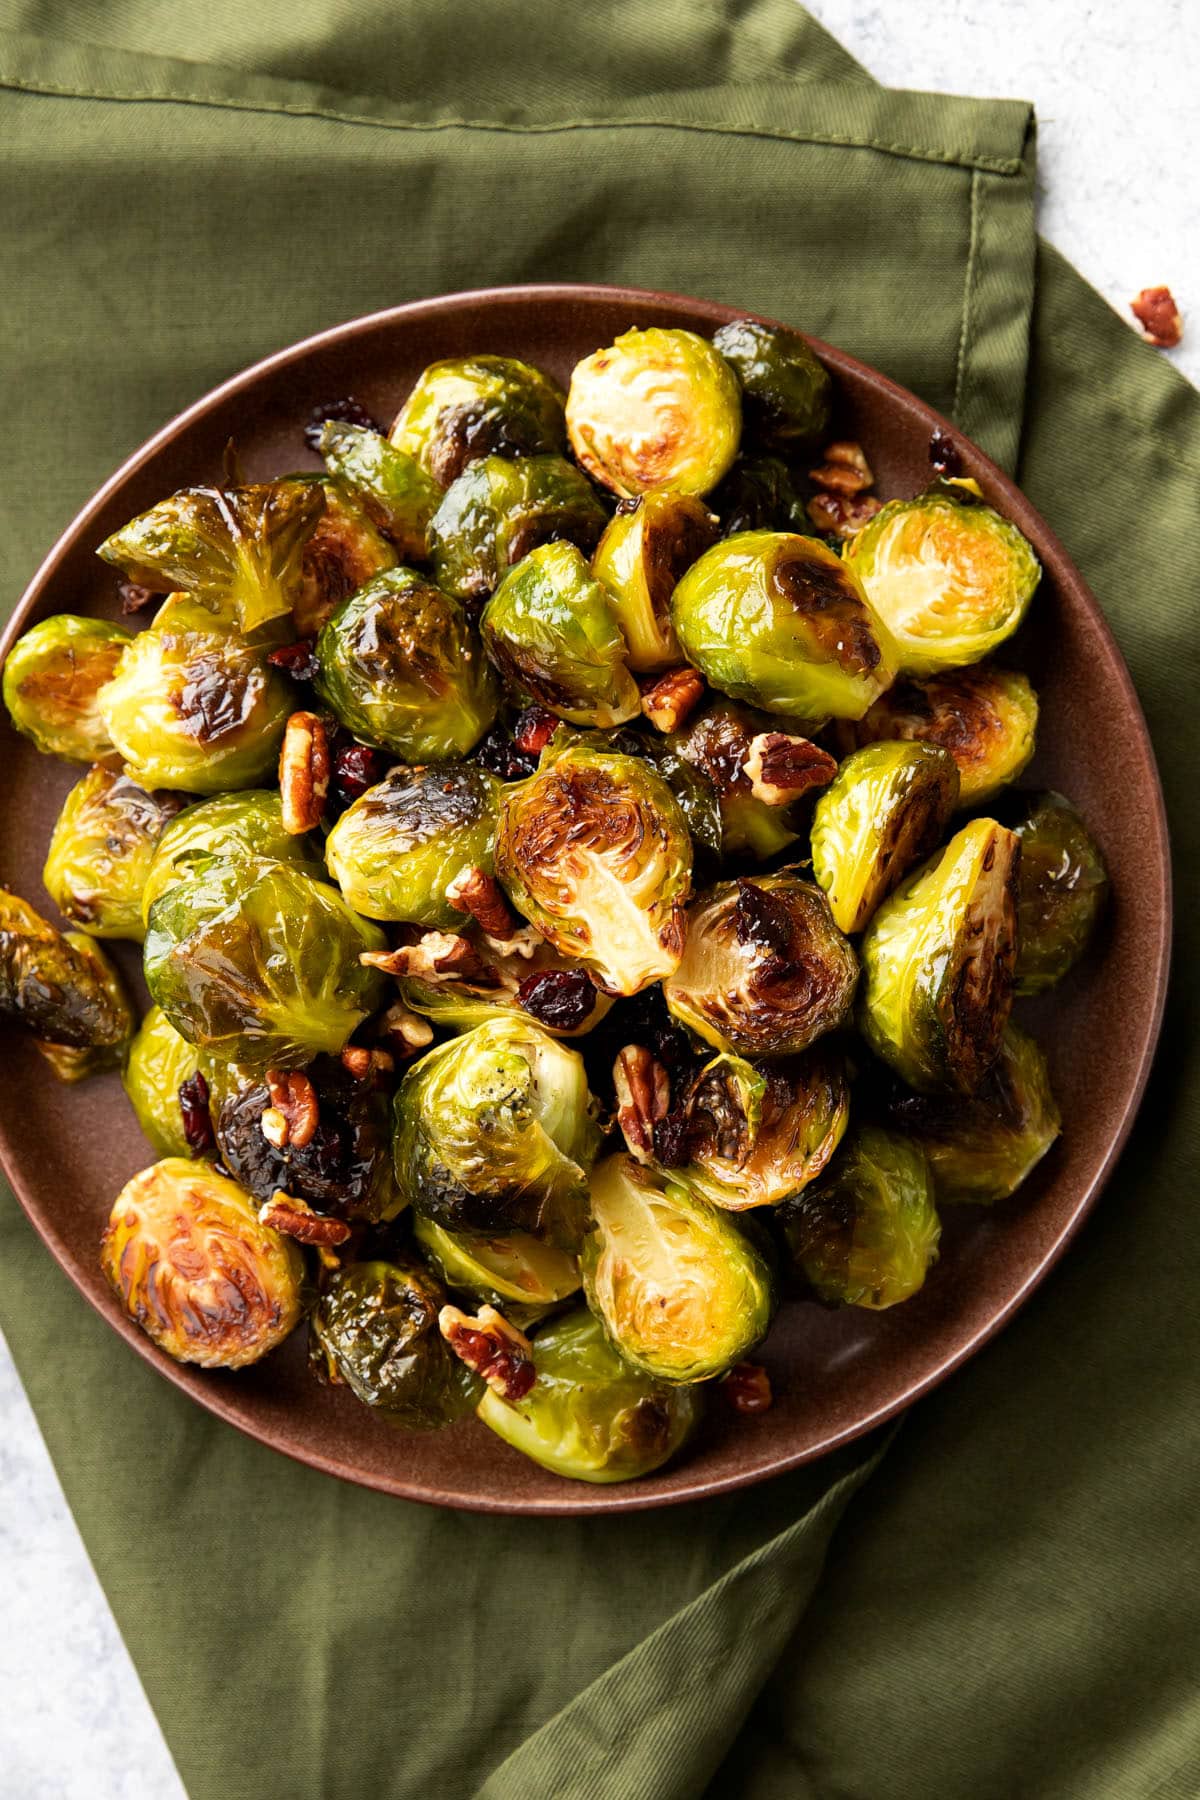
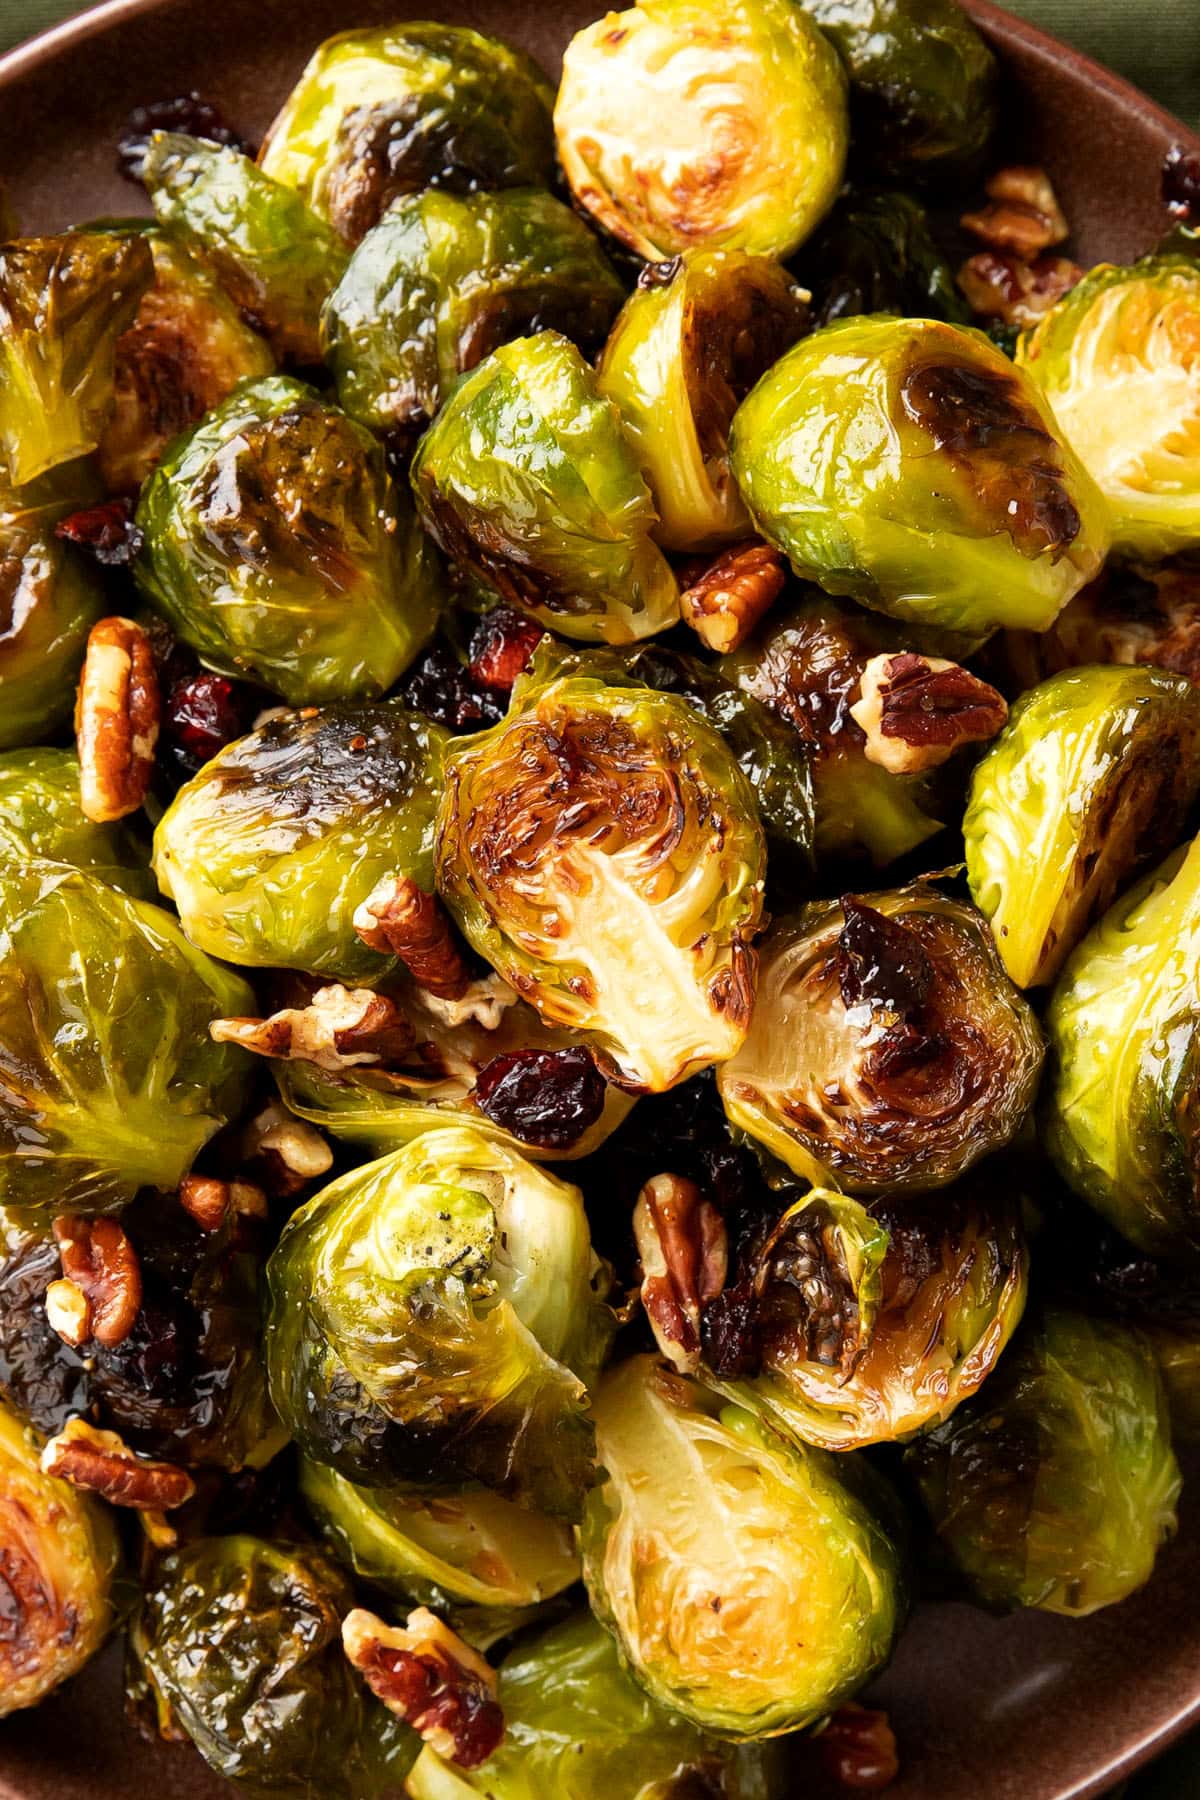
Maple glazed Brussels sprouts is an easy recipe for sweet ’n savory roasted Brussels sprouts tossed with maple syrup, bacon crumbles, cranberries, pecans or almonds for a 5 min prep side dish. Perfect for Thanksgiving, Christmas, and all the meals!
Why You’ll Love Maple Brussels Sprouts
- Easy to Make – Just 5 minutes of prep and this recipe is baking in the oven.
- Sweet ‘n Savory – Glazed in maple syrup and drizzled after baking, crispy Brussels sprouts are the perfect combo of sweet and savory!
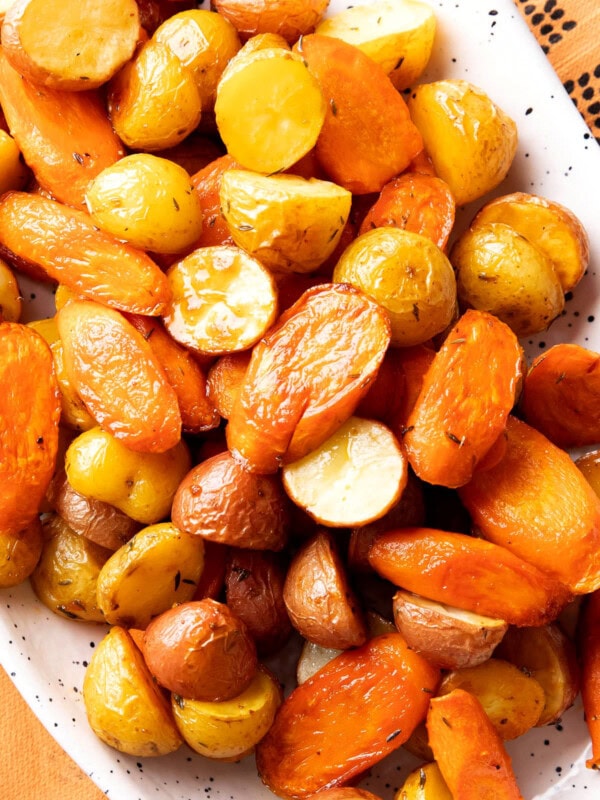
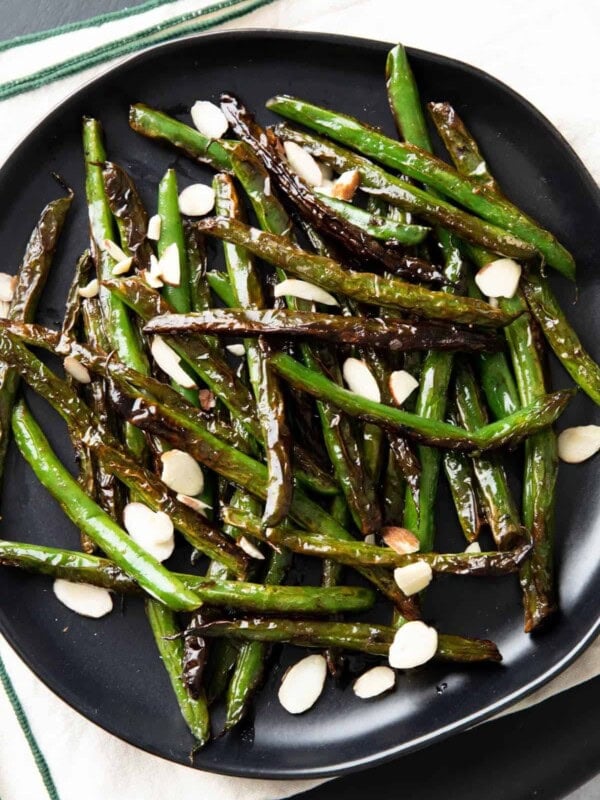
- Yummy Side Dish – The perfect accompaniment to a holiday or lunch, like: roasted carrots and potatoes or blistered green beans.
Maple Glazed Brussels Sprouts Recipe
Alright, confession time: I used to loath Brussels sprouts. I bought into all the anti-Brussels sprouts talk on TV and refused to try them. Now, as an adult, I know that I’ve been missing out. With an eye towards serving up the most delicious Brussels sprouts ever, I’ve created these sweet maple syrup glazed Brussels sprouts that have crisp, roasted edges tossed with yummy add-ins like cranberries and bacon crumbles and seasoned to perfection.
Even better? Maple Brussels Sprouts are so easy to make, requiring just 5 minutes of prep! You’ll love serving this side dish for Thanksgiving, Christmas, and every meal in between.
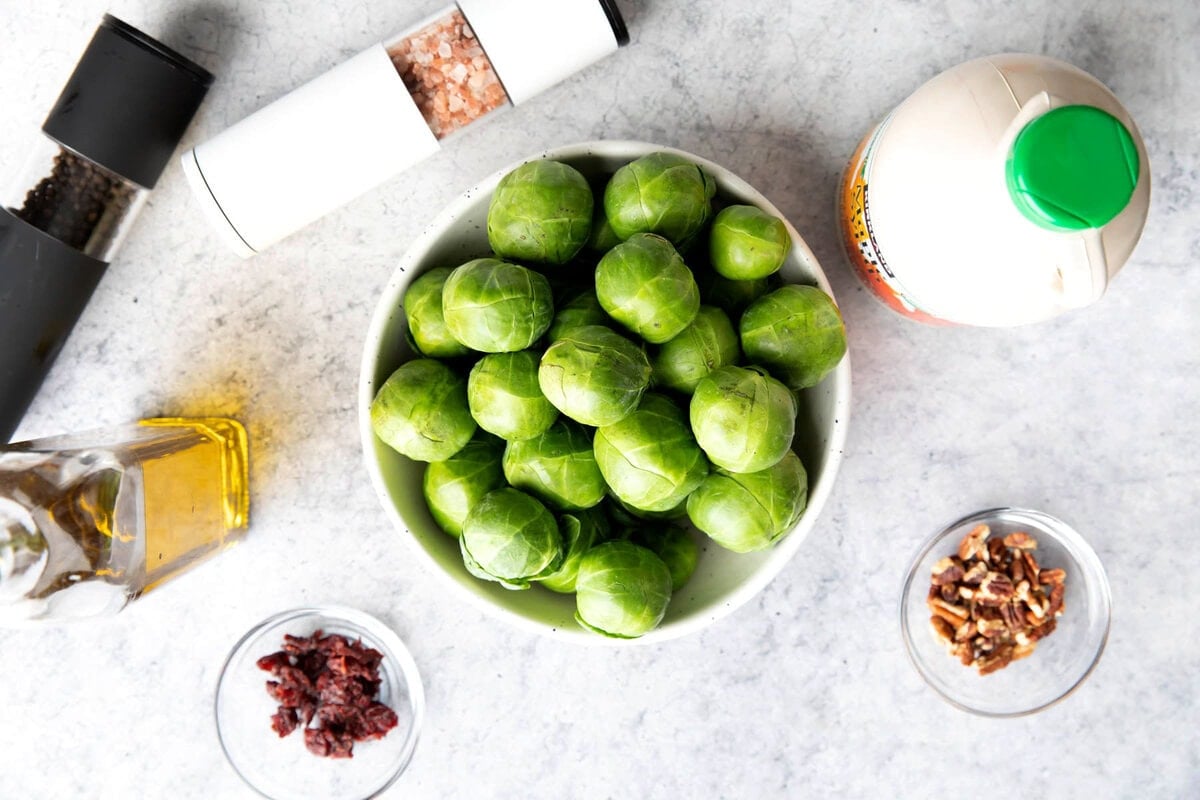
Maple Syrup Brussels Sprouts Ingredients
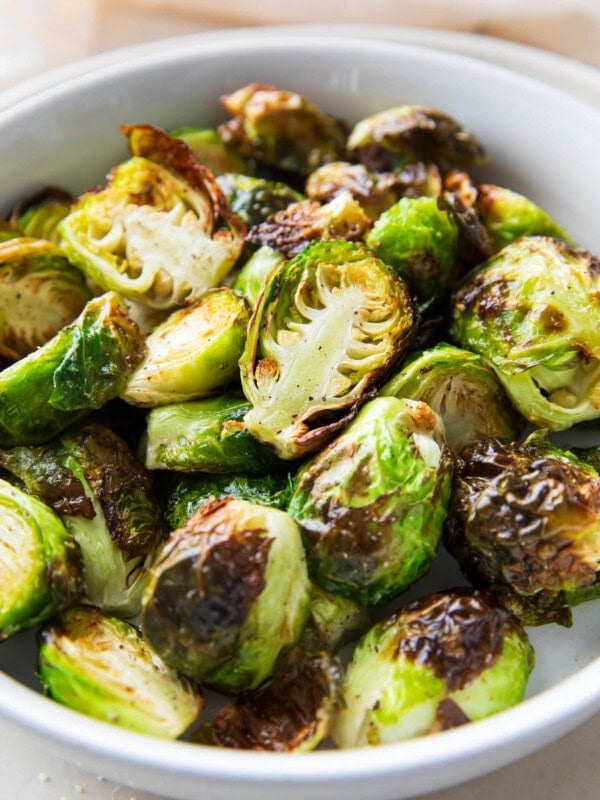
With just a few easy ingredients, you’ll be enjoying the best brussels sprouts in maple syrup, roasted to perfection with crisp edges and soft, yummy centers.
- Brussels sprouts – make sure to halve these until uniformly-sized for even cooking. Some larger ones might even need to be quartered.
- Maple syrup – the ingredient that gives these roasted Brussels sprouts a glazed effect. Coat once after baking, then drizzle more before serving.
- Olive oil – extra virgin olive oil is best, but you can use what cooking oil you have on hand.
- Salt & pepper – adjust to taste.
- Add-ins – top with 1/4 cup of your favorite toppings: bacon crumbles, cranberries and pecans, or sliced almonds, and of course, an additional drizzle of maple syrup.
How to Make Maple Brussels Sprouts
Today, we’re making maple roasted, maple glazed Brussels sprouts in the oven!
- Preheat oven to 400°F. Wash and dry Brussels sprouts, then trim off ends and slice each one in half.
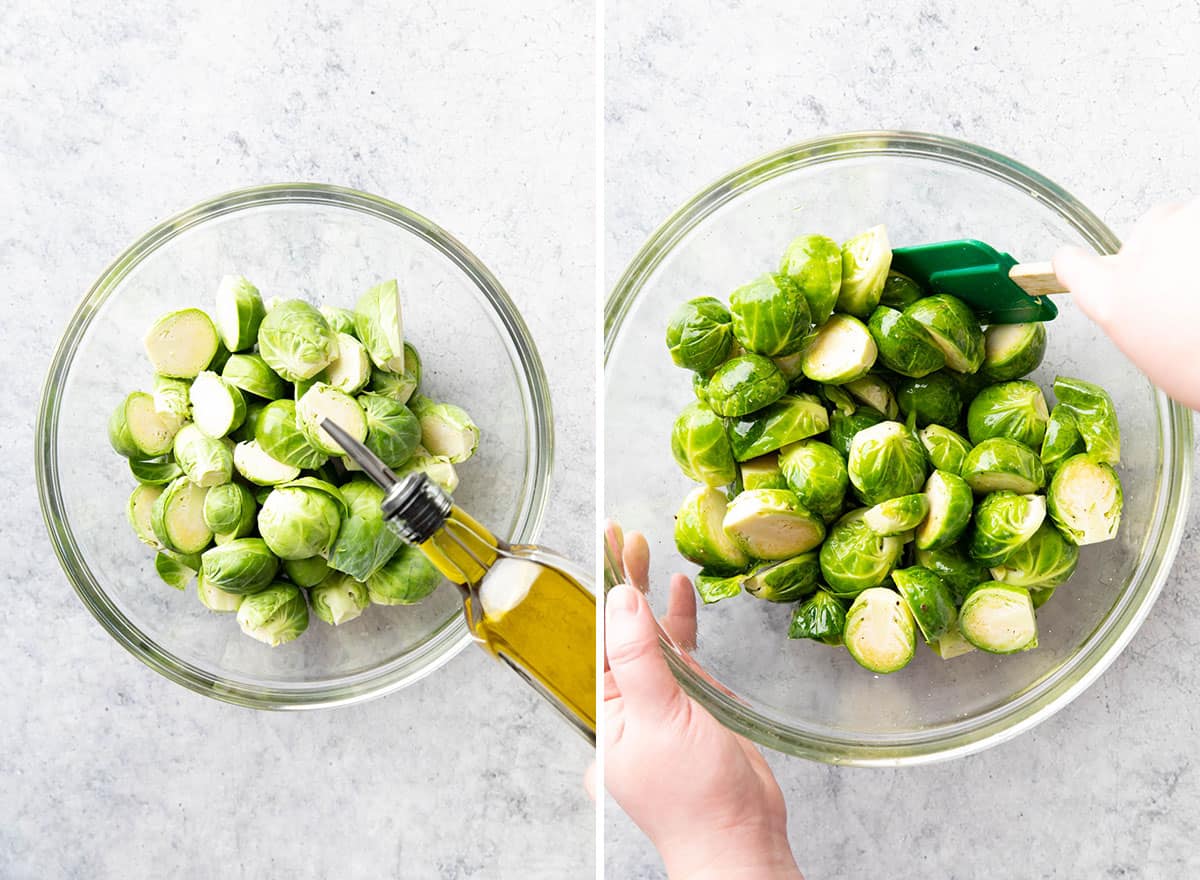
- Toss with oil, salt and pepper in a large bowl.
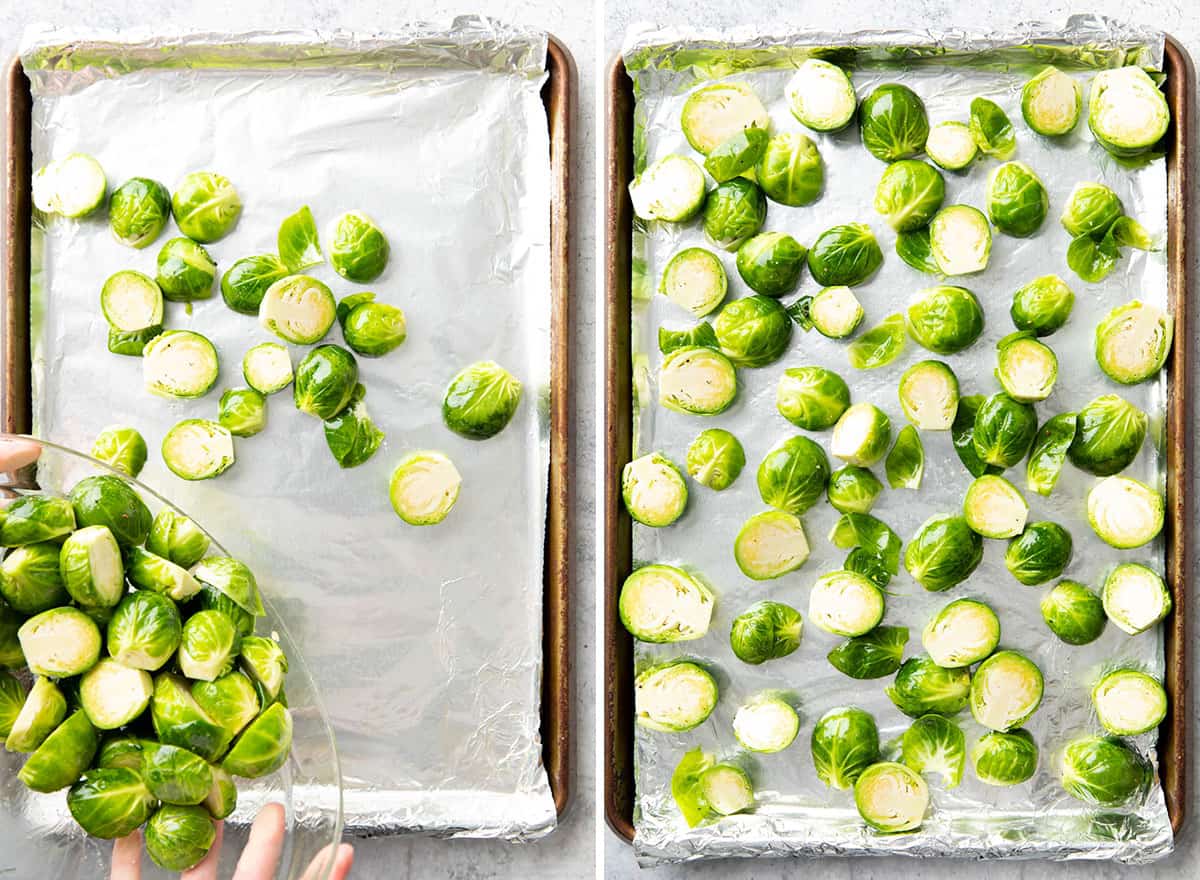
- Lay Brussels sprouts out evenly on a lined and greased baking sheet. Bake for 30 minutes, flipping halfway through.
- Fold in add-ins like bacon and almonds, then drizzle with maple syrup. Bake for 3 minutes, creating maple glazed Brussels sprouts.
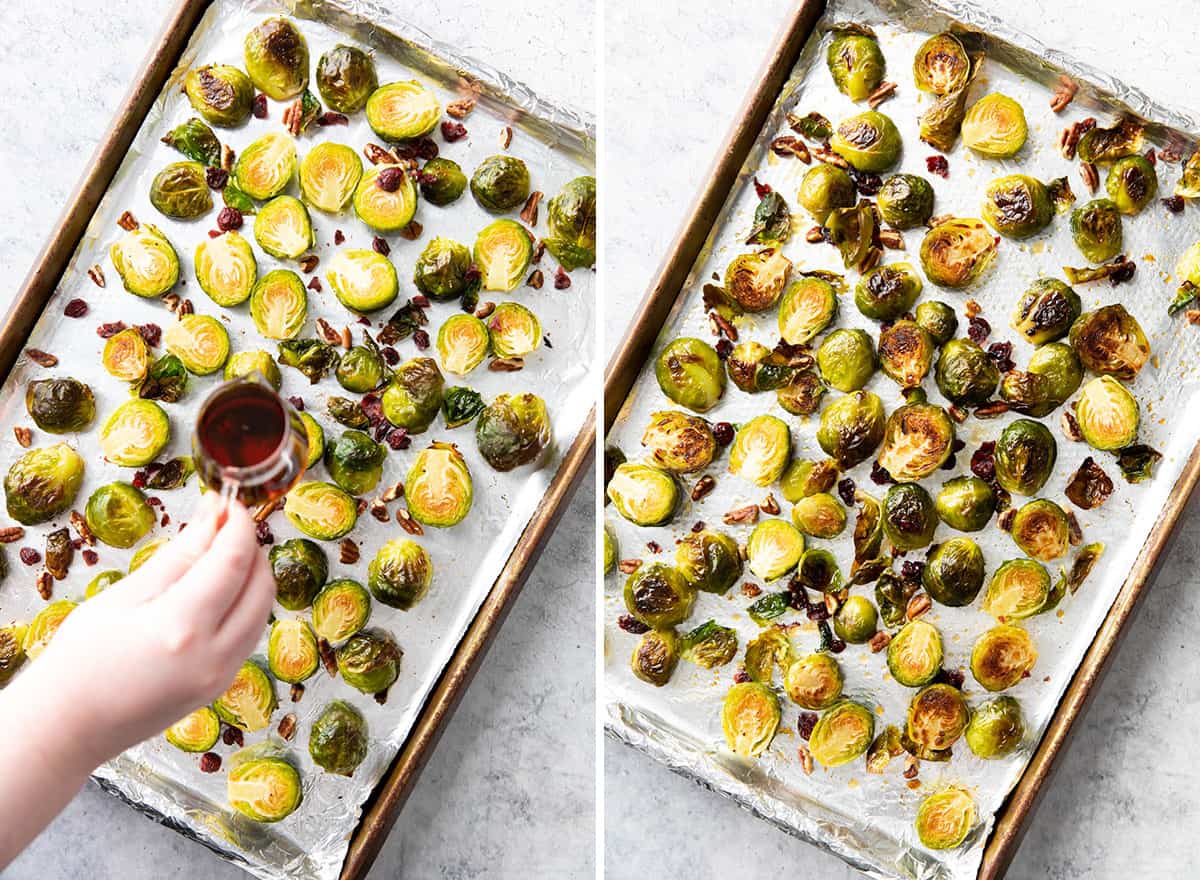
- Serve roasted Brussels sprouts with maple syrup drizzle. Enjoy!
Can I Make Ahead Maple Glazed Brussels Sprouts?
This maple Brussels sprouts side dish is best served right away. When served fresh, this dish is warm, sweetly fragrant, and boasts crisp edges with tender centers. When served hours or even days later, this crispness and fresh deliciousness is gone.
Storing Instructions for Maple Brussels Sprouts
I don’t recommend making this maple Brussels sprouts recipe in advance. If needed, store cooled Brussels sprouts in an airtight container in the refrigerator for 1-2 days. Reheat in the oven or the microwave until hot. But the original crispness will not be there.
Add-ins for Maple Brussels Sprouts
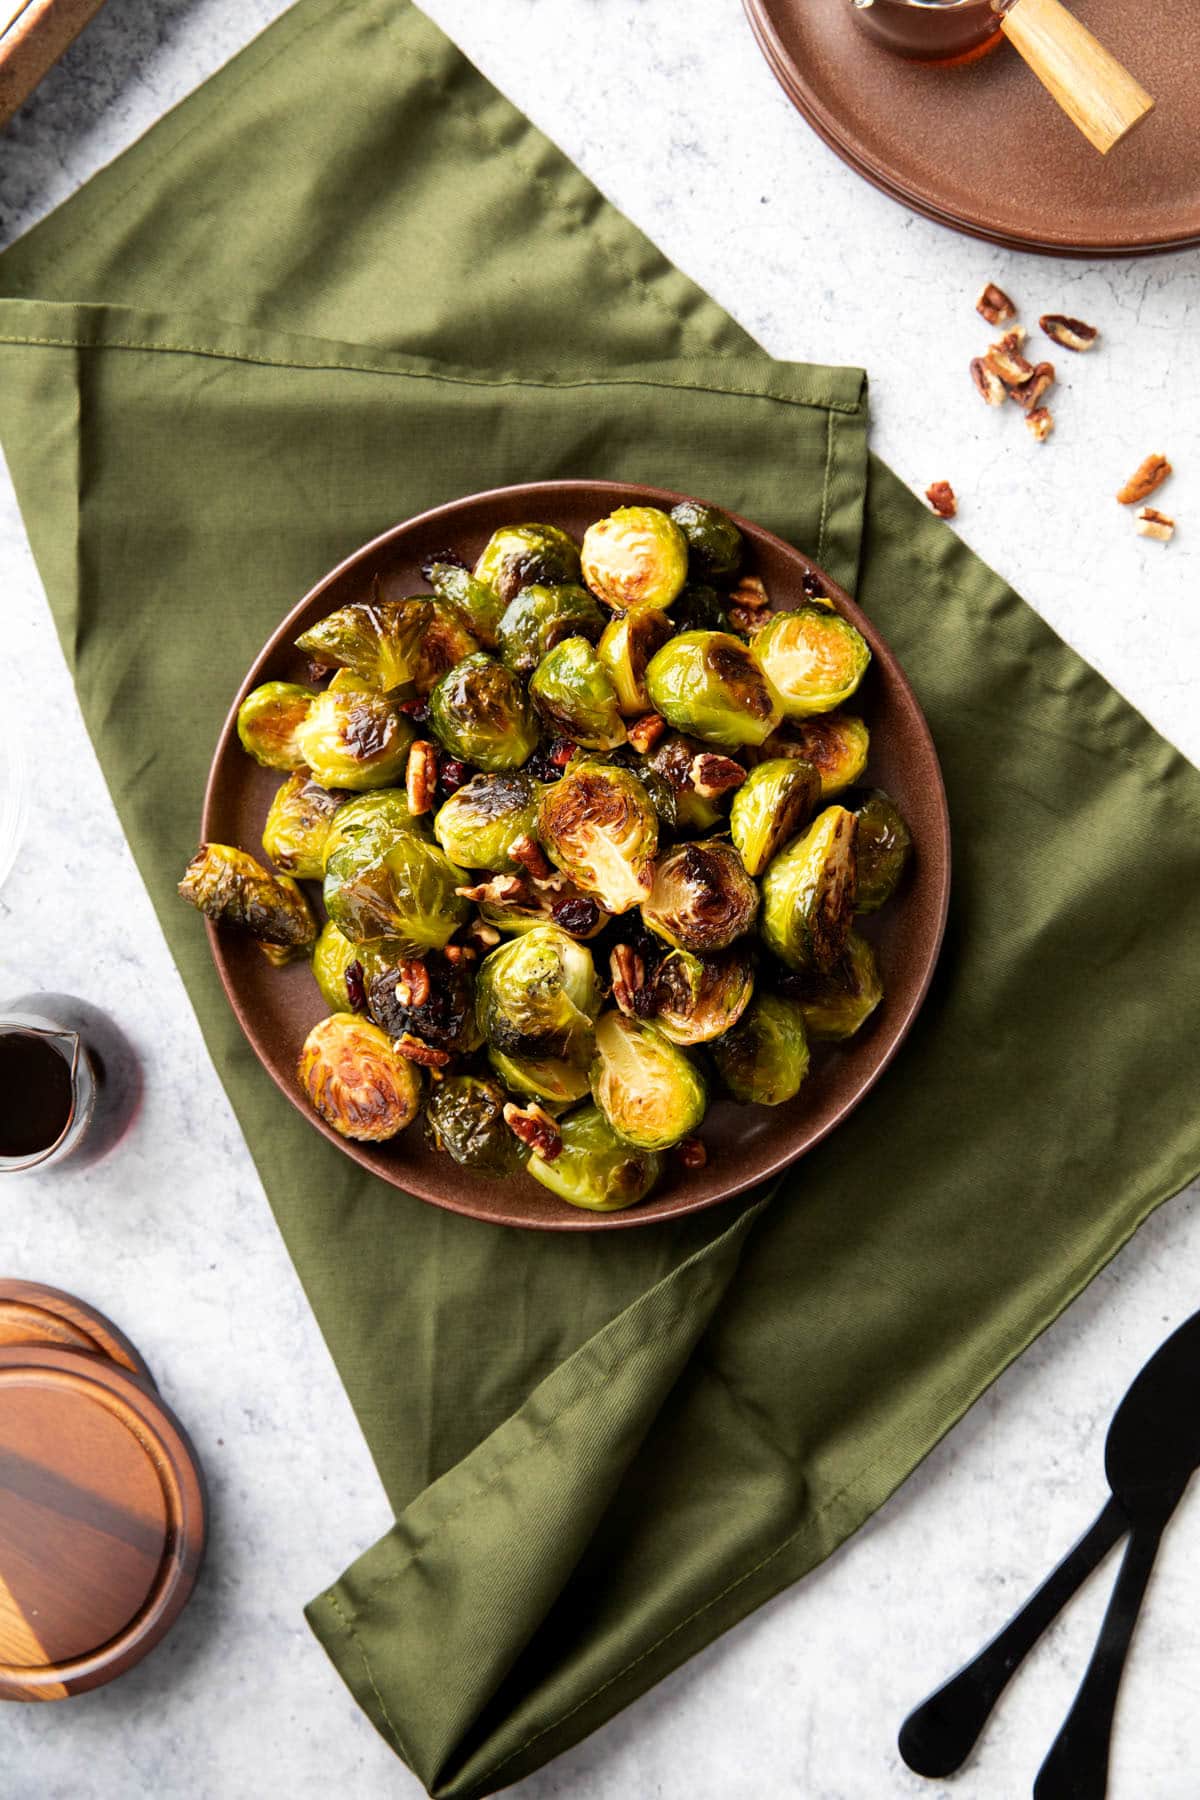
My favorite toppings for these maple Brussels sprouts are dried cranberries and pecans. However, you can take your dish in a different direction:
- Maple Bacon Brussels Sprouts: Bacon crumbles (and a little feta cheese? I mean YUM)
- Dried cranberries + pecans (my preference)
- Dried apricots + sliced almonds
- Maple Balsamic Brussels Sprouts: drizzle with balsamic glaze or toss with balsamic dressing
- Sesame seeds + raisins
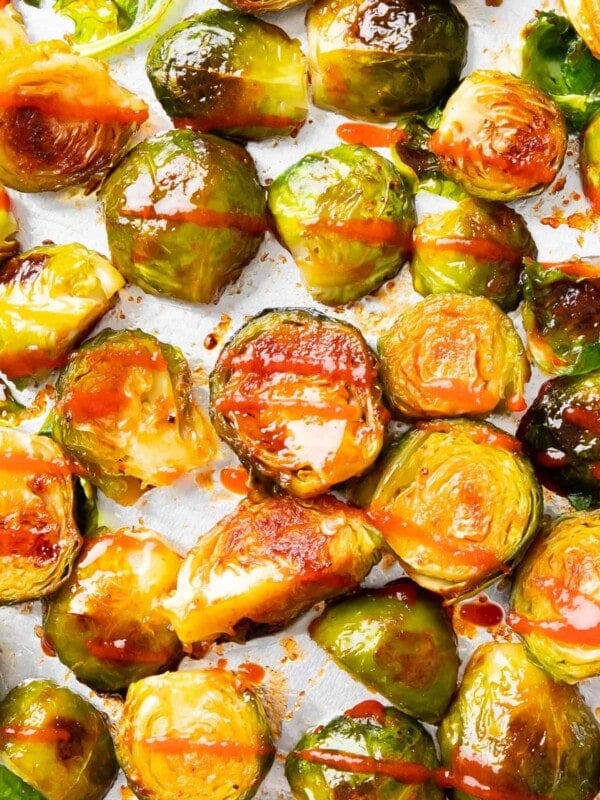
- A dash of paprika and cayenne for a sweet ‘n spicy kick, or try honey sriracha Brussels sprouts
- Keep it simple with just a drizzle of maple syrup
The variations also pair well with my chicken dijon and pan seared chicken to make a wonderfully well-rounded meal.
Tools You Need
For more delicious recipe ideas like maple brussel sprouts, follow us on TikTok, Instagram, Facebook, and Pinterest. If you’ve tried this recipe, take a pic and tag us on Instagram using #beamingbaker. We can’t wait to see it! Sending you all my love and maybe even a dove, xo Demeter ❤️
Vegetable Side Dishes
Maple Brussels Sprouts
Ingredients
Maple Brussels Sprouts
- 5 cups Brussels sprouts
- 3 tablespoons olive oil, or cooking oil of choice
- Salt and pepper, to taste
- 3 tablespoons pure maple syrup
Add-ins
- ¼ cup chopped pecans and cranberries, bacon crumbles, or almonds
- 3 tablespoons pure maple syrup
Drizzle
- Drizzle pure maple syrup
- Or drizzle with balsamic glaze, or toss with balsamic dressing
Instructions
- Preheat oven to 400F. Line a baking sheet with greased foil.
- Wash brussels sprouts and pat dry. Trim off the ends and halve Brussels sprouts.
- Add Brussels sprouts to a large mixing bowl. Drizzle with 3 tablespoons oil, ¼ teaspoon salt and a pinch of pepper or to taste. Toss until well coated.
- Transfer brussels sprouts to the prepared baking sheet, spreading into an even layer. Remove stray leaves to avoid burning. You’ll add these in later.
- Bake for 15 minutes, then flip and add in stray leaves. Bake for an additional 12-15 minutes, being careful not to burn.
- Sprinkle add-ins and drizzle 3 tablespoons maple syrup over Brussels sprouts. Stir to coat. Return to oven and bake for 2-4 more minutes.
- Transfer to a serving dish. Optionally, drizzle with more maple syrup. Enjoy!
- ★ Last Step: If you made this recipe, leave a comment and review. It truly helps our small business keep running and it helps readers like you!
Notes
Nutrition
Nutrition information is automatically calculated, so should only be used as an approximation.



My first time trying this, oh my! SO good!
Yay! I’m so thrilled that you enjoyed it! 😊
So glad I found this recipe! My new favorite way to cook brussels sprouts! They were so good!
Yay! I’m so glad you found it, too! 😄 Thanks for letting me know how much you enjoyed it!
This was really good. Never thought about using maple with brussel sprouts. Will totally make it again!
I’m so glad to hear it, Nora! I know, isn’t it such a wonderful flavor combo?
Thank you for this! I’m always trying to get my kids to eat more veggies, but they’re just so darn picky (hubby too 😜). But when I made this, they actually ate it! Can’t tell you how wonderful that was. I hope you’ve got more recipes like this coming, because my fam is ready to eat them!
That’s so awesome to hear, Veronica! Oh totally with the hubby: my Erik can be prettty picky for a grown man, too… lol! 😂 We’ve got so many more yummy veggies sides coming! I can’t wait to see what you try next. 🙂