This post may contain affiliate links. Please see our disclosure policy.
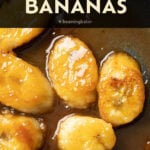
Irresistible, easy, with just a touch of fancy—caramelized bananas take any dessert (or breakfast) to the next level. Tender bananas coated in nearly-burnt vanilla caramel sauce for the best caramelized bananas!

The Caramelized Bananas of Your Dreams
Have you ever just dreamt of rivers and rivers of buttery sweet, glossy caramel sauce? How about cozy, warm, and comforting bananas seared to perfection? What if I told you we could combine those two delectable foods to make this incredible, secretly-easy, fancy dessert to wow everyone after dinner?
Today, we’re making the very best caramelized bananas on Earth. You are gonna hum, sing, dance, and cover-everyone’s ears’-groan your way tastily through this amazing dessert. Let’s begin!
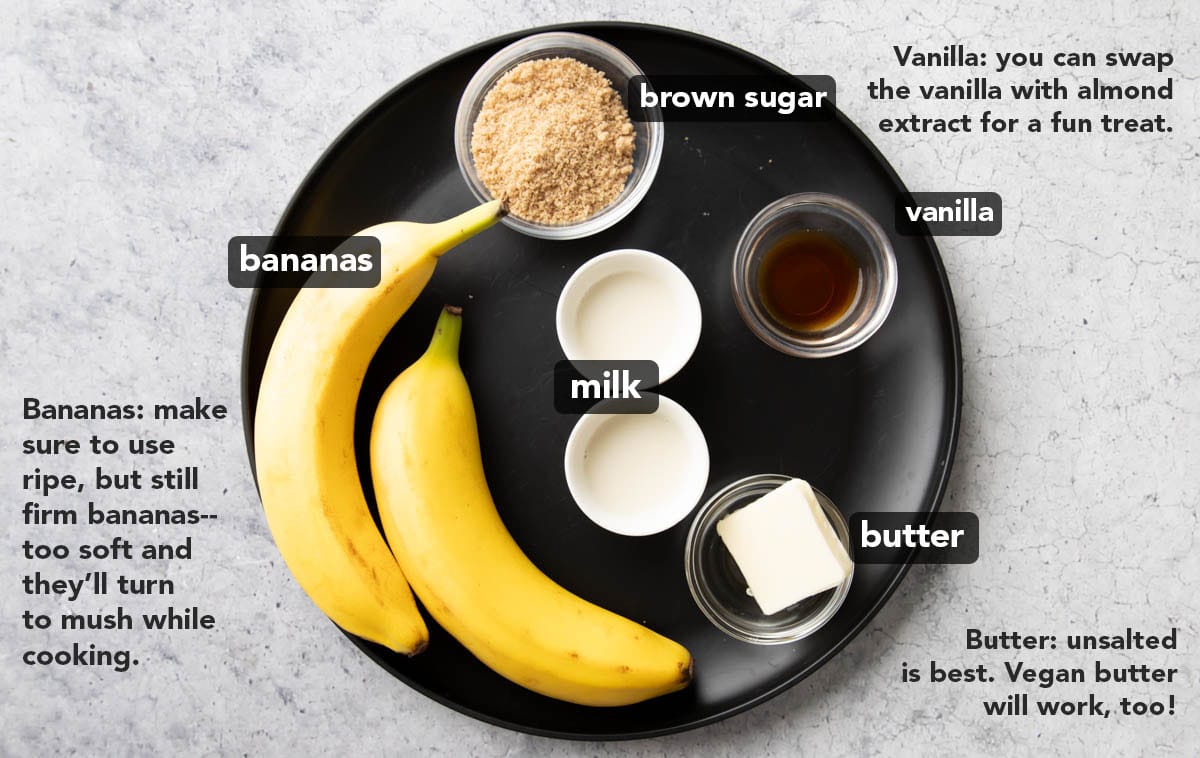
The Ingredients You Need to Make Caramelized Bananas
You’ll be surprised at how simple and short the ingredients list for caramelized bananas is. All you need are 5 ingredients to make thing stunningly delicious dessert.
- Bananas
- Brown Sugar
- Butter
- Vanilla
- Milk
What Are Caramelized Bananas?
Caramelized bananas are a sweet dessert that features bananas coated in a caramelized sauce. Some folks like to sear the bananas in the pan with some oil and sugar for sweet and oily bananas with still-discernible sugar bits. After trying it this way, I didn’t enjoy the results and felt that that technique left me wanting.
I like to prepare a caramel sauce in the pan simultaneously while searing the bananas, so the result is perfectly cooked bananas coated in legit buttery-sweet, almost-burnt vanilla caramel sauce.
How to Make Caramelized Bananas
This process is going to be so easy; you’ll wonder how something so amazing could be so simple.
First, prepare the bananas. I like using one large banana, or two small bananas so they don’t overcrowd the pan, and so there’s plenty of caramel sauce left for topping.
Peel the bananas and slice them into thick coins. Slice diagonally if you’re feeling fancy.
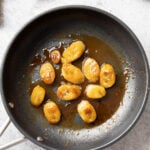
Then, melt brown sugar and butter in a nonstick skillet set over medium heat. Cook until the sugar is dissolved and the mixture is bubbling.
Add banana pieces, cooking until one side is coated and caramelized. Then, flip and caramelize the bananas on the other side.
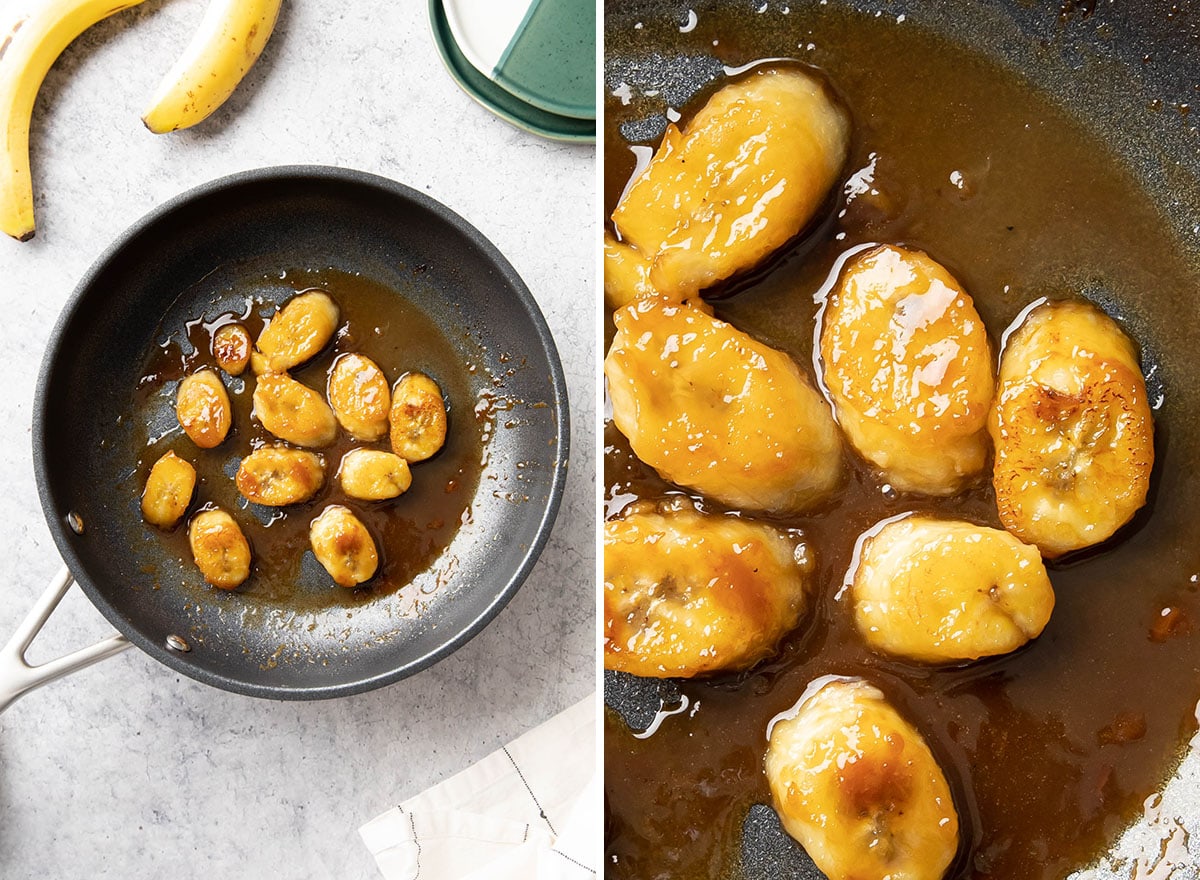
Just when the caramel is about to burn, add in the vanilla and 1 tablespoon milk, stirring gently to incorporate.
Cook until the mixture is sticky and thick.
Keeping a watchful eye, remove the skillet from the heat before the caramel burns.
Lastly, add in the remaining 1 tablespoon of milk, stirring until well incorporated. This last bit will turn the caramel from thick and sticky to silky sauce.
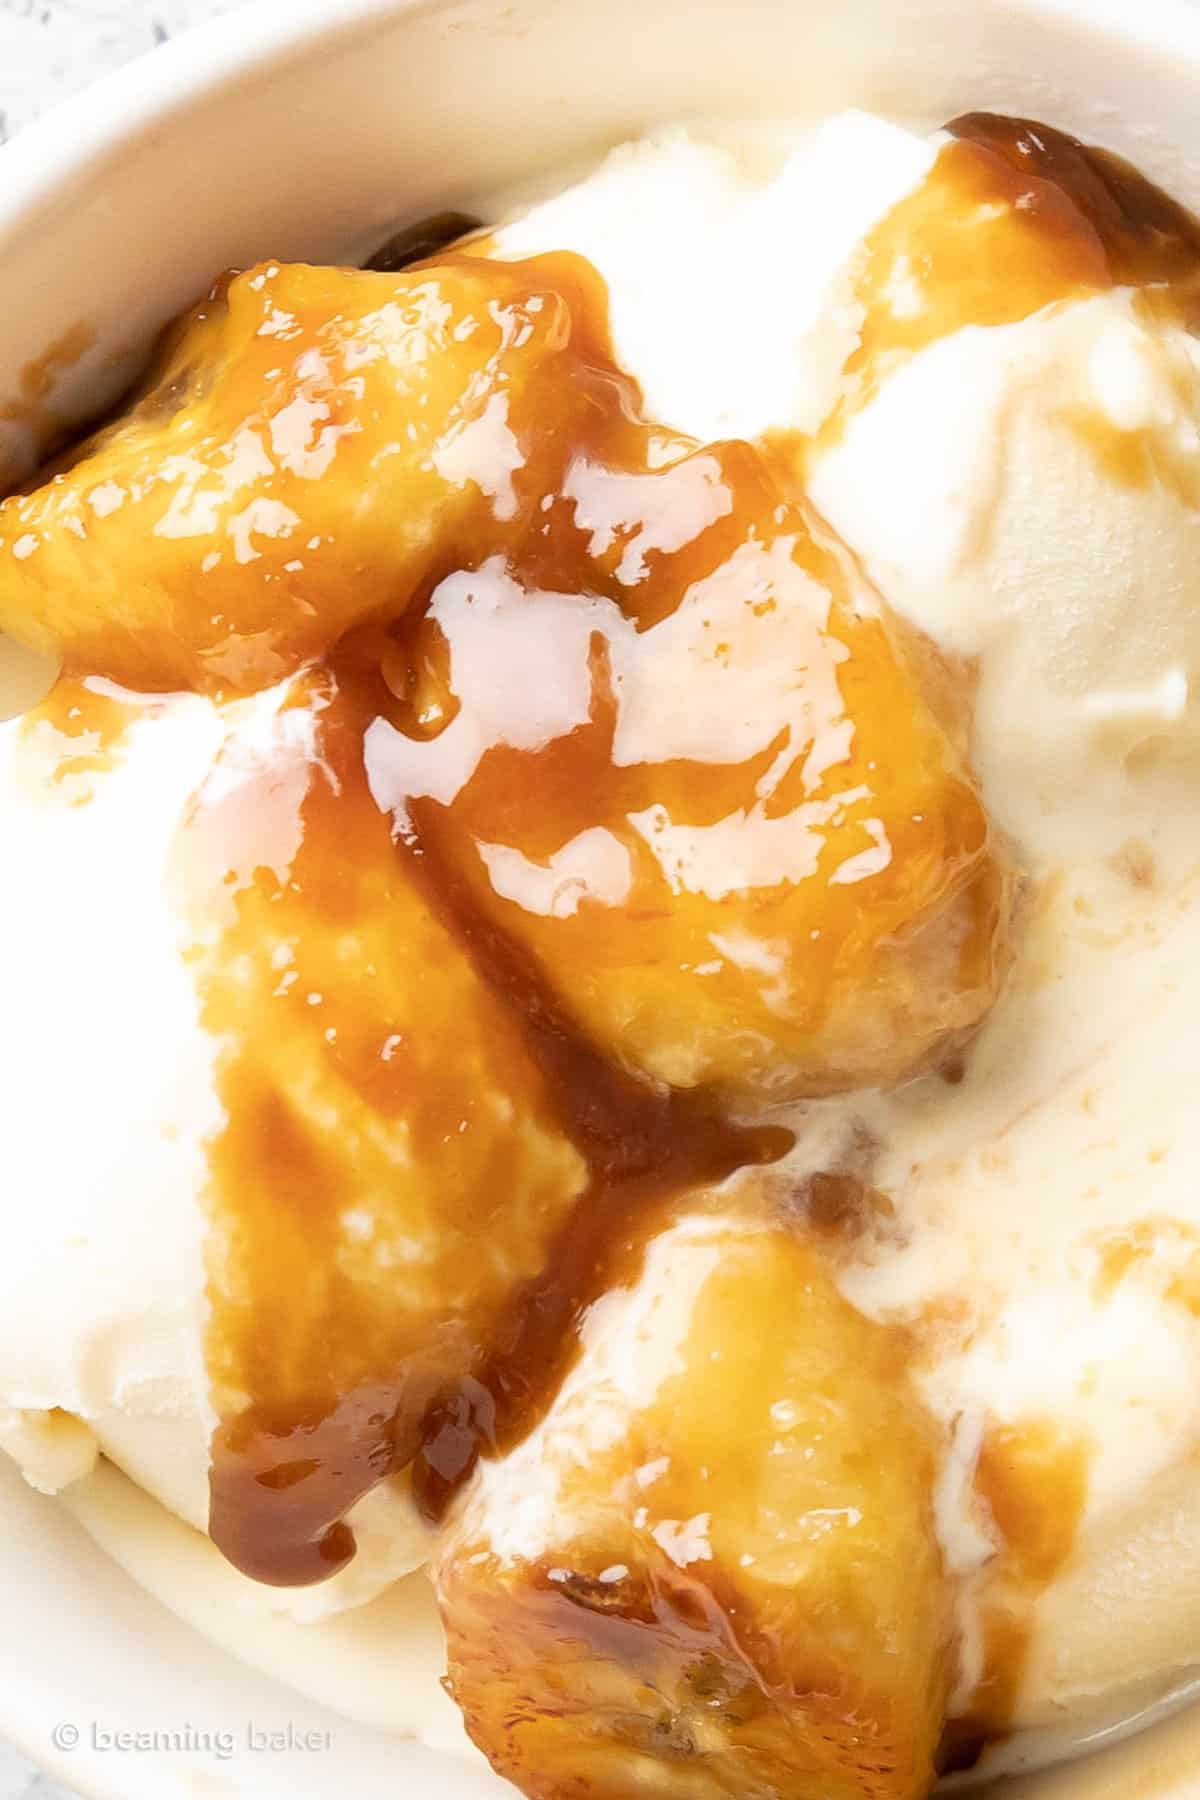
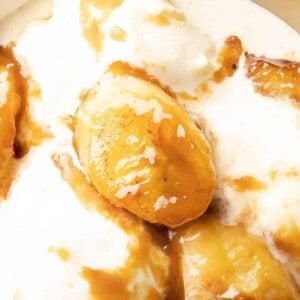
And that’s it! Your caramelized bananas are ready to top a bowl of creamy vanilla ice cream and more.
Tips for the Best Caramelized Banana Recipe
I’ll share a few tips for making the best caramelized banana recipe but remember to not put too much pressure on yourself. You’ve got this!
Use medium ripe bananas. I know, I know, my instinct was to use the ripest bananas possible—after all, we all love the most naturally sweet bananas, right? But for today’s caramelized banana recipe, you won’t need to worry about sweetness; you need to focus on “structural integrity.” Lol. Make sure to use just medium ripe bananas, or even not ripe bananas, as they’ll have more stability and firmness for flipping during the cooking process.
Gently flip the bananas while cooking. Once the bananas starting cooking, they’ll quickly become increasingly fragile. As such, you’ll want to handle them with care. I like to use a small, narrow spatula or a large fork to gently flip each banana. I found that tongs were too rough and smashed the bananas.
Cook the caramel until it’s nearly burnt. Nearly. Caramel tastes best when it’s hanging right on the edge of being burnt—that’s what will have the best toasty, warm flavor, and the best gooey, glazed texture. Cook the caramel *almost* too much, but not quite.
Patience is key. You’ll need to monitor the bananas closely while cooking them, but not rush things. Going too fast will result in subpar caramelized bananas.
Enjoy the process. This isn’t rocket science, or a do-or-die test of achievement; this is cooking! If you’re not enjoying at least a little bit of it, then why do it? Your first go at making caramelized bananas may not be perfect, but it’ll be fun. And, the more you cook, the better and more natural you’ll get. Remember to enjoy the process—and have some fun. 🙂
Cozy, Comforting, And Just A Bit Classy, These Vanilla Caramel-Coated Bananas Are Seared to Sweet Perfection

Tools You Need
- medium nonstick skillet
- silicone spatula
- measuring spoons
I’m Bananas About You 😘
Can you feel it? 🙂 It’s always such a joy to share in these kitchen adventures with you. If you try a recipe, remember to leave a comment below and let me know what you think! I truly love hearing from you. ‘Til our next sweet adventure…
Sending you all my love and maybe even a dove, xo Demeter ❤️
🍌 📸 🍨
📸 Did you make this caramelized bananas recipe? Take a pic and share it on Instagram with the hashtag #beamingbaker & tag @beamingbaker. I’d love to see it! 📸
What to Serve with Caramelized Bananas
- As an ice cream topping on any of the following: Vegan Vanilla Ice Cream Recipe, Coconut Milk Ice Cream, or 3 Ingredient Cashew Ice Cream Recipe
- Toast Slivered Almonds – try topping your caramelized bananas with the toasty-goodness crunch of toasted slivered almonds.
- Make any one (or more!!) of these 7 vegan overnight oats recipes and top with a generous serving of caramel bananas for the most luxurious breakfast treat. 😌
- Top this incredible Easy Coconut Chia Pudding Recipe for a dreamy combo of sweet coconut & vanilla caramel. YUM!
Caramelized Bananas
Ingredients
Caramelized Bananas
- 1 large banana or 2 small bananas – not ripe
- 3 tablespoons brown sugar
- 1 tablespoon butter
- 1 teaspoon pure vanilla extract
- 2 tablespoons milk, divided – I used oat milk
Instructions
- Peel banana, then slice into thick coins—about ¾” thick. Thin coins will be too fragile and difficult to flip.
- Set a medium nonstick skillet over medium heat.
- Add brown sugar and butter. Stir the butter around, mixing it into the brown sugar and allowing it to melt. Stir until the sugar is dissolved, and the mixture is well mixed and bubbling.
- Add banana pieces. Cook until one side of the bananas is coated and caramelized, with some sear marks, about 2 minutes.
- Gently flip bananas, making sure to coat the other side of the bananas. Cook for about 1 minute, or until seared and the caramel is just about to burn.
- Add vanilla and 1 tablespoon milk. Stir gently to incorporate. Cook until bubbling, sticky and thick.
- Just before the caramel is burnt, remove from heat.
- Add in remaining 1 tablespoon milk—this will return moisture to the sticky caramel to create a beautiful sauce. Stir the milk into the caramel sauce until well mixed, being gentle with the bananas.
- Serve over ice cream by gently placing bananas over ice cream. Then, scoop the caramel sauce out of the pan and pour over the bananas.
Notes
Bodacious Banana Recipes 🍌 💛
- Gluten Free Banana Oat Muffins (Vegan)
- Peanut Butter Banana Overnight Oats
- Super Moist Vegan Oatmeal Banana Bread (Gluten Free)
- Gluten Free Banana Oatmeal Cookies
- Chocolate Peanut Butter Banana Ice Cream – 4 ingredients!
This post may contain affiliate links, which allow me to make a small commission for my referral, at no additional cost to you.


Sounds delicious. Can it be made ahead or does it have to be served straight from the pan?
Thanks. Dr-Liz
Hi Dr-Liz! Hm, they should still taste fine, but I worry that the texture might be too mushy if they’re made, cooled, then heated up again. If you don’t mind a softer texture, than give it a try and let me know how they turn out!
What a great snack idea! I love bananas so much and I am sure I will love these!
Oh yes, these are a banana lover’s dream come true!
This sounds incredibly delicious! I can’t wait to try it!
Can’t wait to hear what you think!
These caramelized bananas are amaaaazing!! I am so excited to try this!
Yay! They’re seriously the best imo 😊
I love the twist on this! Eating healthy still satisfying my sweet tooth!
Exactly! It’s basically the perfect combo. 😉
Looks amazingly delicious! I would love to make this!
You must! It’s a family fave right now. 🙂
This is just the perfect summer dessert! So heavenly!
Yay! I’m so pleased you like it!