This post may contain affiliate links. Please see our disclosure policy.
Sweet and rich chocolate vegan Hershey kisses made with vegan ingredients. The easiest recipe for homemade kisses!

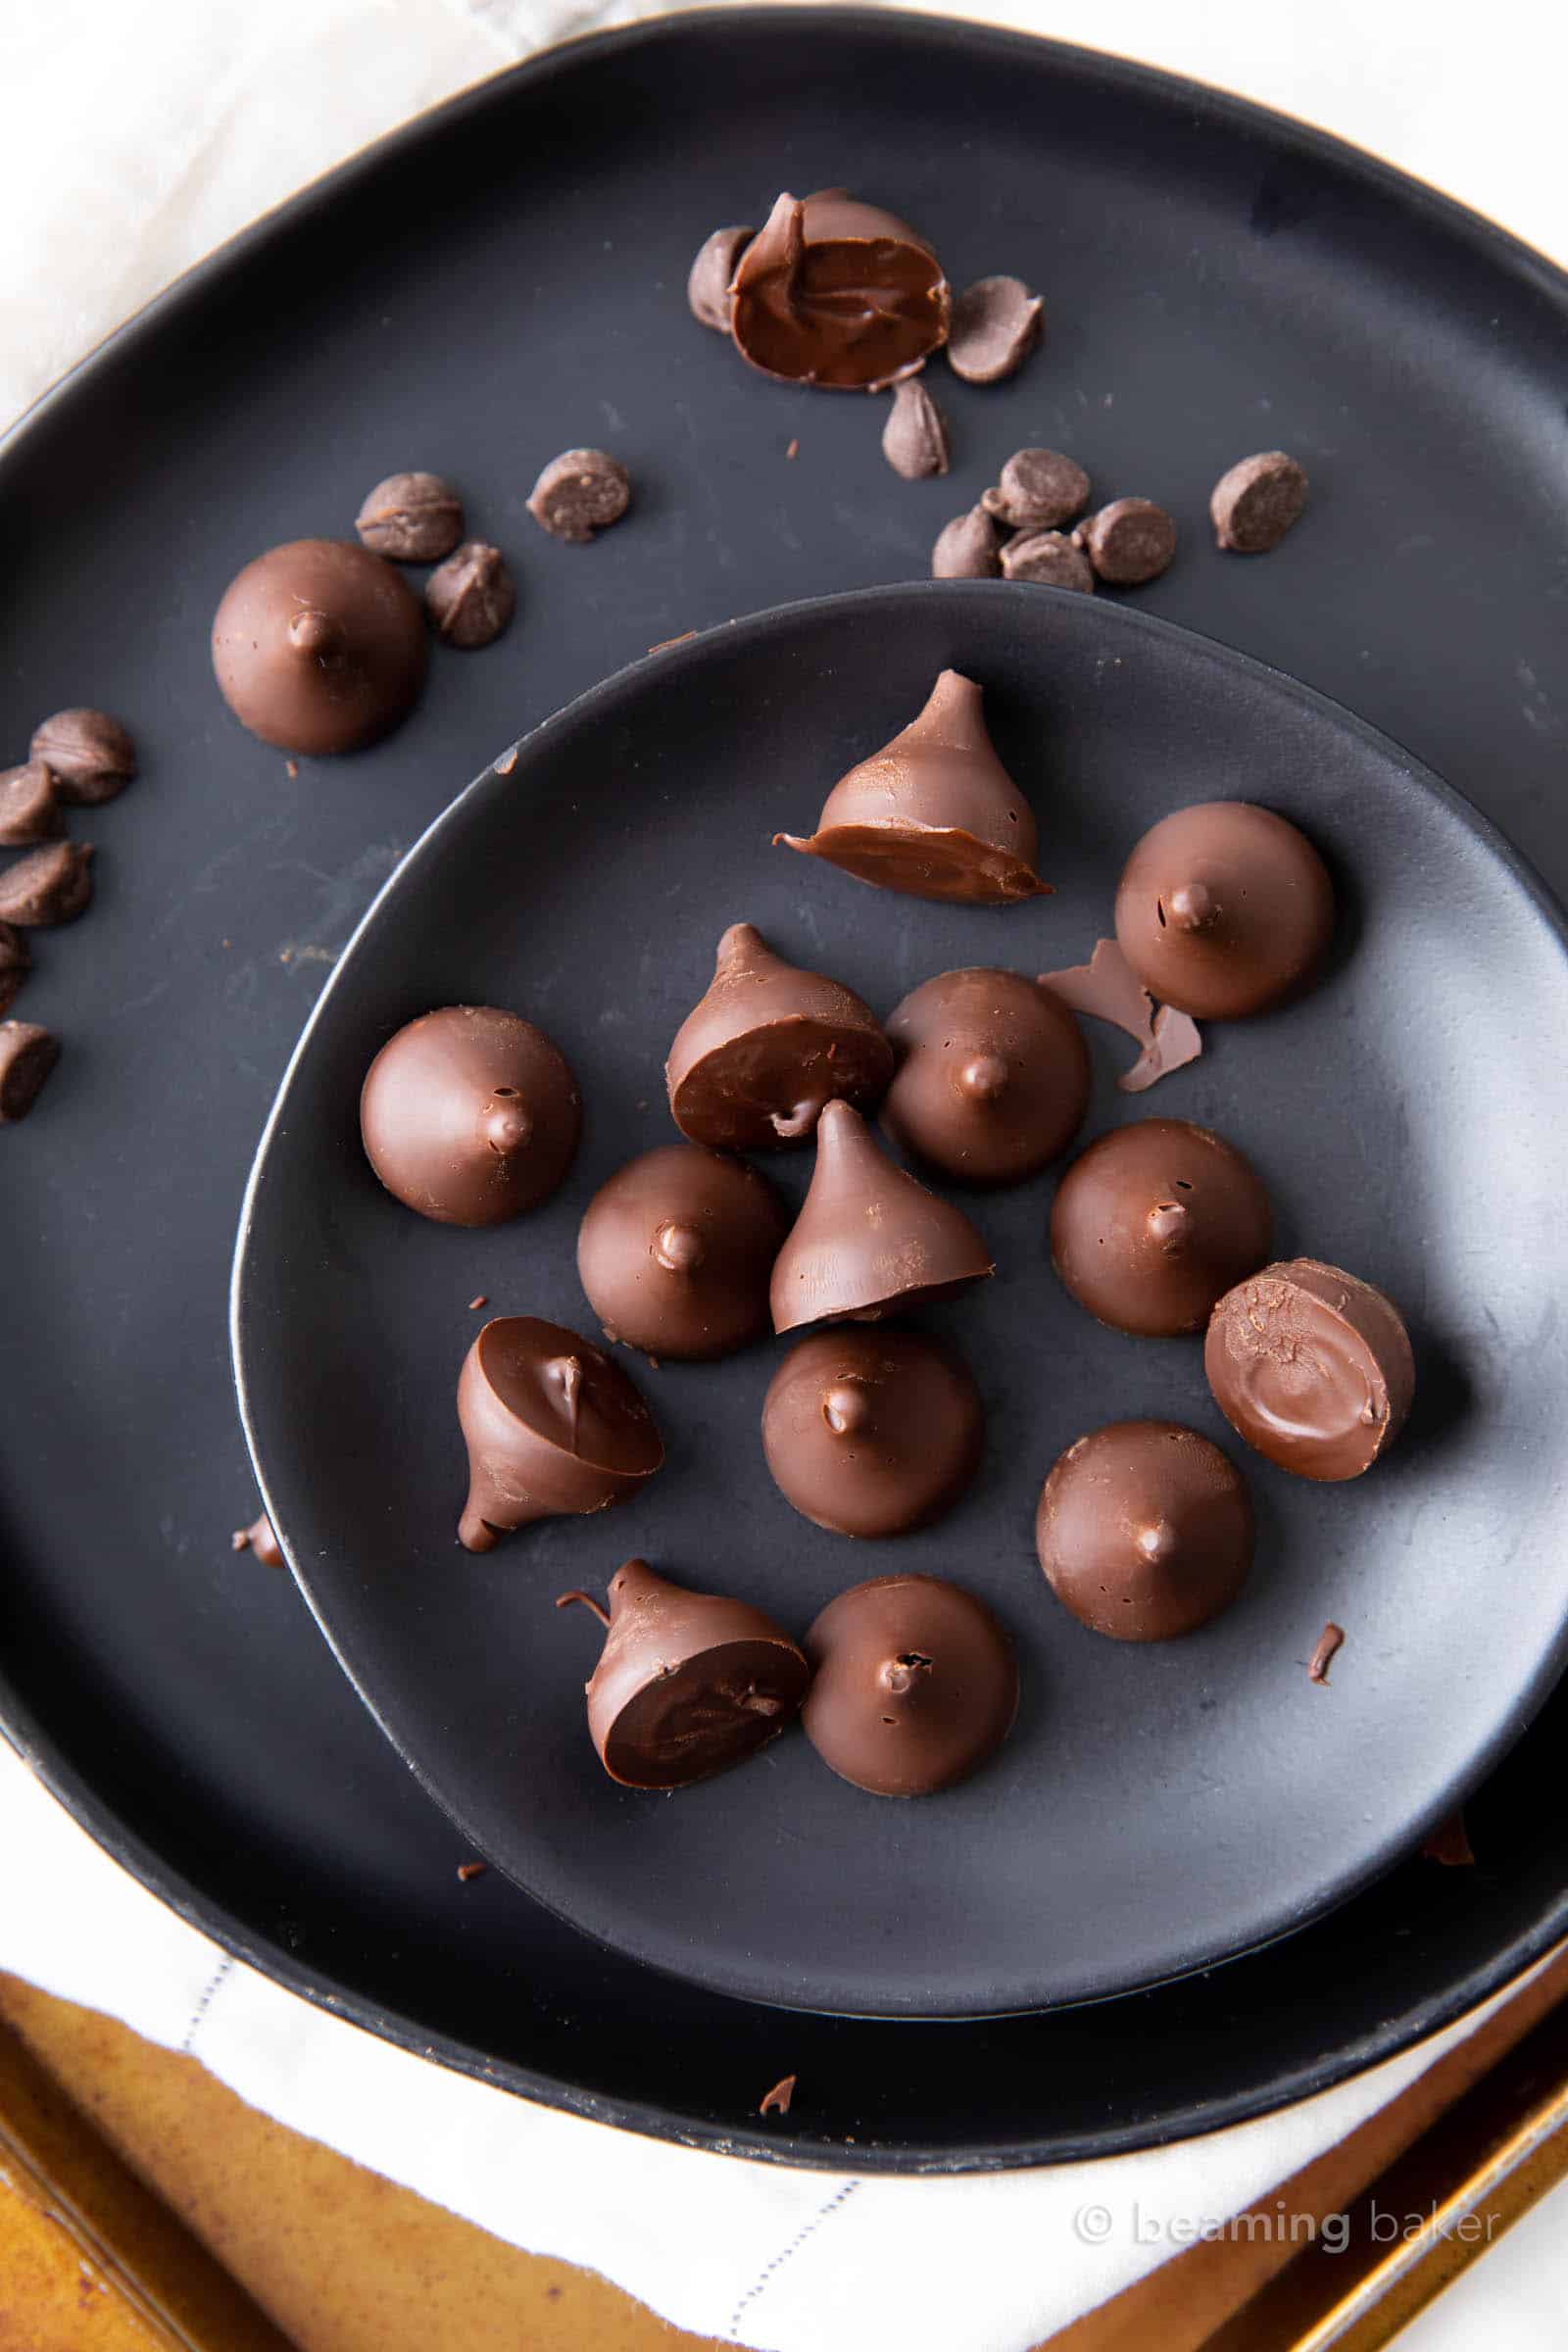
Enjoy the classic taste of Hershey kisses, but vegan and homemade!
Missing your Hershey kisses? Wish you could make peanut butter kiss cookies, but fresh out of vegan Hershey kisses (okay, you’ve never made them by yourself, but you know what I mean)? Let me show you how easy it is to make Hershey kisses, vegan and homemade. Ready, set, melt!
Everything You Need To Make Vegan Hershey Kisses
- Kiss Mold: this is the exact mold I use to make vegan Hershey kisses. It makes perfectly-sized kisses, not too big, not too small, so you can have the full Hershey kisses experience.
- Vegan Chocolate Chips
How to Make Vegan Hershey Kisses
Who knew it’d be so simple to make vegan Hershey kisses? Well, it’s simple in that it takes just one ingredient. But it’s not speedy, m’kay? Today’s vegan kisses are more enjoyable to make if you have the time to enjoy the process. Here’s how it goes:
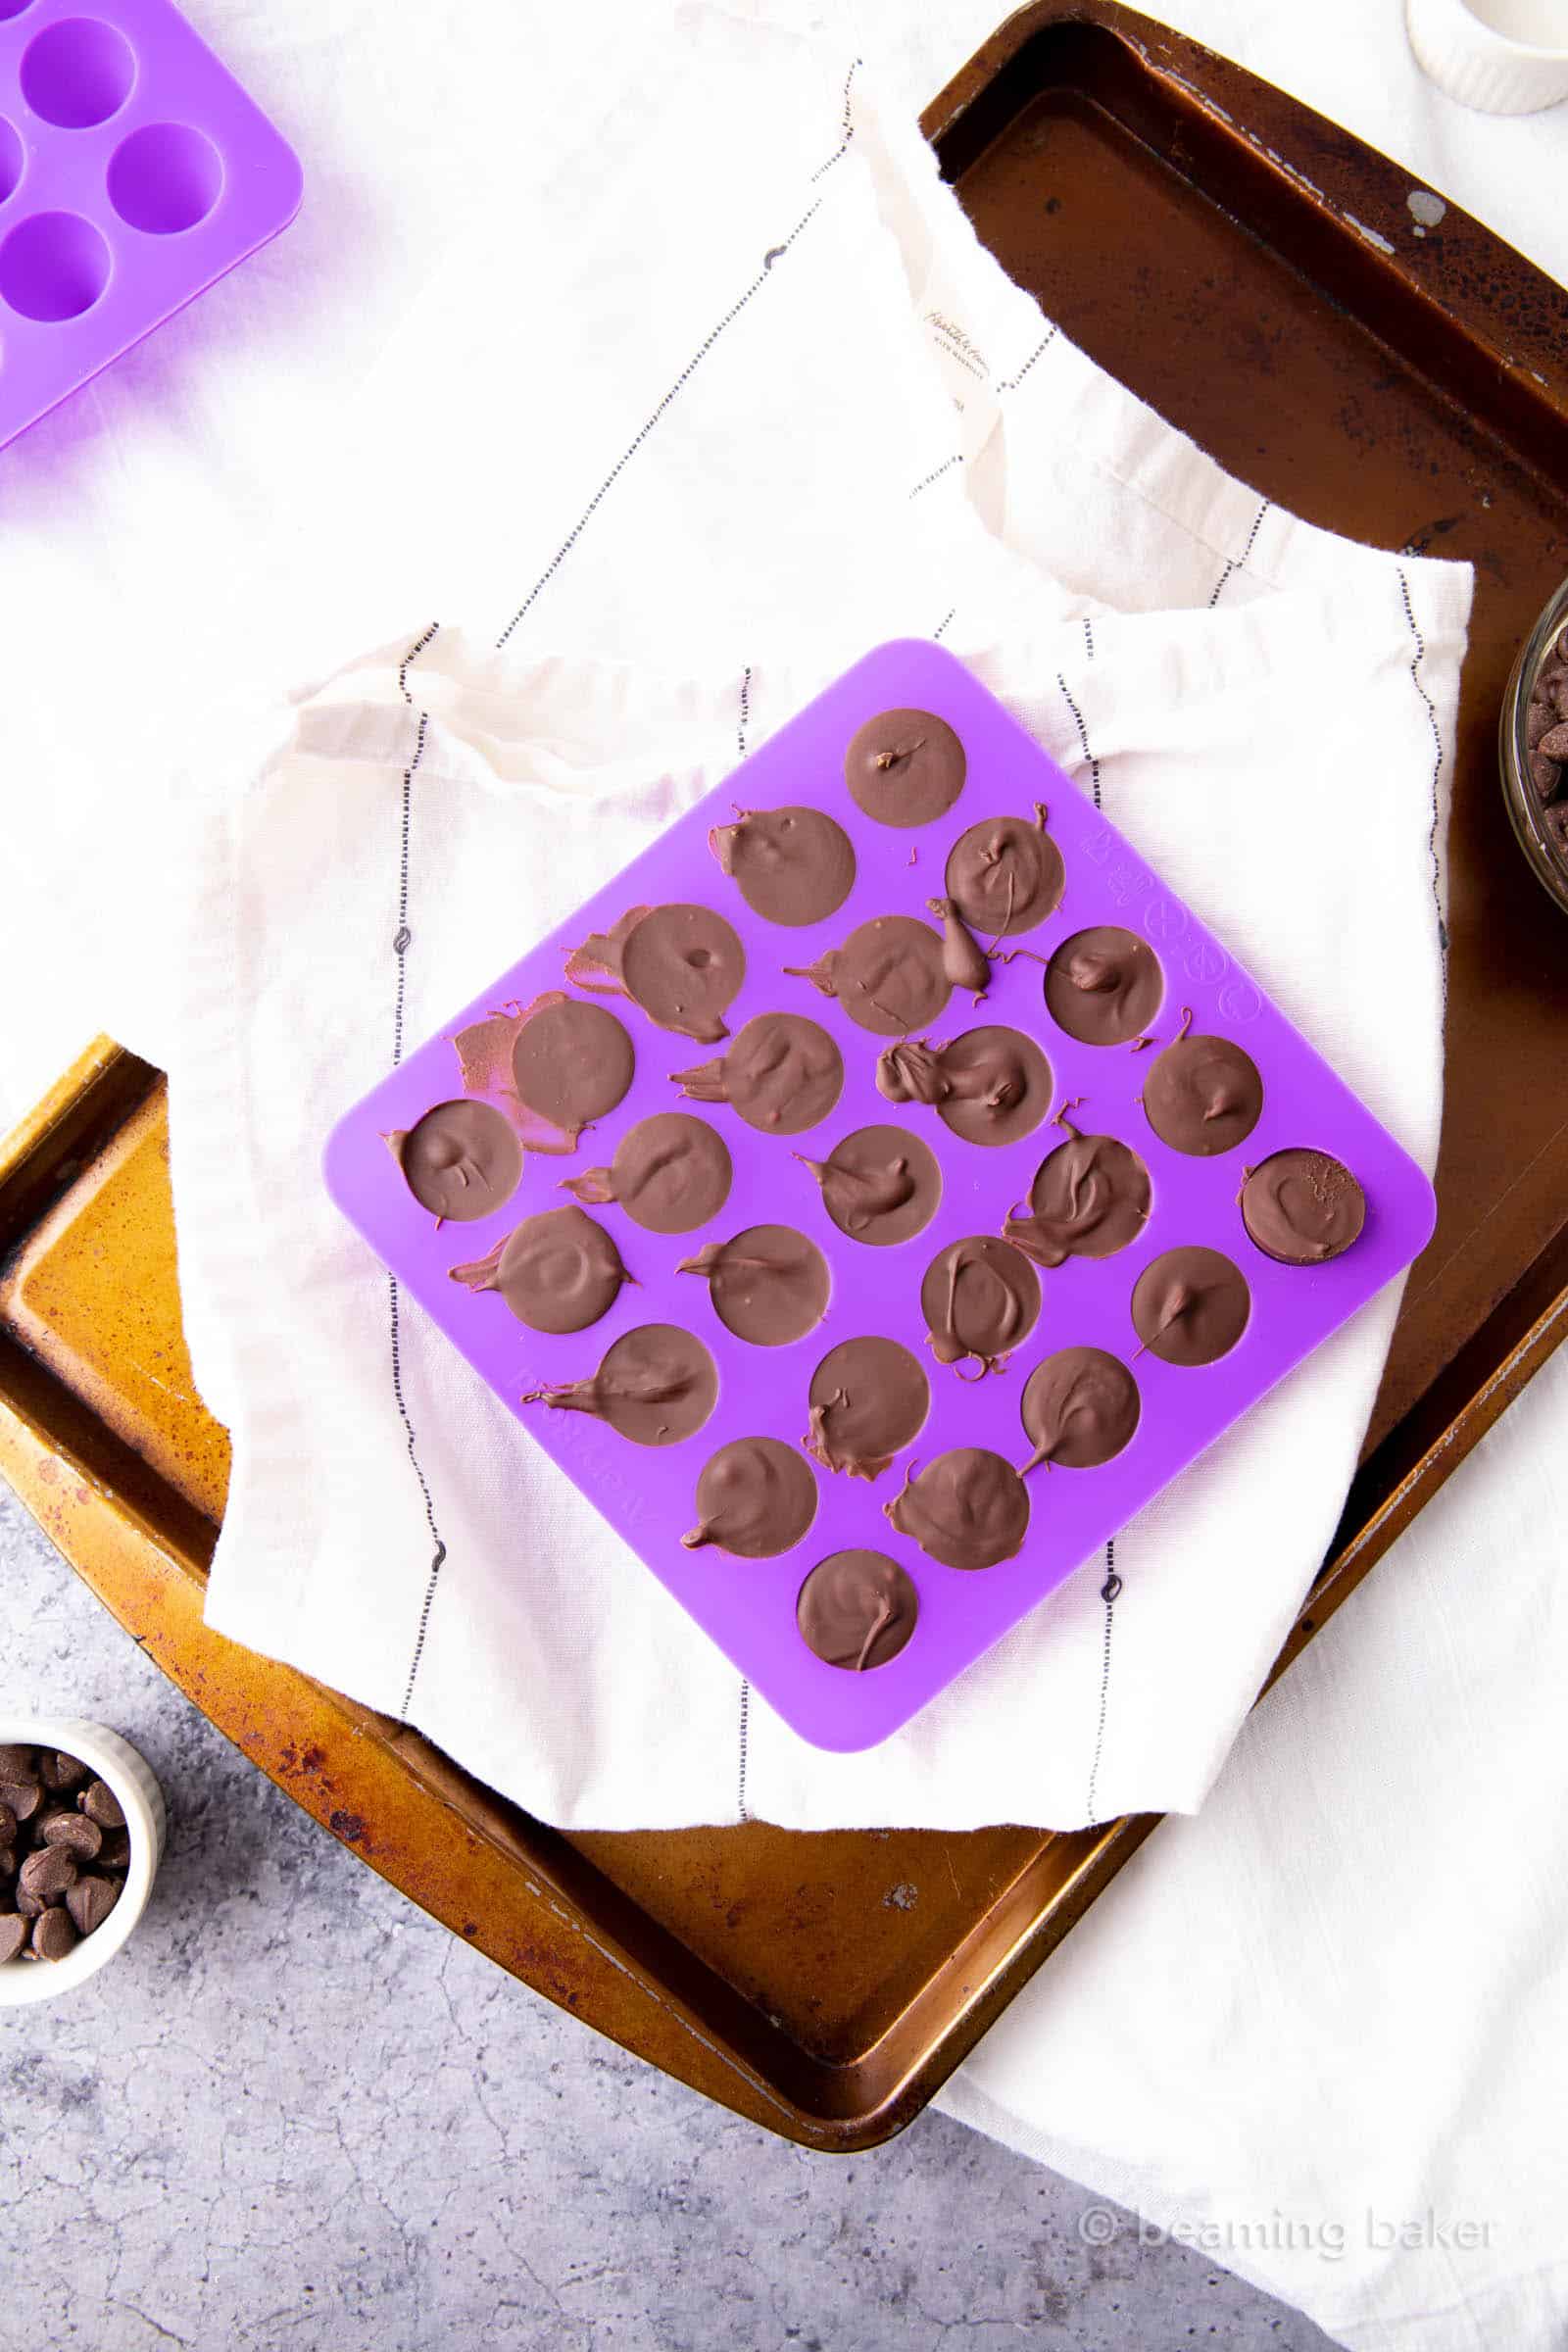
Lay out the molds
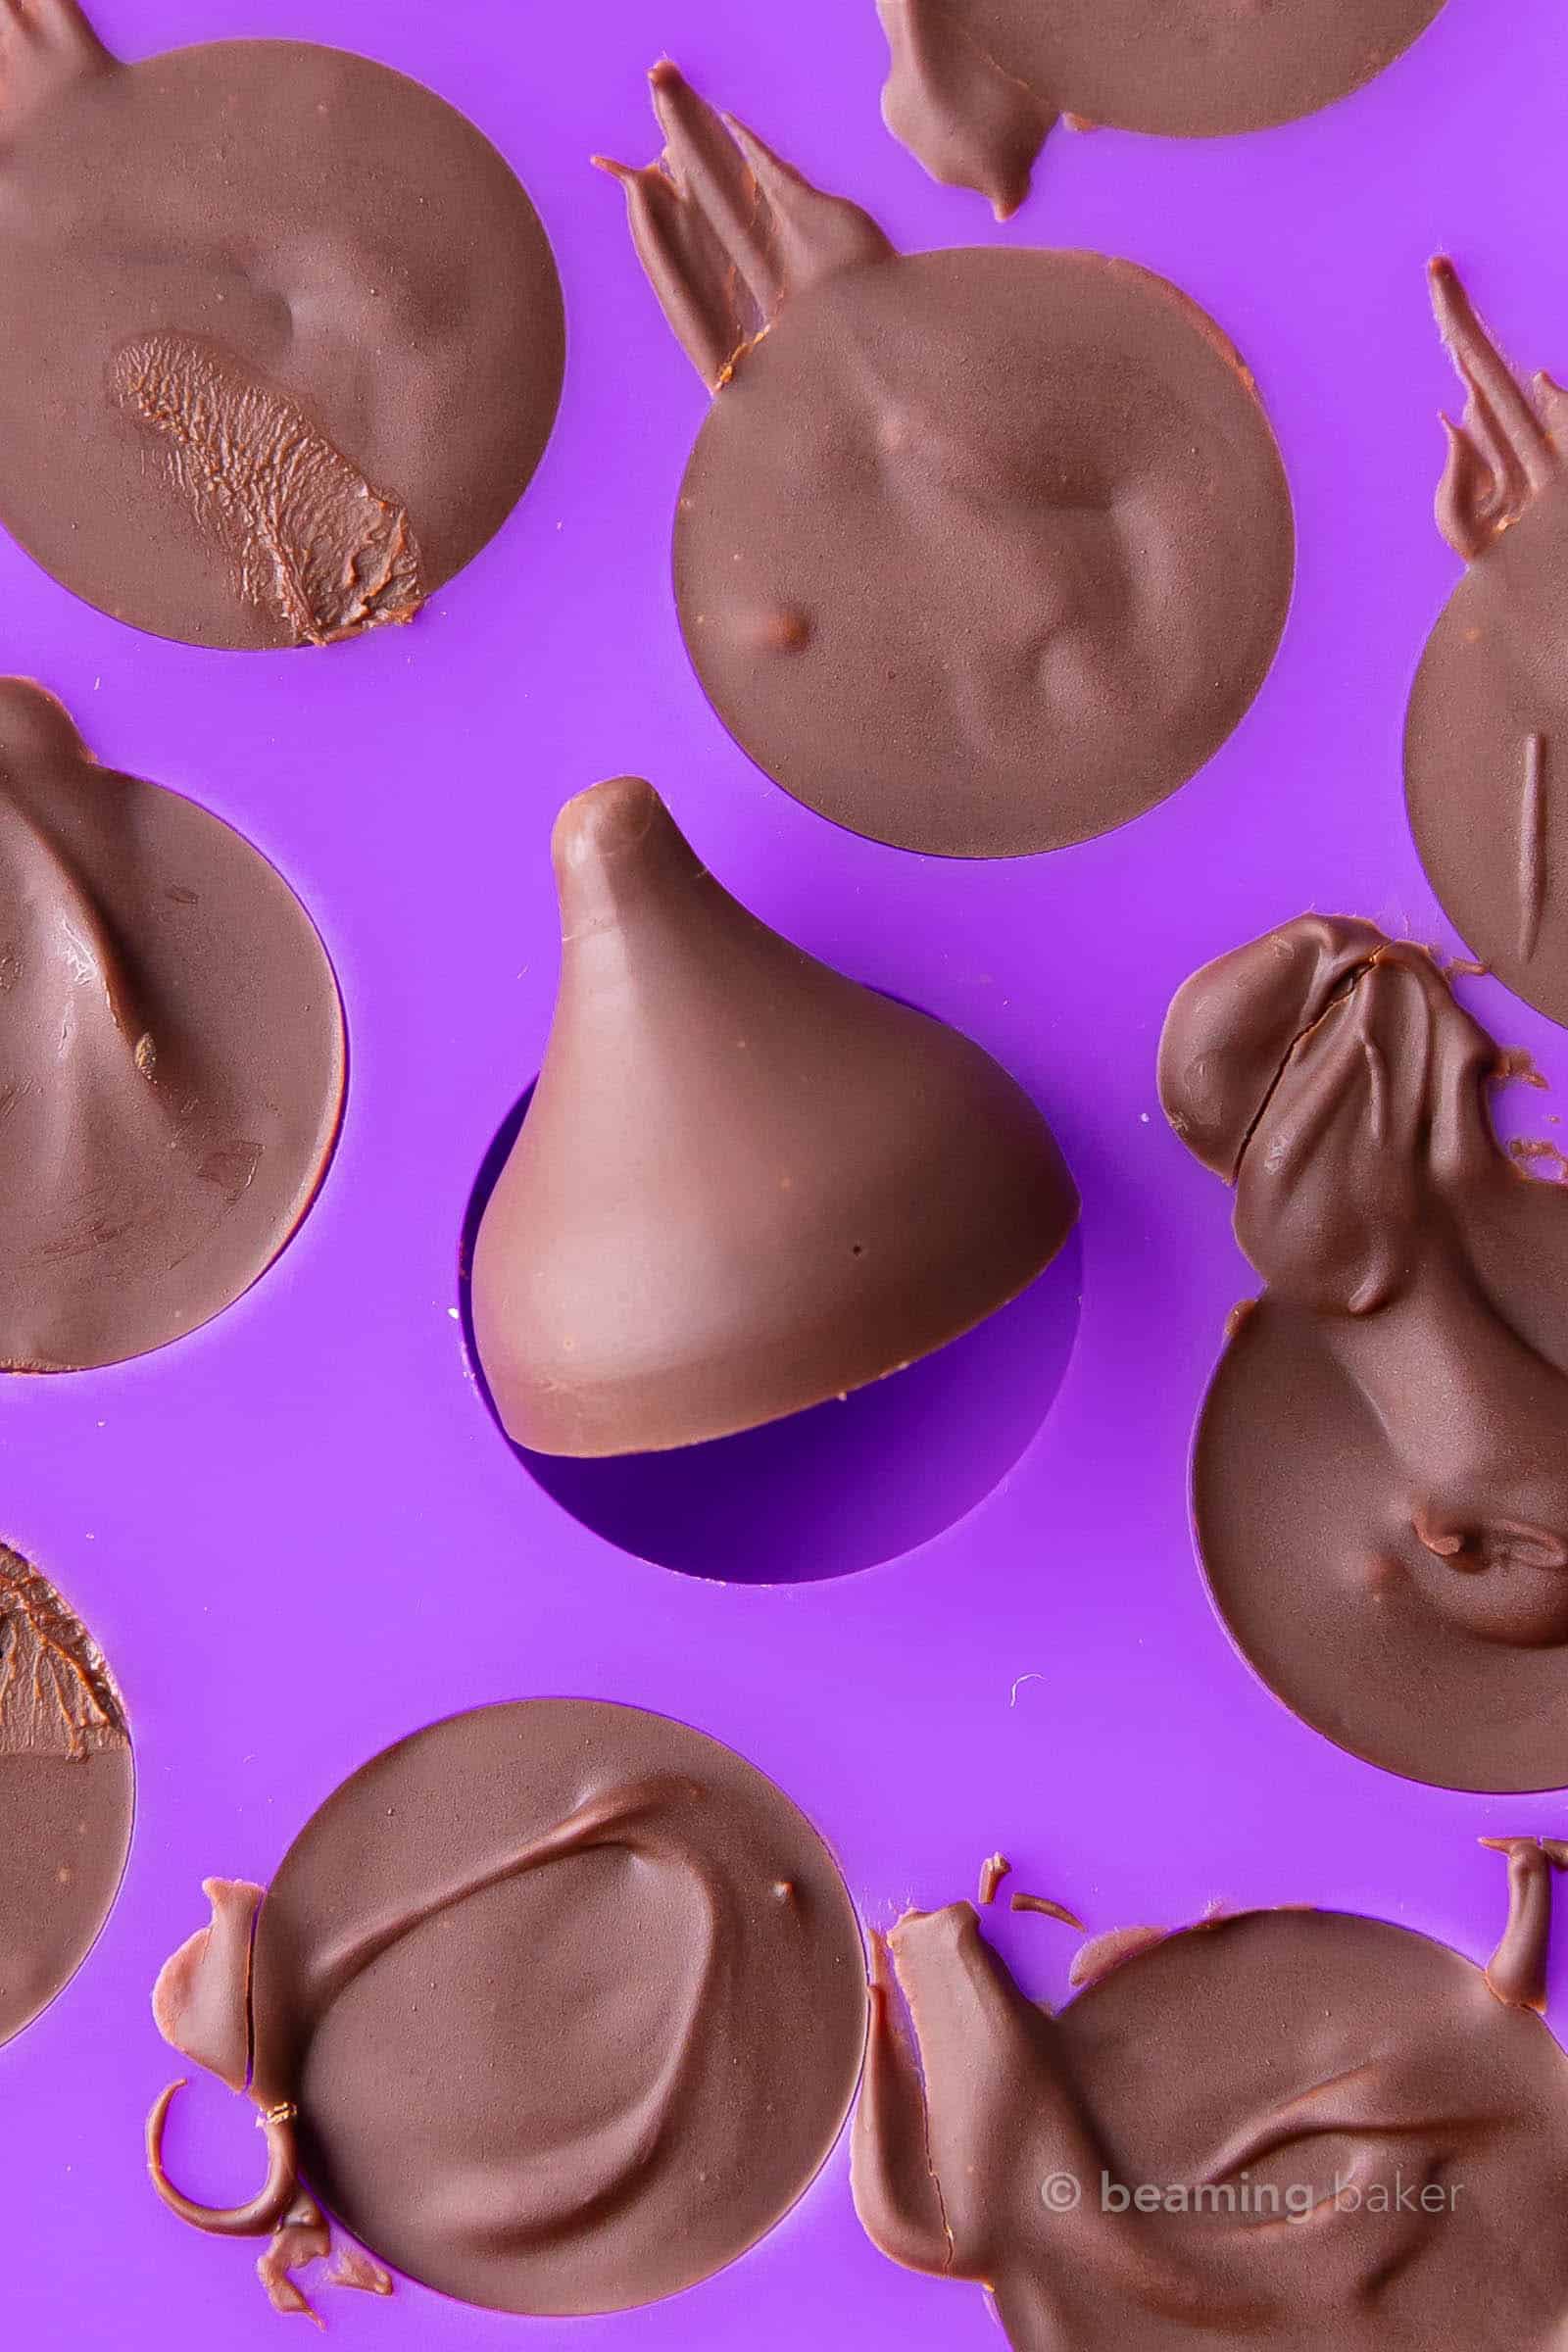
First, get out your favorite kiss molds. Here is the bright purple and utterly beautiful kiss mold that I used. Lay your molds flat on a medium baking sheet.
Melt the chocolate
Move over to your chocolate station—you know what I mean—it’s where you melt all of your chocolate for goodies. 😉 Add vegan chocolate chips to a microwave-safe bowl and melt+stir until smooth. If you prefer to skip the microwave, melt chocolate using the stovetop method with a double boiler.
Make the kisses
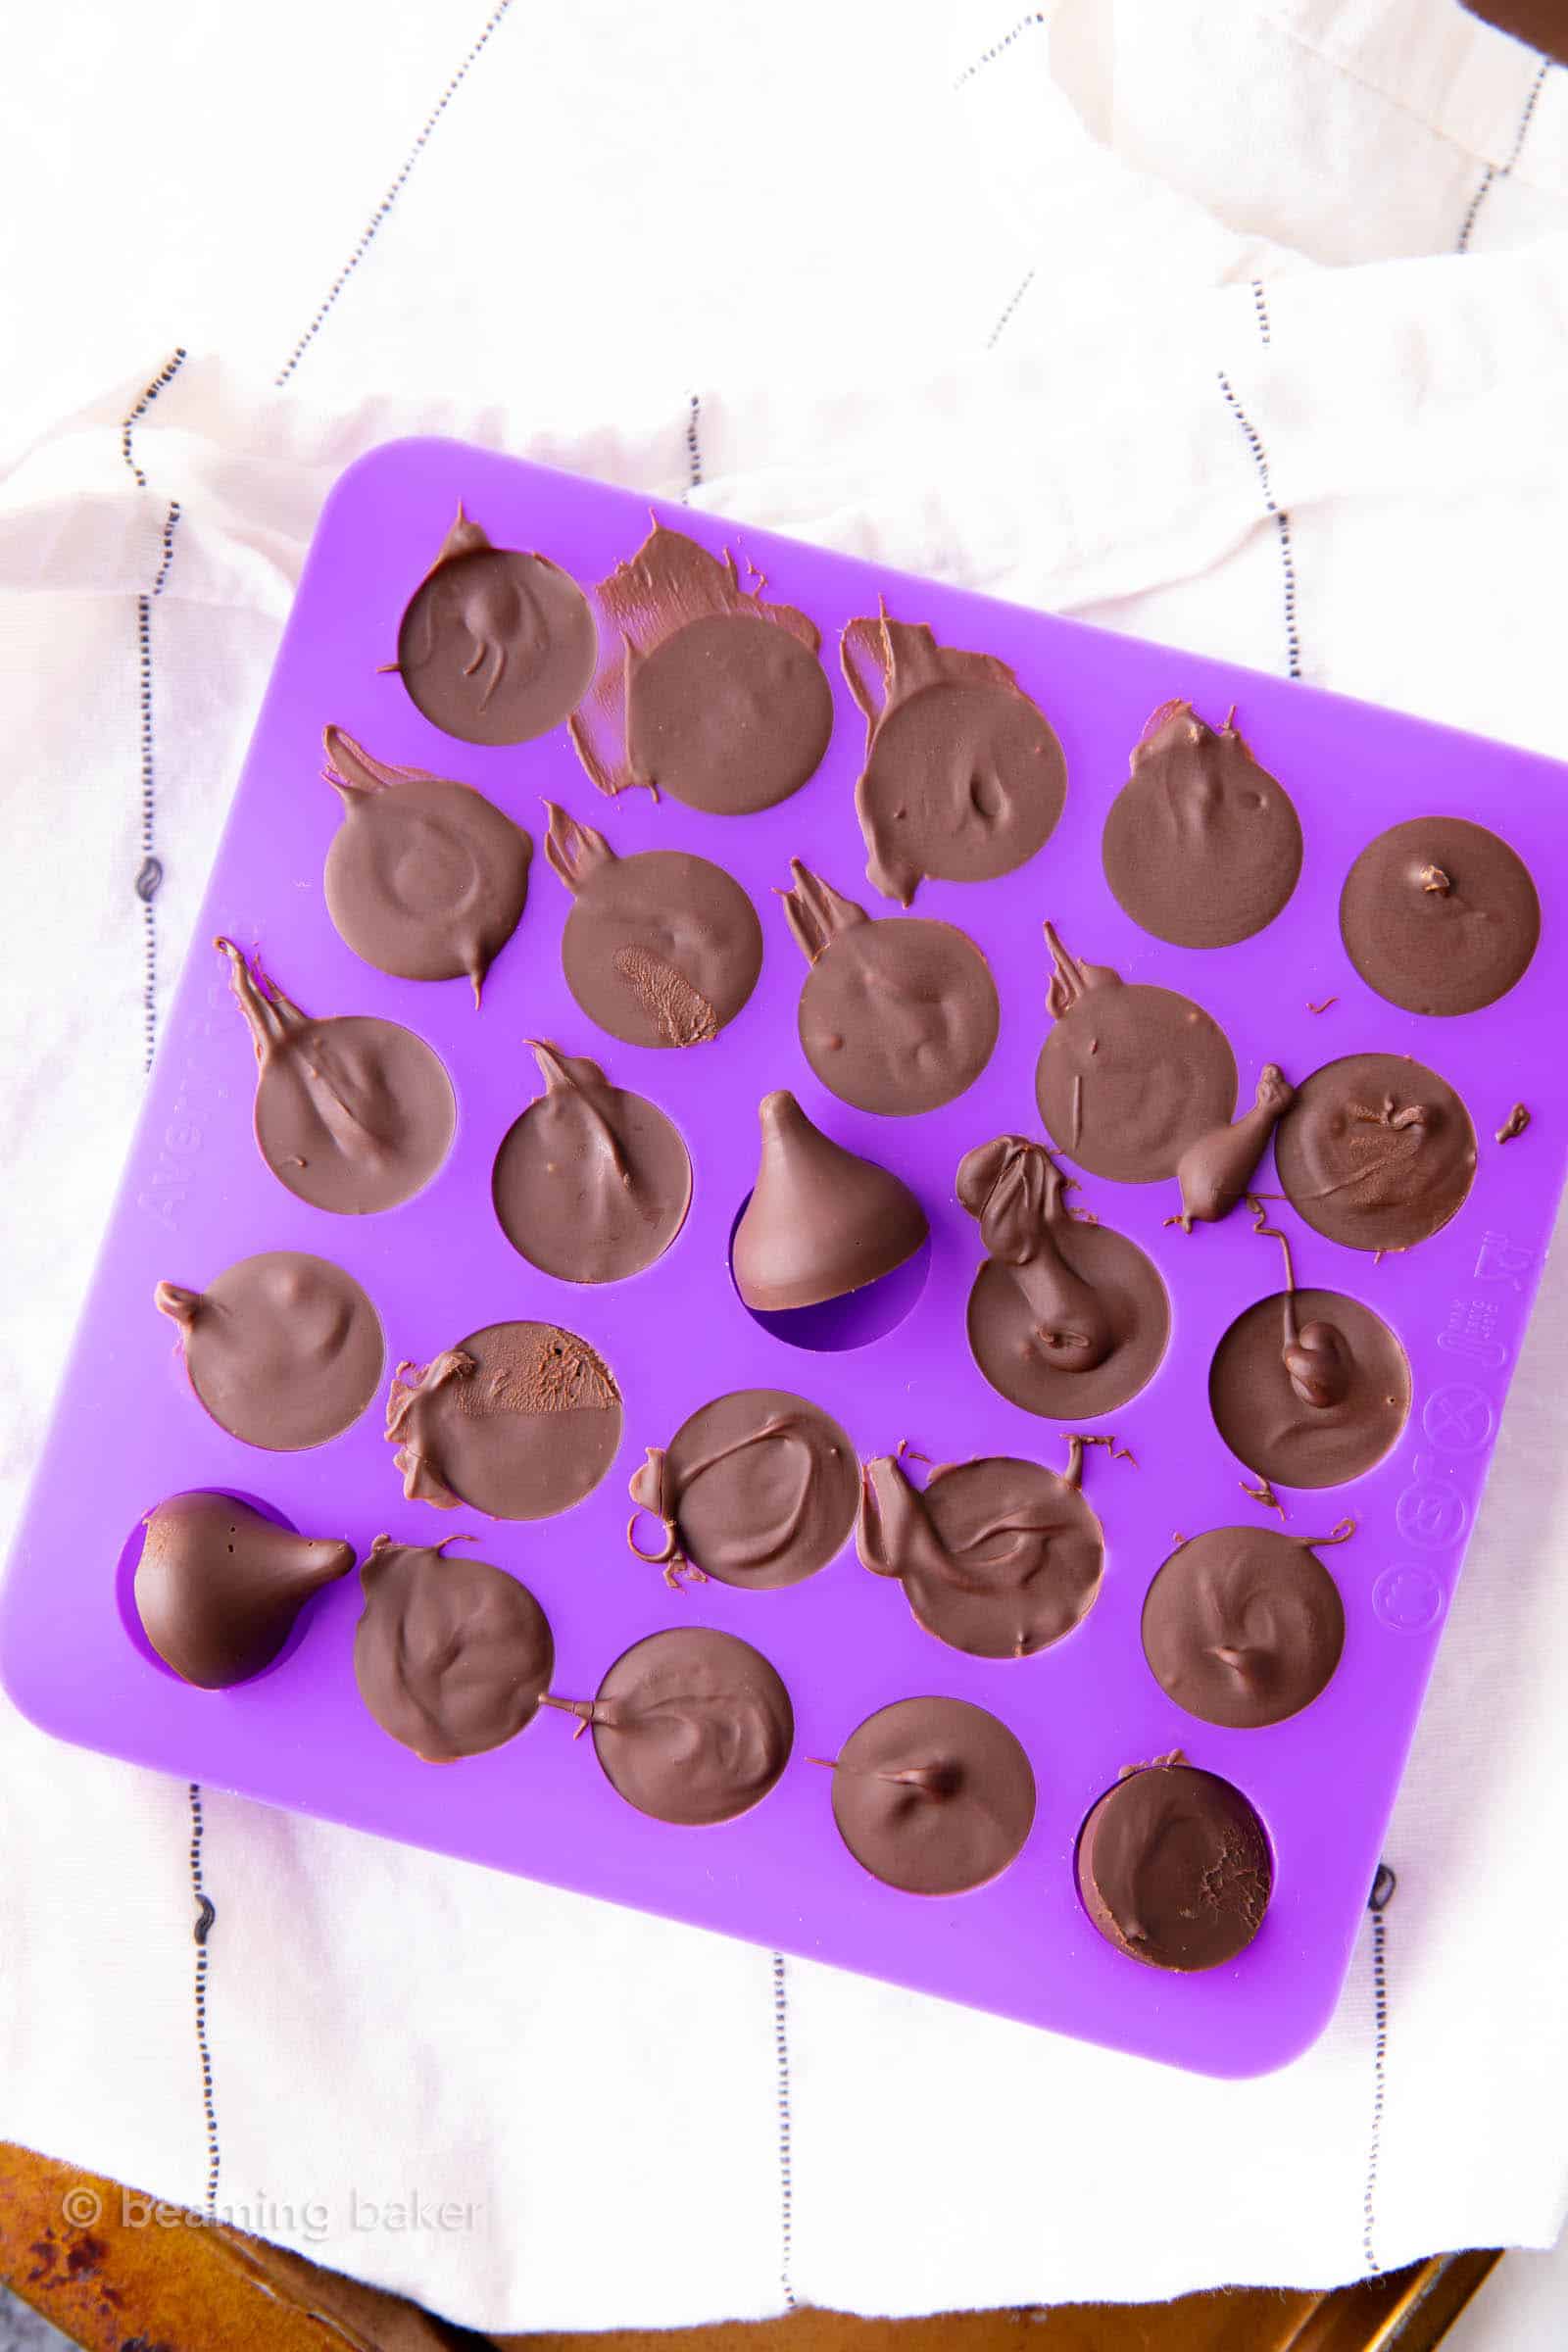
Spoon melted chocolate into a zip bag with the tip trimmed off or a reusable piping bag. Piping is the easiest way to make vegan Hershey kisses. I don’t recommend spooning as that will create a melted chocolate mess monster. Lol. Now, pipe the melted chocolate slowly and carefully into each mold crevice, filling each one to the top.
Chill, pop out, enjoy
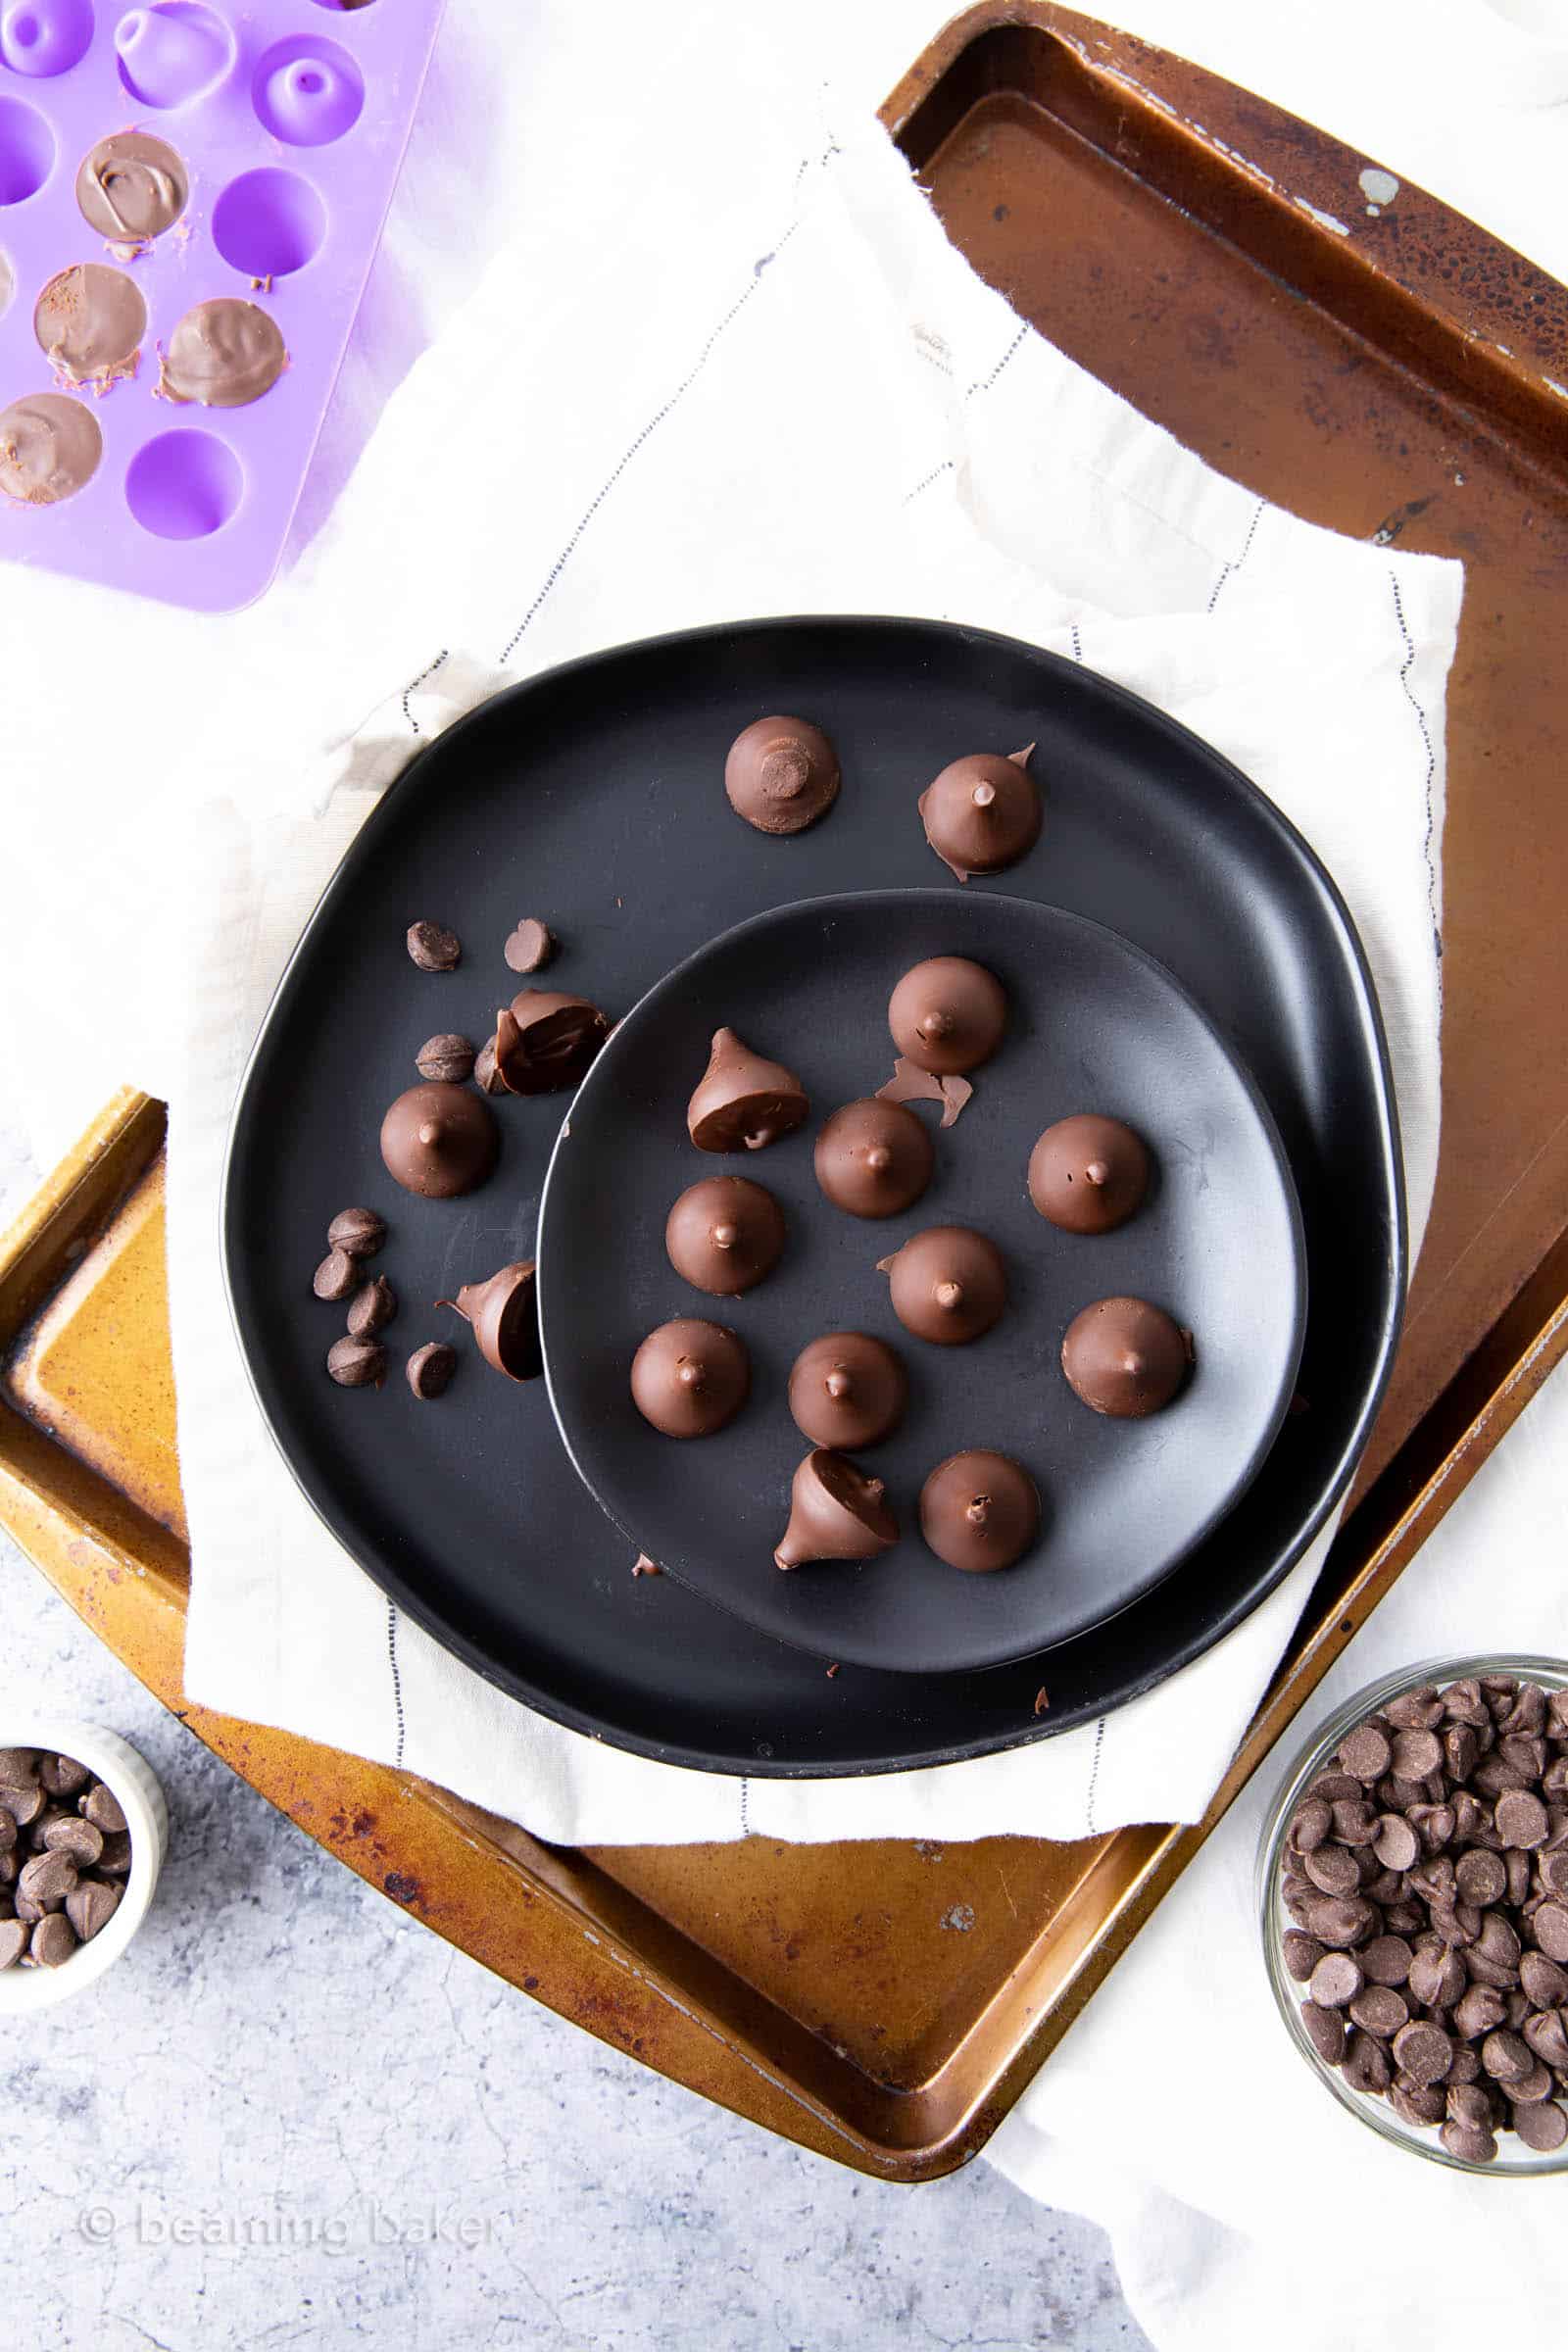
Place the sheet of Hershey kisses into the fridge and chill until your kisses are firm (test by popping out just one in the center of the mold –that’ll be the warmest one). When firm, pop out all kisses and enjoy!
More Vegan Candy Recipes
- 2 Ingredient Chocolate Coconut Candy Clusters
- Vegan Almond Joy
- Vegan Fudge – 2 Ingredient!
- 3 Ingredient Homemade Crunch Bars (Gluten Free)
- 5 Ingredient Vegan Coconut Chocolate Bars
- 4 Ingredient No Bake Nutella Bars
- Vegan Chocolate Covered Pretzels
Tools You Need
Seal it with a Vegan Hershey Kiss
SWAK, anyone? Let’s seal our dessert table with a vegan Hershey kiss. Now that we’ve got how to make Hershey kisses vegan, shall we try another flavor? 🙂 I can’t wait to see all of your creations on Instagram! Be sure to tag me at #beamingbaker, or leave a comment below so I know how it turned out for you. ‘Til our next sweet vegan adventure…
Sending you all my love and maybe even a dove, xo Demeter ❤️
☀ Click below to Pin ☀

📸 Did you make this vegan Hershey kisses recipe? Take a pic and share it on Instagram with the hashtag #beamingbaker & tag @beamingbaker. I’d love to see it! 📸

Vegan Hershey Kisses
Ingredients
- ¾ cup vegan chocolate chips
- 1 ½ teaspoons peanut butter, optional
Instructions
- Lay Hershey kiss molds flat on a medium baking sheet. Here is where I get my Hershey kisses candy molds. Clear some space in the refrigerator for this sheet, you will need it later. Set sheet aside at room temperature.
- Melt the chocolate: Use the double boiler method to melt the vegan chocolate chips or do the following. Add chocolate chips and peanut butter (if using) to a microwave-safe bowl. The peanut butter will prevent the chocolate chips from streaking (discoloring) once in solid kiss form.
- Heat in 20-second increments until just softened and mostly melted. The chocolate will continue to melt after heating, just make sure to mostly melt it. Stir in between heating increments, until smooth.
- Make the kisses: Spoon melted chocolate mixture into a reusable piping bag, making sure to spoon toward the bottom of the bag, where the piping tip is located. This will ensure that most of the chocolate is not wasted. Once all chocolate is in the bag, twist the bag to gather all melted chocolate towards the tip, then snip off the end of the bag, if needed.
- Pipe melted chocolate carefully into each cavity of the kisses mold, until it’s filled to the top.
- Take a toothpick and poke into the tip of each Hershey kiss (the top peak), then stir the toothpick around a bit. This will pop any unwanted air bubble from forming.
- Chill to set the chocolate: Chill this sheet in the refrigerator until firm, about 40 minutes. Make sure kisses are fully firm by popping one out to test—if the tip snaps off, it’s not ready yet.
- Pop & Enjoy: Once firm, press the tip of each kiss on the candy mold until a kiss pops out. Enjoy! Storing instructions below.
Notes
This post may contain affiliate links, which allow me to make a small commission for my referral, at no additional cost to you.


Wow, Demeter! Looks like you did a great job on this one… as soon as I get a mold I’m gonna be trying this out! Thanks again for all these amazing recipes ❤️
Aww thanks AP! Hope you enjoy them! 😊
I go crazy over chocolate and I am so glad to make these vegan Hershey kisses at home!
Yay! I hope you have fun making them! 😊
These are really perfect guilt-free desserts! Thanks for the recipe!
You’re so welcome! 😊
That mold is so cute! I can’t wait to share this recipe with my vegan friends.
Yes, it’s super cute! Thanks for sharing with your friends. 🙂
Homemade is the best! I know for sure these Vegan Hershey Kisses would be a huge hit in my house!
Couldn’t agree more! Hope everyone enjoys them. 🙂
These would make amazing holiday gifts for any vegan. They never get to enjoy sweets!
Totally! It’s so easy to make, and great for sharing with friends. 🙂