This post may contain affiliate links. Please see our disclosure policy.
The perfect amount of dessert for two: learn how to make pb bars for two with today’s small batch dessert recipe! Thick layers of peanut butter and chocolate to delight in.

Small Batch Desserts: the PB Bars of Your Dreams
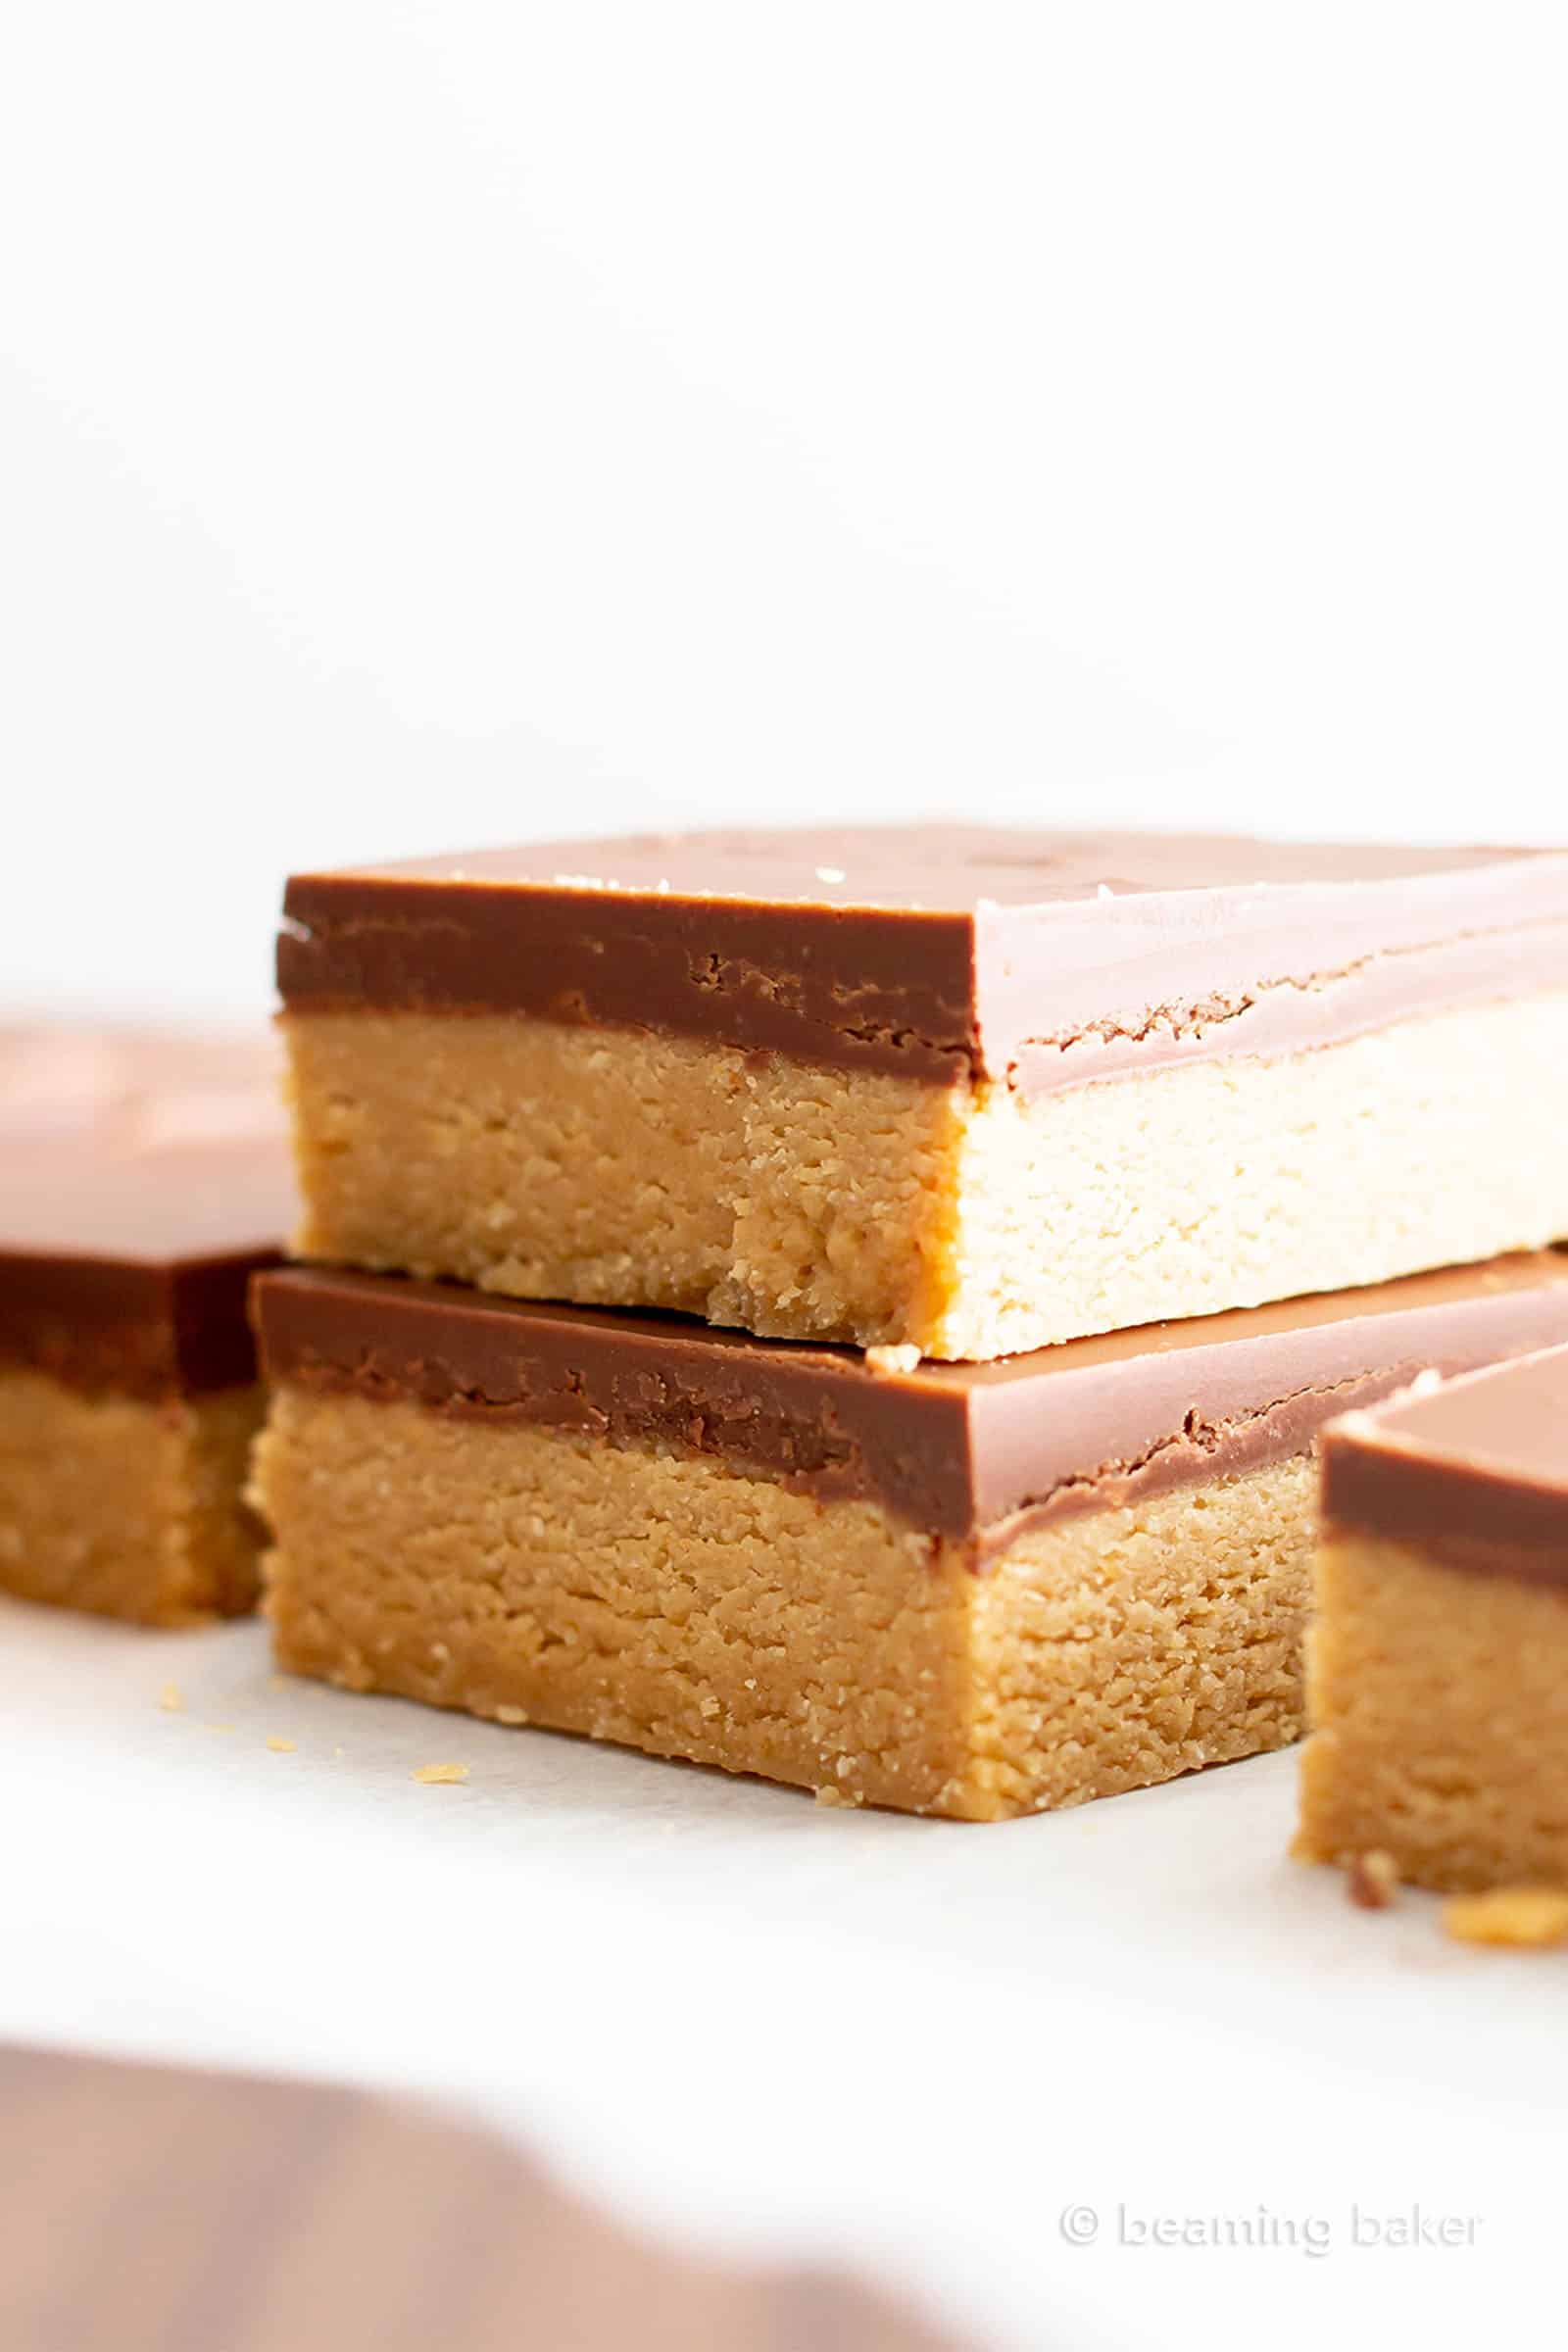
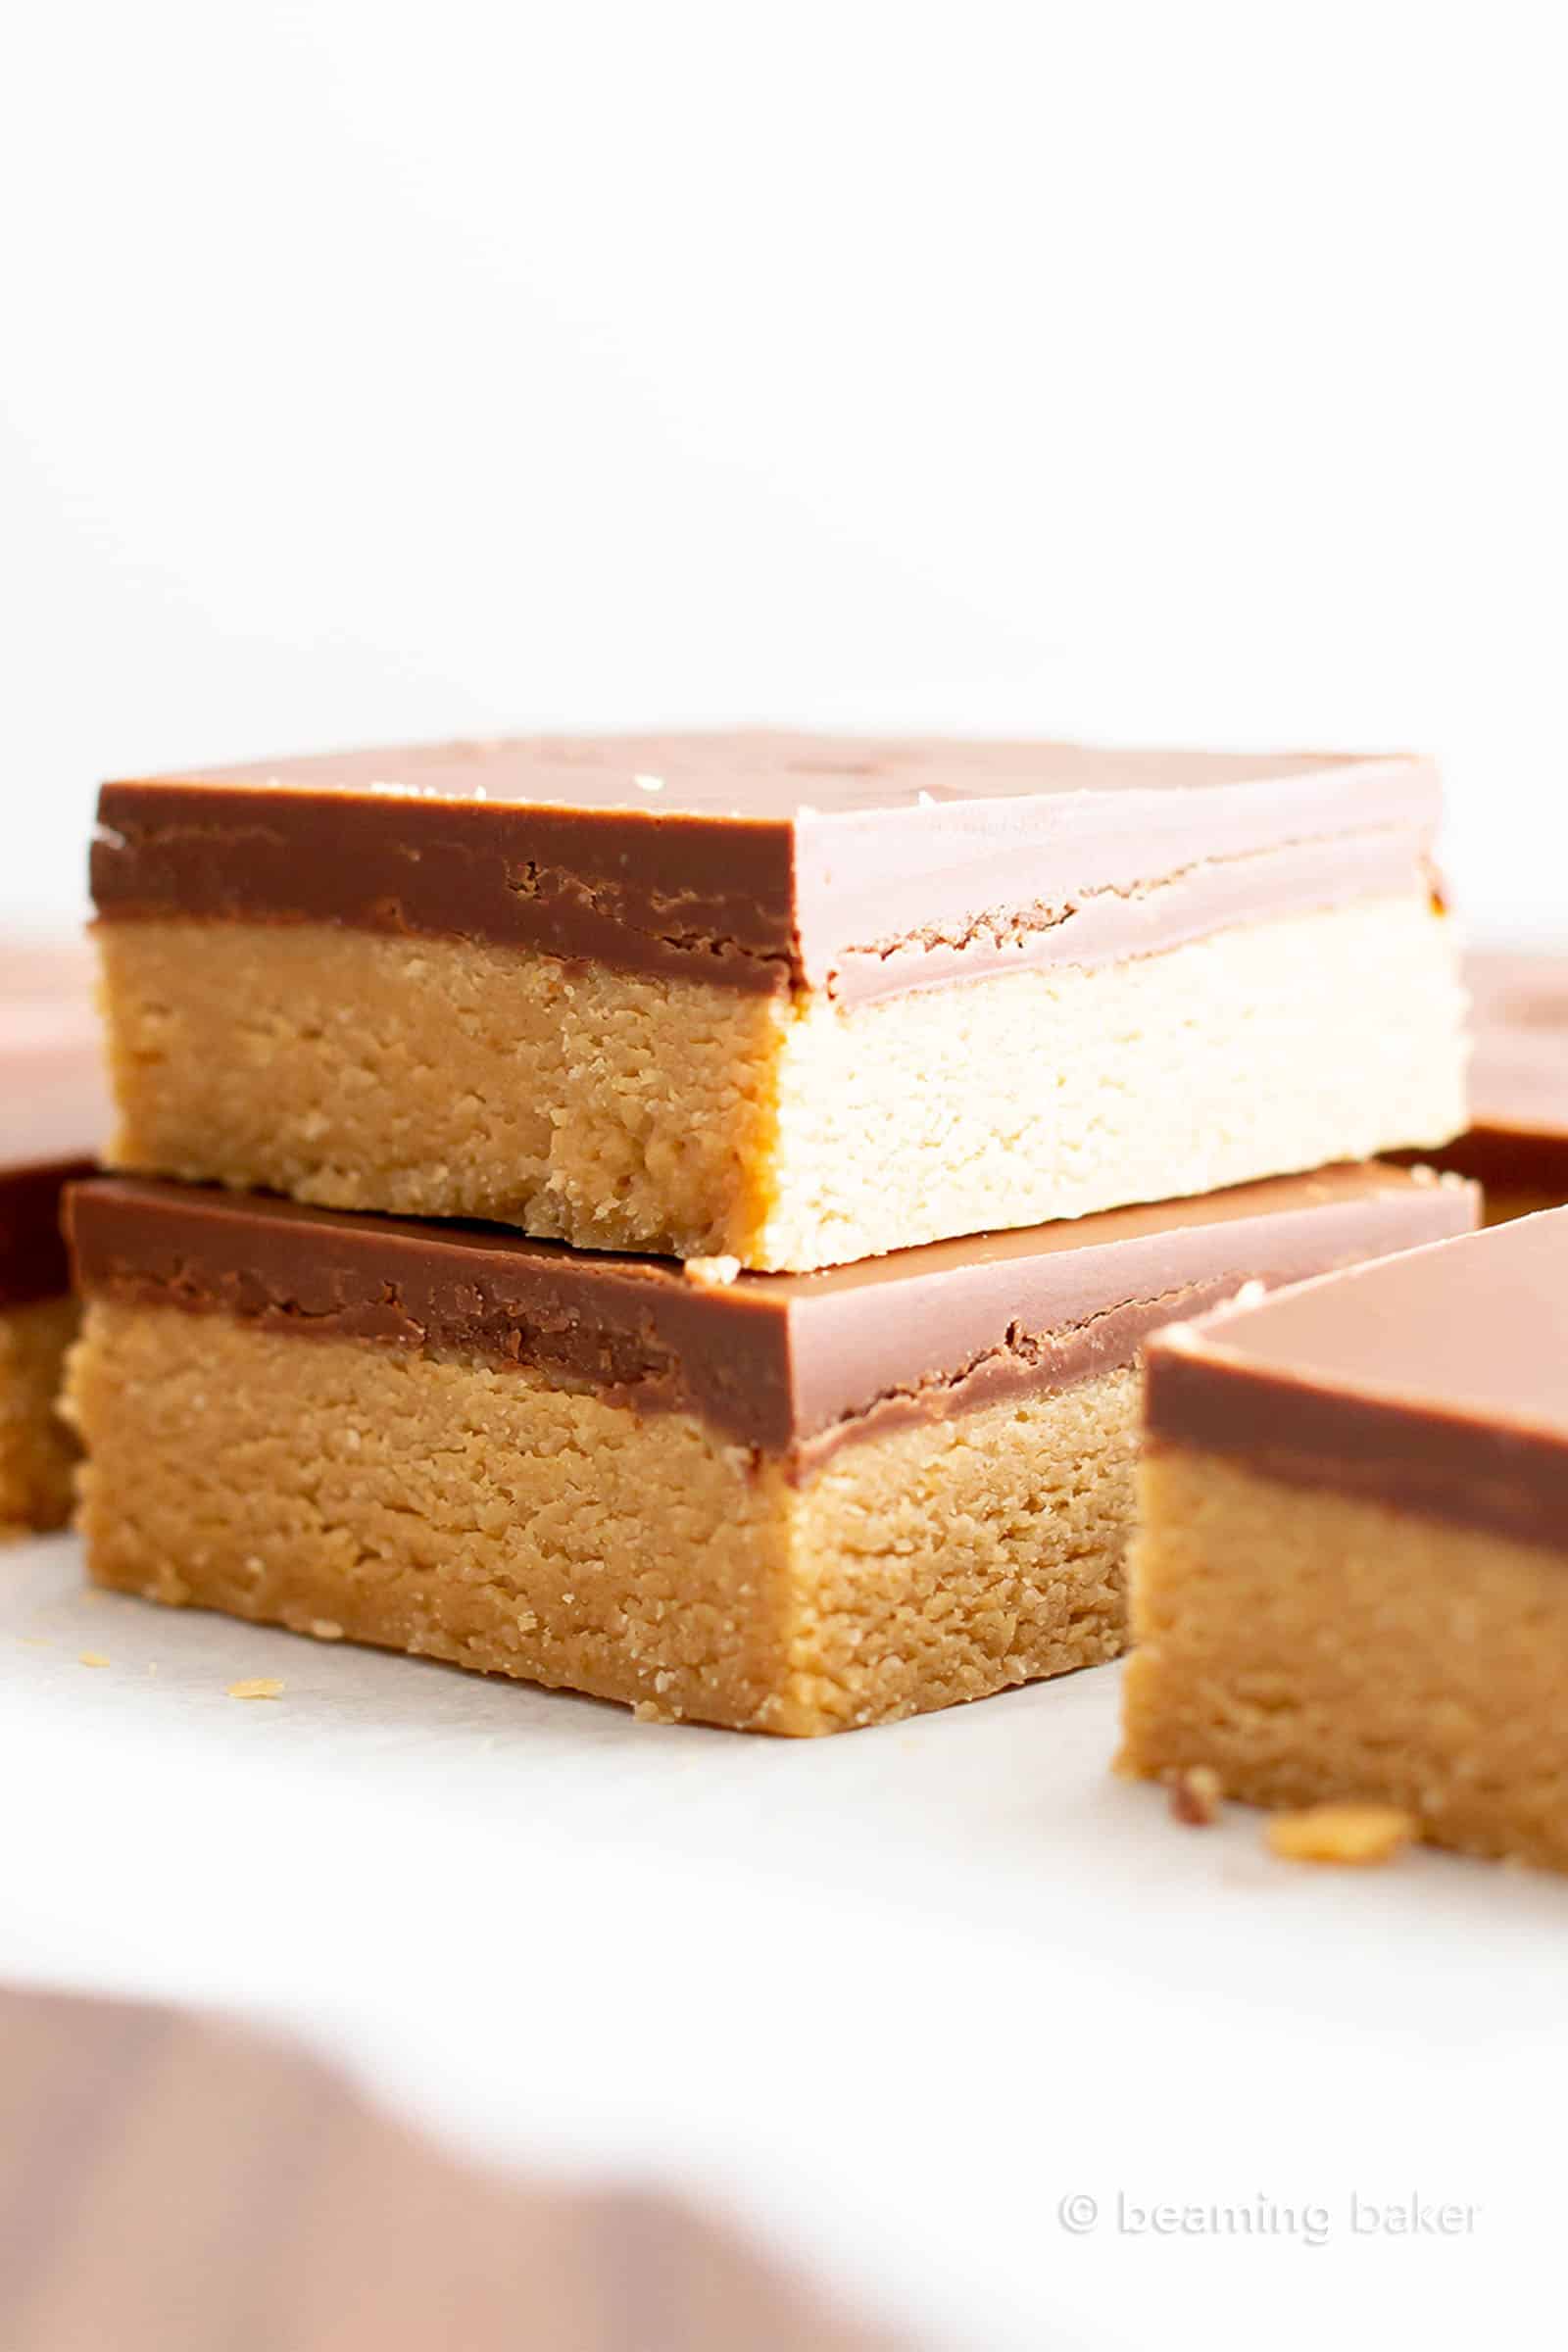
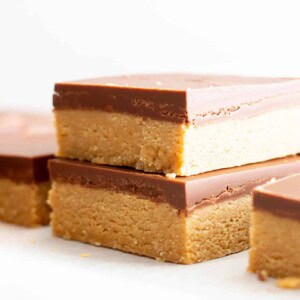
A thick layer of sweetened peanut butter to sink your teeth into. A thick layer of chocolate and peanut butter intertwined in the most delicious way possible. A perfect amount of small batch desserts. You can expect all of this and more in today’s recipe for PB bars! Enjoy!
Exactly Enough Ingredients for 2 Perfect PB Bars
Who said you can’t have it all? Small batch desserts + pb bars = dessert-time perfection. You can eat both bars all by yourself or enjoy one apiece with a friend. 🙂 In today’s recipe, you’ll find just enough ingredients to make 2 perfect pb bars, just the way you like it—in a small batch.
- Peanut butter
- Maple syrup
- Coconut flour
- Chocolate chips – also totally delish in these vegan peanut butter chocolate chip cookies!
How to Make this Small Batch Dessert of PB Bars
Grab a mini loaf pan or even a small, rectangular Tupperware about the size of a mini loaf pan. Line it with parchment paper or wax paper.
Add all peanut butter layer ingredients into a small bowl. Grab a small spatula and stir and fold everything together until you get a thick, dough-like mixture. Drop this peanut butter “dough” into the mini loaf pan you prepared. Spread and smooth it into an even layer.
Now, melt the chocolate and peanut butter together to create the chocolate topping. Pour this mixture over the smoothed-out peanut butter layer. Smooth the chocolate out.
Chill until firm in the freezer. You can check by gently pressing the edge of the chocolate topping.
Slice and enjoy the best small batch pb bars! And if you’re actually looking for something oat-y, try these chocolate peanut butter oat bars.
Slicing Your PB Bars: It’s Easy and Swift
How do I get those super clean cuts in my peanut butter bars? Easy, I use a really sharp knife. No, it’s true! Using a clean, super sharp knife, carefully press down into the center of the pb bar, until you hit the cutting board. Here’s the sharp knife that I use.
Another tip? Cut your pb bars the next day. On the first day, this small batch dessert hasn’t set yet, so it won’t keep at room temperature. If your knife is too warm, it can melt the chocolate when you’re slicing into the bars; if the bars are too chilled, you can crack the tops of the bars when you’re slicing in.
Do it the next day, when the bars are fully set? Your bars will be room temp and easy to slice cleanly.
More Delectable PB Dessert Recipes
- keto peanut butter and chocolate cookies
- peanut butter crunch bars
- no bake peanut butter rice crispy treats
- keto peanut butter bars
- peanut butter oatmeal cookies
- vegan peanut butter bars
- peanut butter no bake cookies
- healthy peanut butter oat bars
Tools You Need
Small Batch Desserts: Perfect for One or Two
Wanna share your small batch pb bar dessert with one person? Or maybe it’s just that kind of day—a 2 pb bar kind of day. Save it, share it, or eat it. All. By. Yourself. As long as you’re happy, that’s all I care about. 🙂 Drop a comment below and chat with me. I love hearing from you. ‘Til our next peanut butter adventure…
Sending you all my love and maybe even a dove, xo Demeter ❤️
☀ Click below to Pin ☀
📸 Did you make this small batch dessert recipe? Take a pic and share it on Instagram with the hashtag #beamingbaker & tag @beamingbaker. I’d love to see it! 📸
Small Batch Desserts: PB Bars for Two
Ingredients
Peanut Butter Layer
- 2 tablespoons natural, unsalted creamy peanut butter
- 2 ¼ teaspoons pure maple syrup
- 1 tablespoon coconut flour
Chocolate Topping
- 2 tablespoons chocolate chips
- 1 tablespoon natural, unsalted creamy peanut butter
Instructions
- Line a mini loaf pan with parchment paper or wax paper.
- Make the Peanut Butter Layer: In a small bowl, add Peanut Butter Layer ingredients. Using a rubber spatula, stir and fold until well-mixed and thickened, with no visible flour patches remaining.
- Transfer peanut butter mixture into the prepared pan. Using the rubber spatula, smooth into an even layer. Set aside.
- Make the Chocolate Topping: Use the double boiler method or do the following. Add Chocolate Topping ingredients to a small, microwave-safe bowl. Heat in 10-second increments until chocolate is softened and melty. Stir in between heating increments, until smooth.
- Pour the chocolate mixture over the peanut butter filling. Using a clean rubber spatula, smooth into an even layer. Tap the pan a few times to help even out the chocolate.
- Transfer pan to freezer. Freeze for 20-30 minutes, or until firm. Remove from freezer and slice into 2 squares. Enjoy! Storing instructions below.
Notes
This post may contain affiliate links, which allow me to make a small commission for my referral, at no additional cost to you.


These were so good!! Everyone at my house loved these!
So happy to hear it Sandra!
Very tasty and easy to make, we loved this dessert very much!
Woohoo! I’m so happy to hear it Vikki!
This is the perfect recipe for my parents. They need a treat once in while but not too much!
So sweet of you to think of them! I hope they enjoy it!
Such a simple yet absolutely delicious dessert everyone is guaranteed to love!
Thanks Amanda! 🙂
This PB bars recipe is SPOT ON! Loved it!
Woohoo! So happy you enjoyed it!
I love the small batch recipe… otherwise I’d definitely eat way too many!
LOL same here! 😂
I think that is such a great idea. I’m making these for my and my husband’s next date night.
Aww how sweet! I think he’s really gonna enjoy it. 😉