This post may contain affiliate links. Please see our disclosure policy.
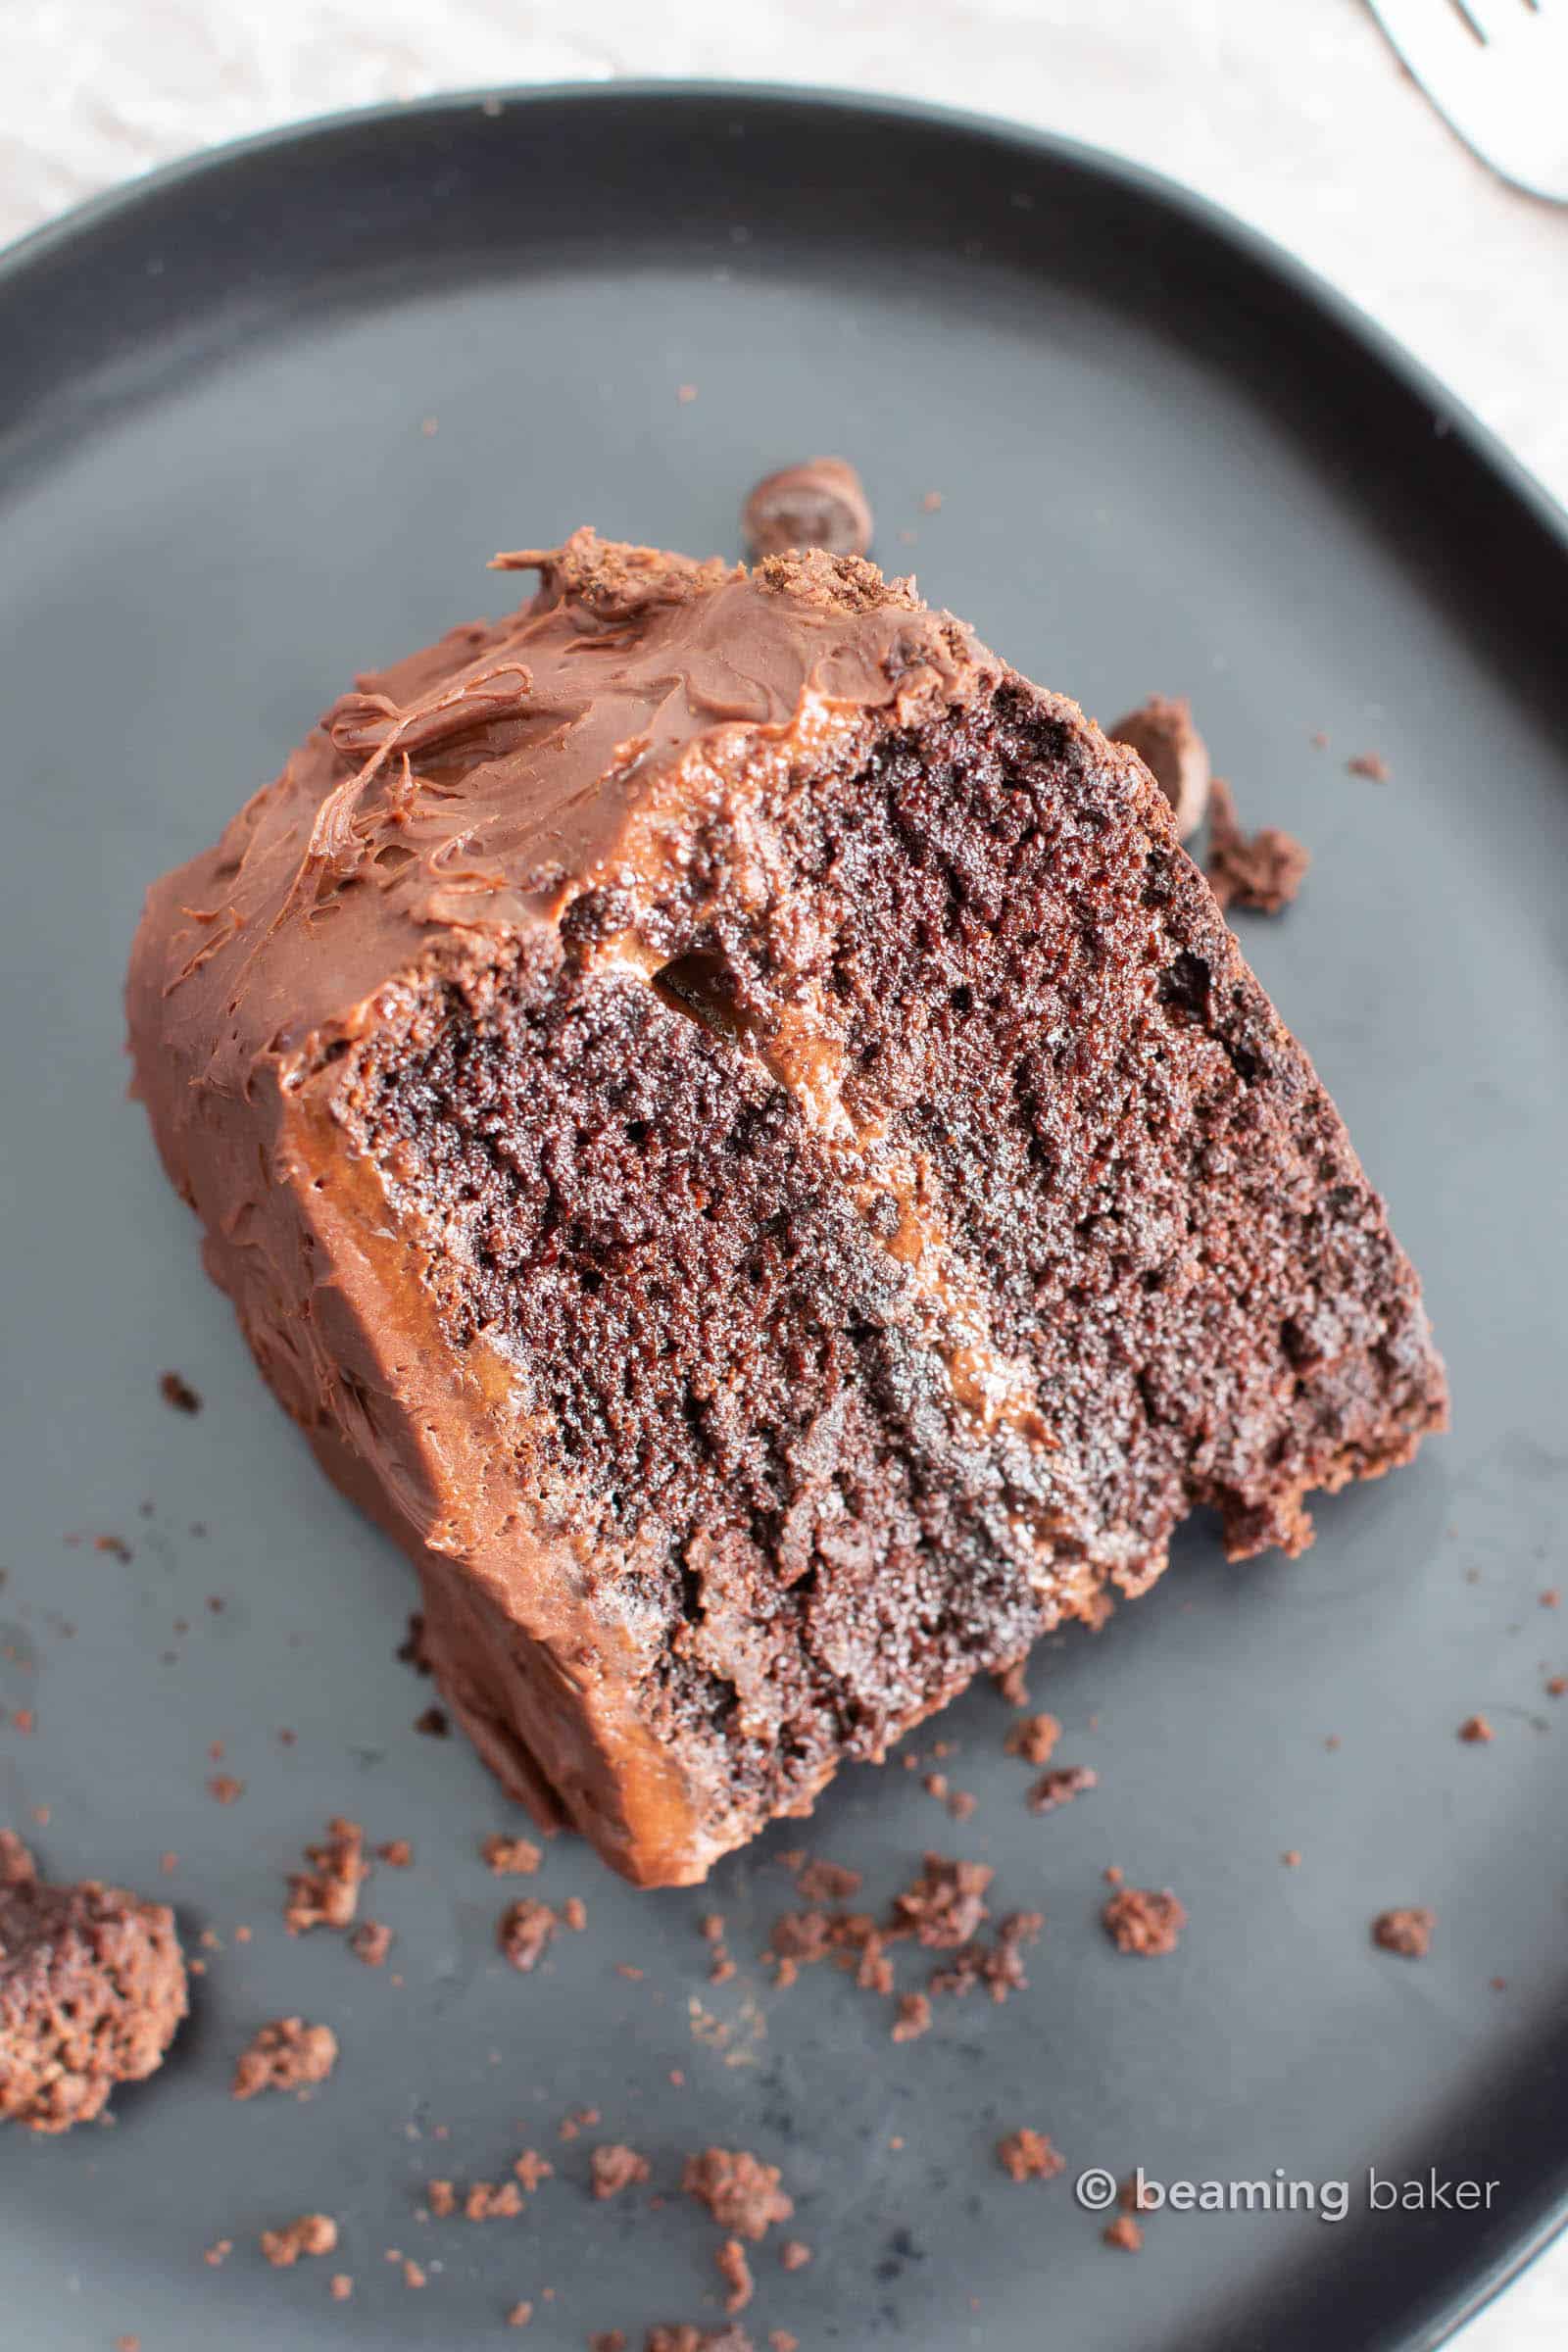
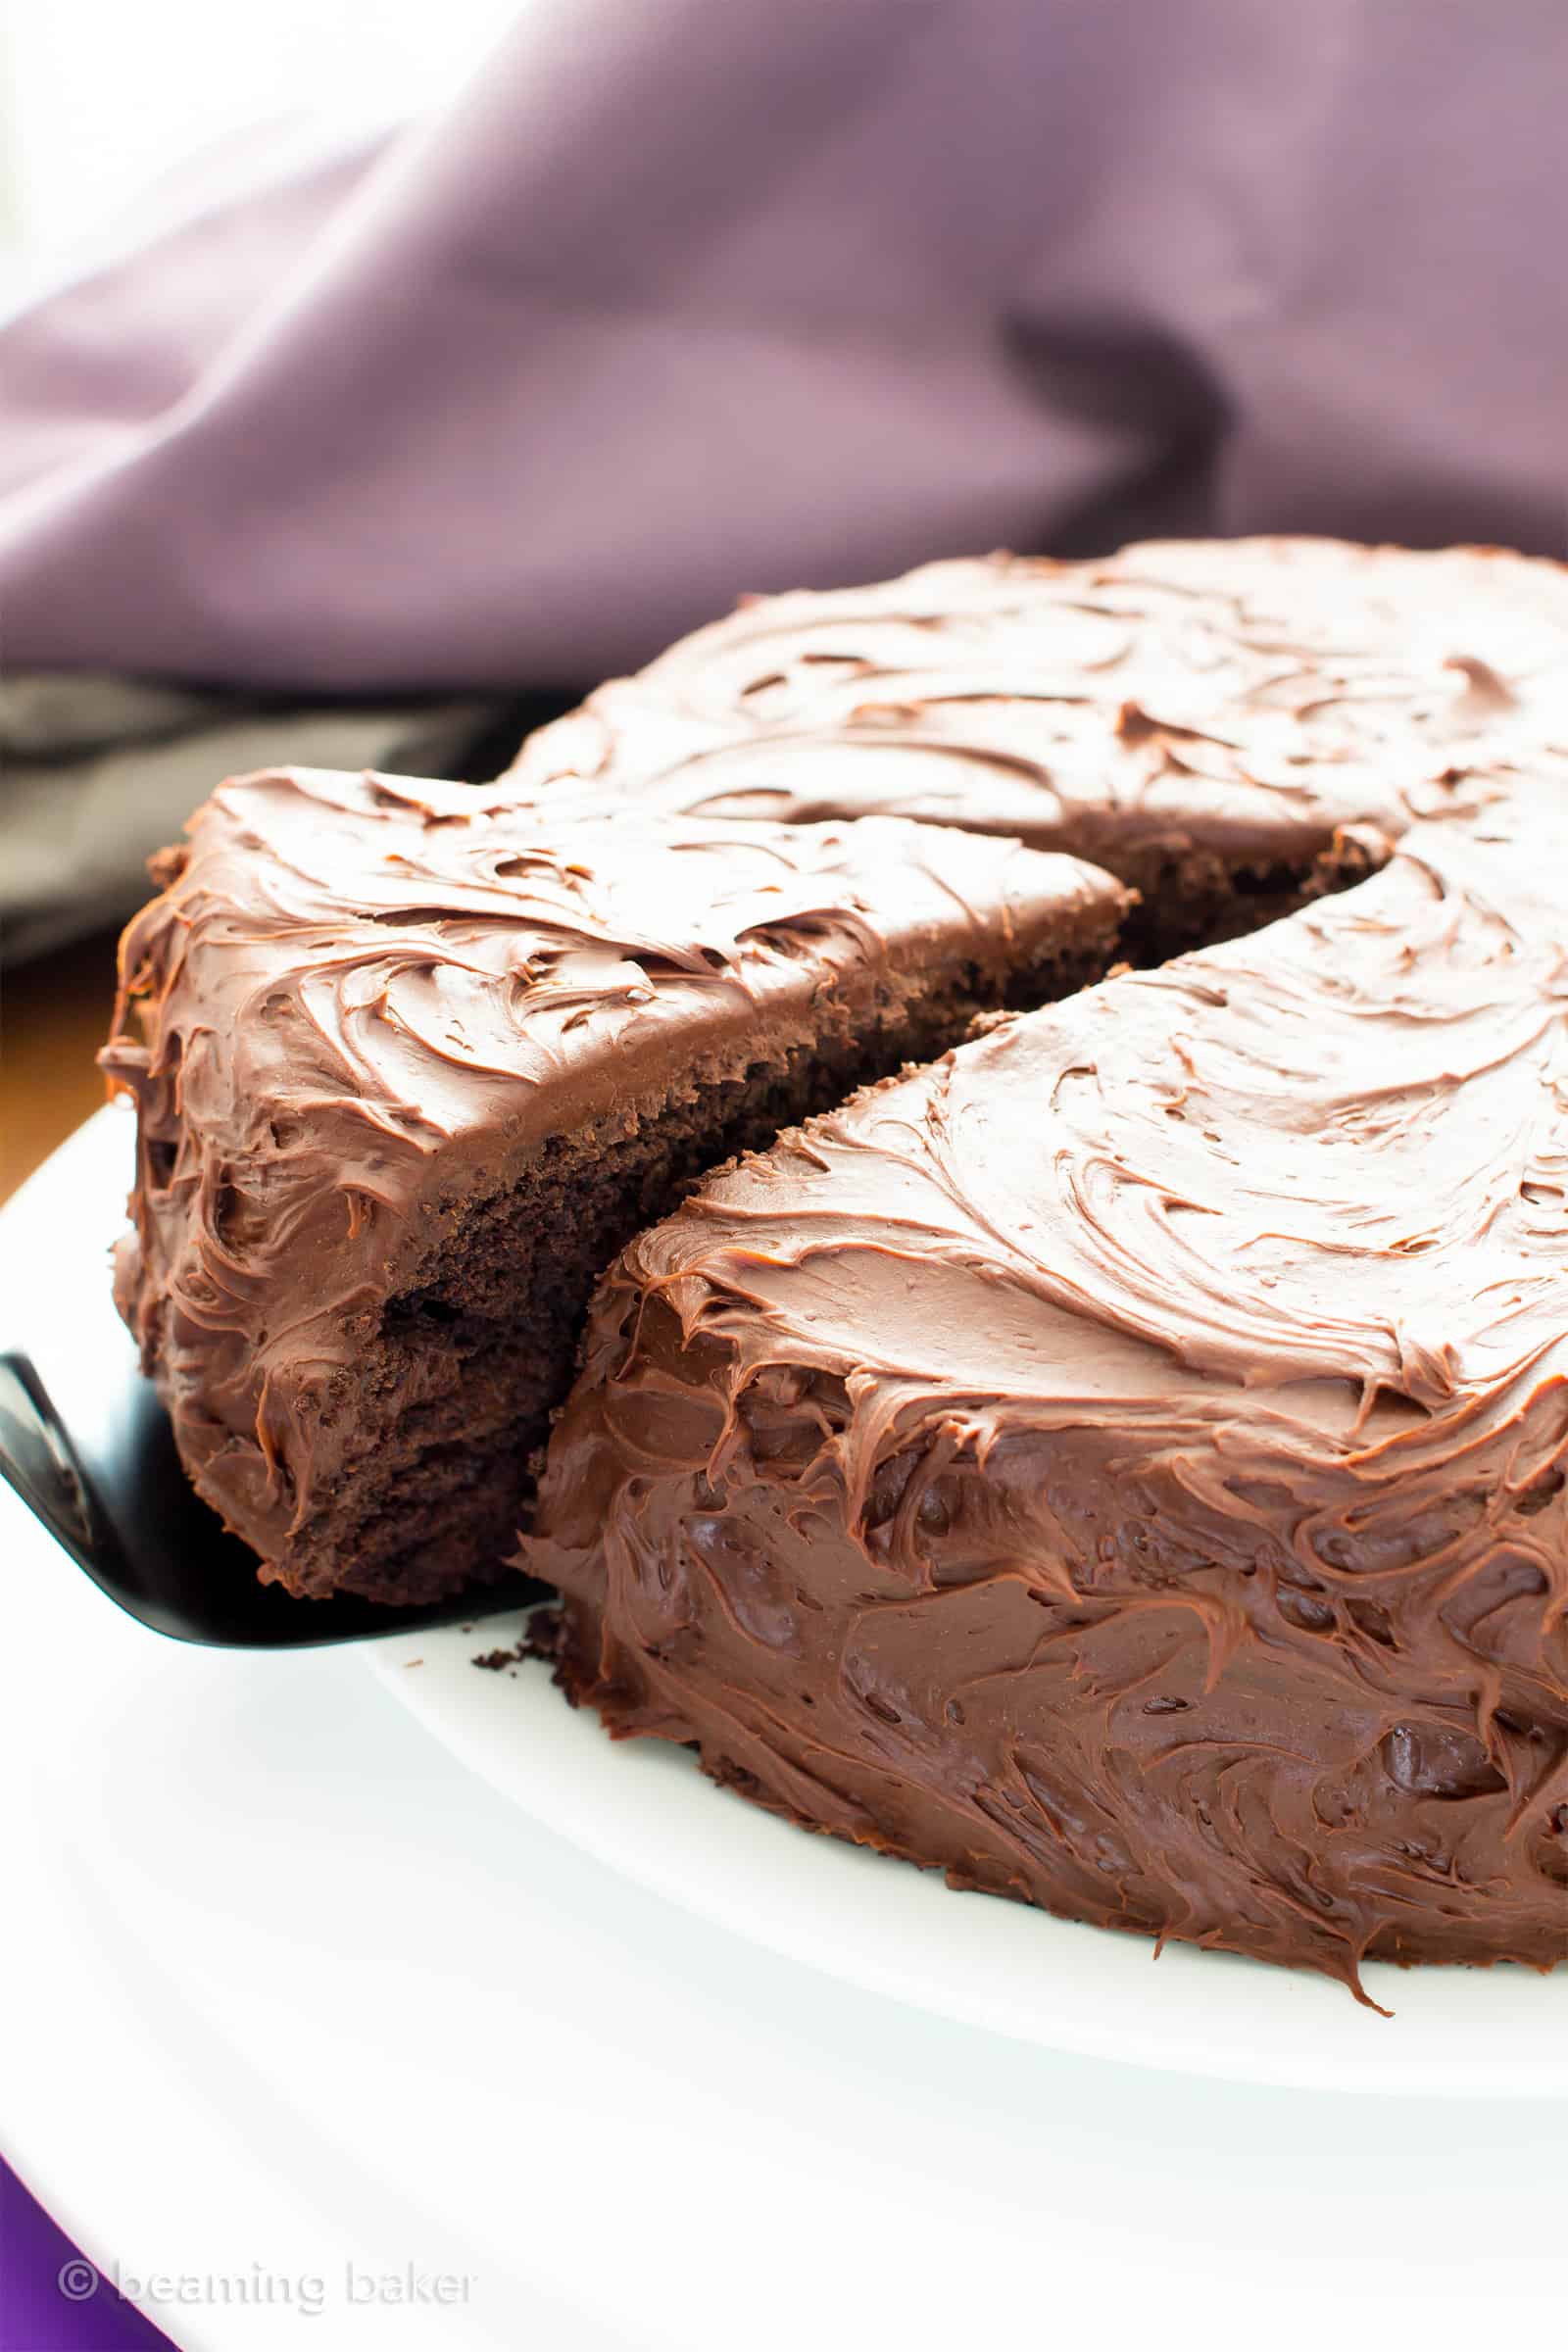
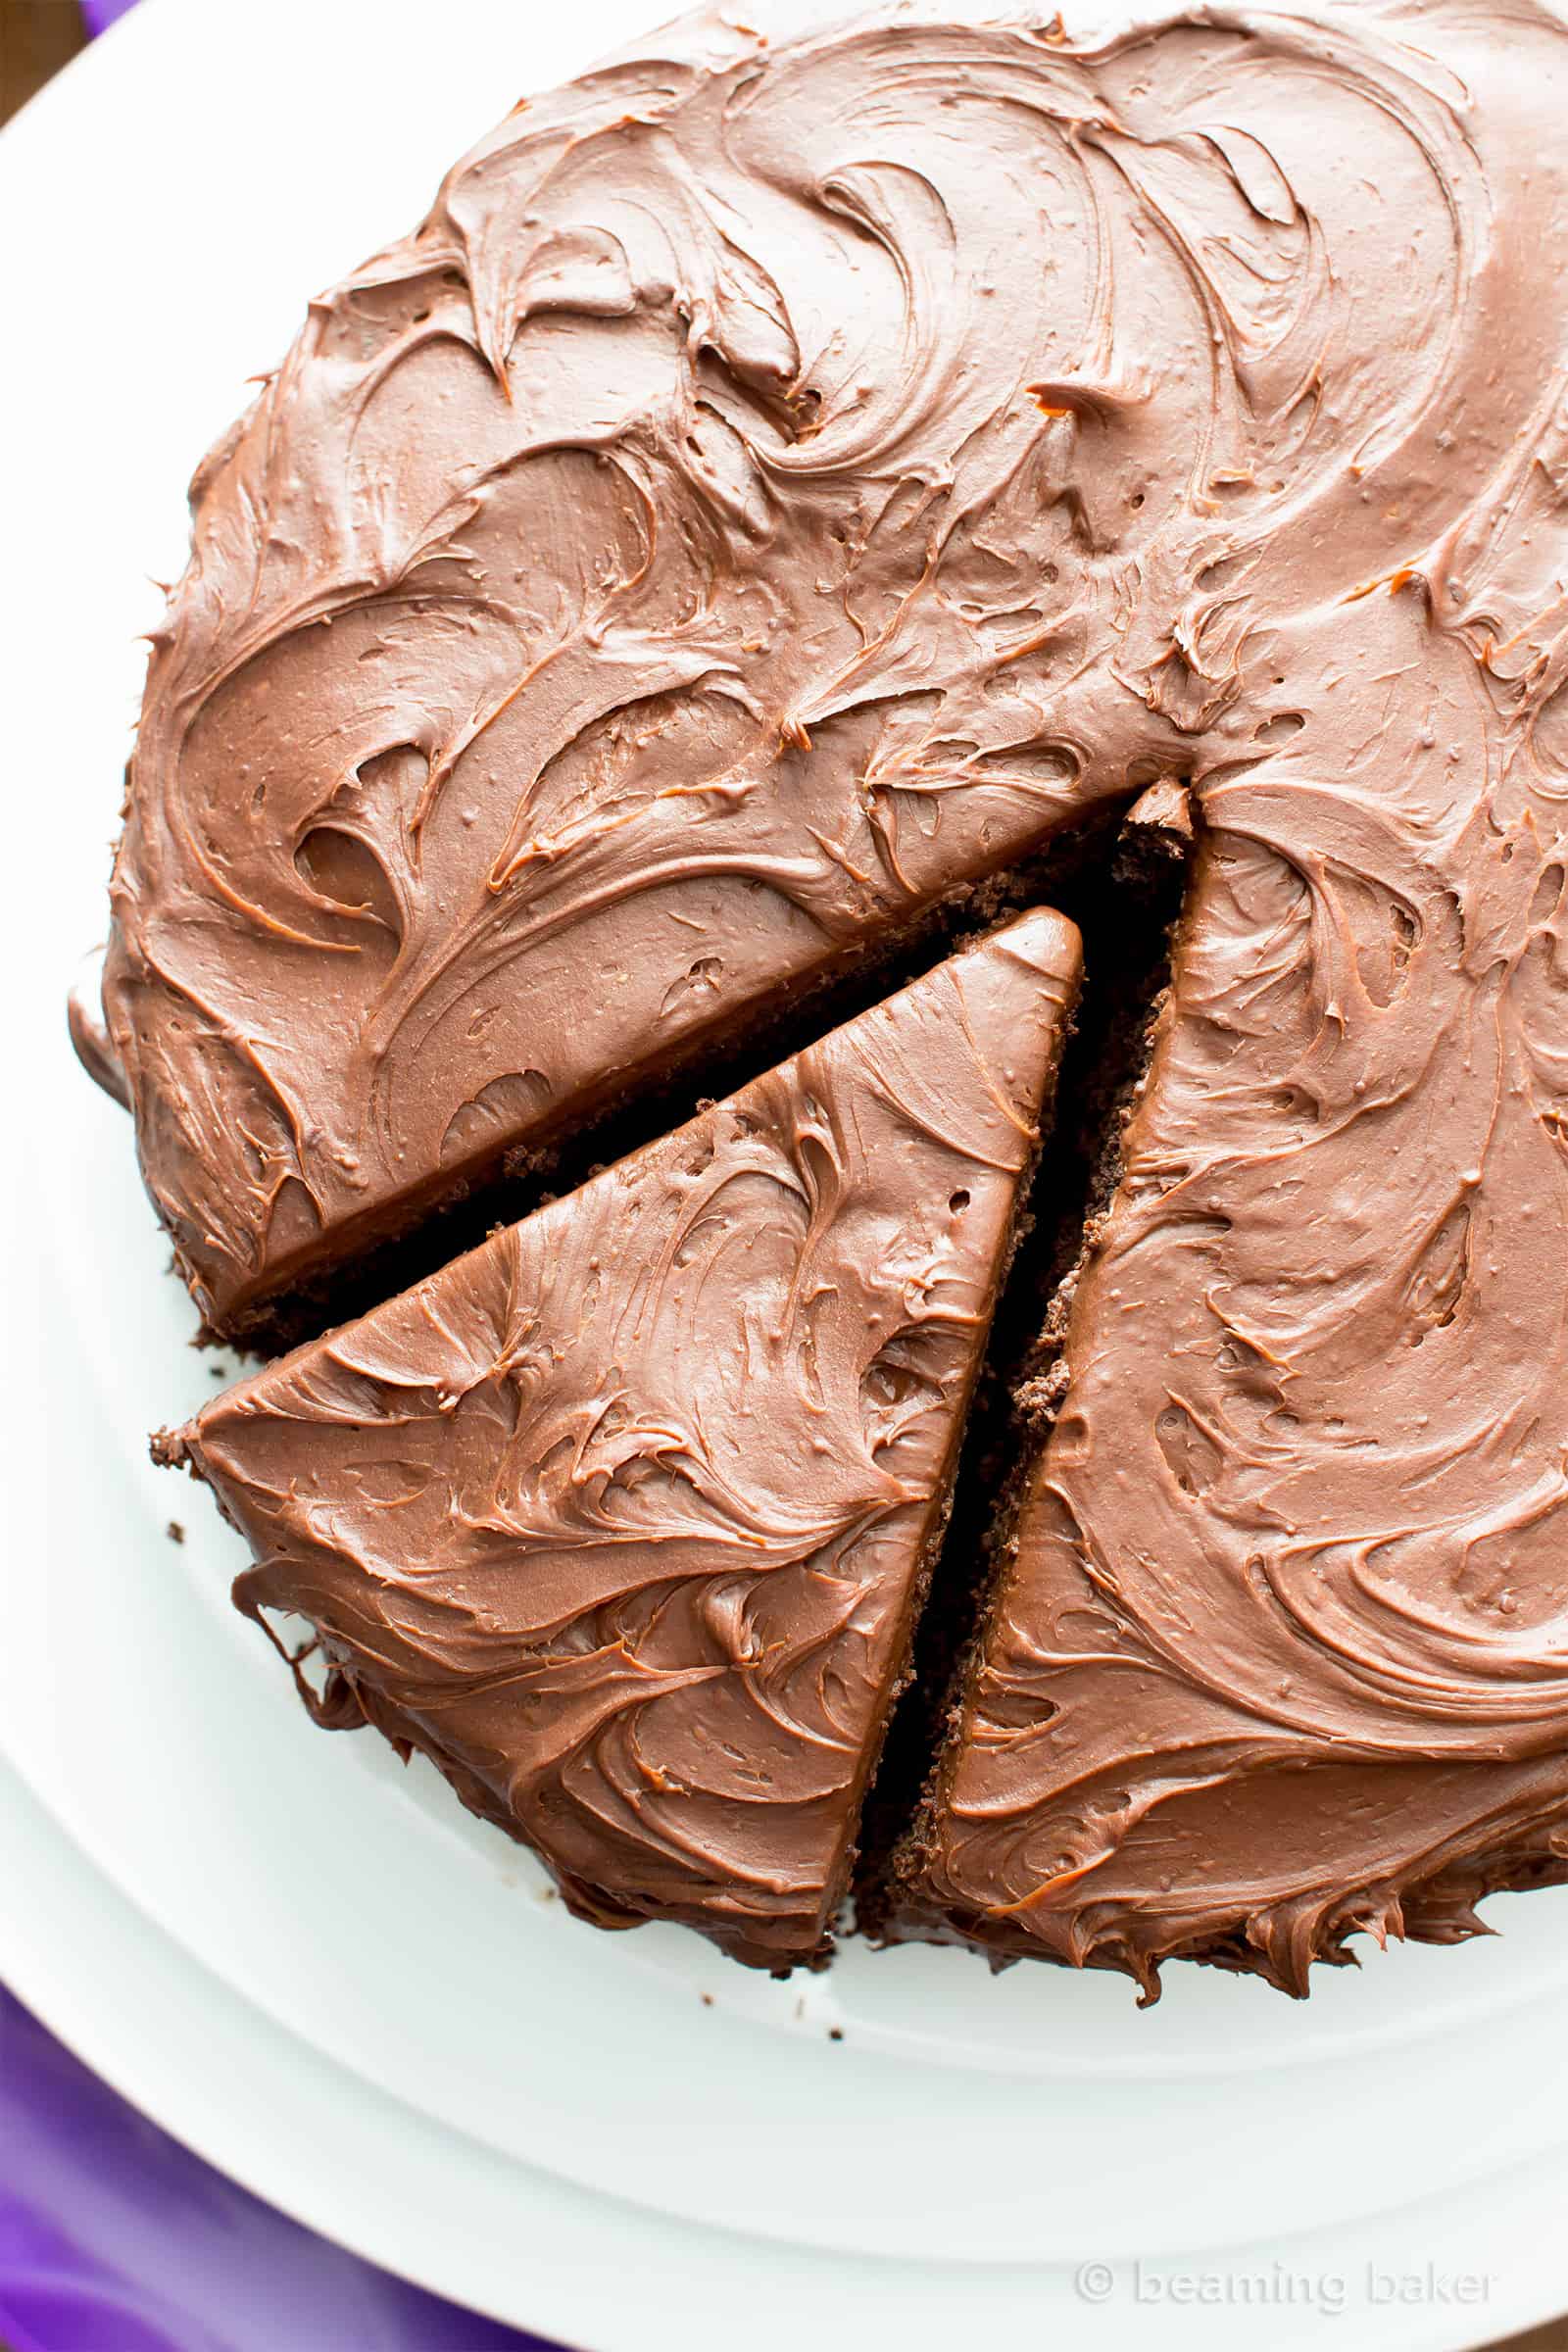
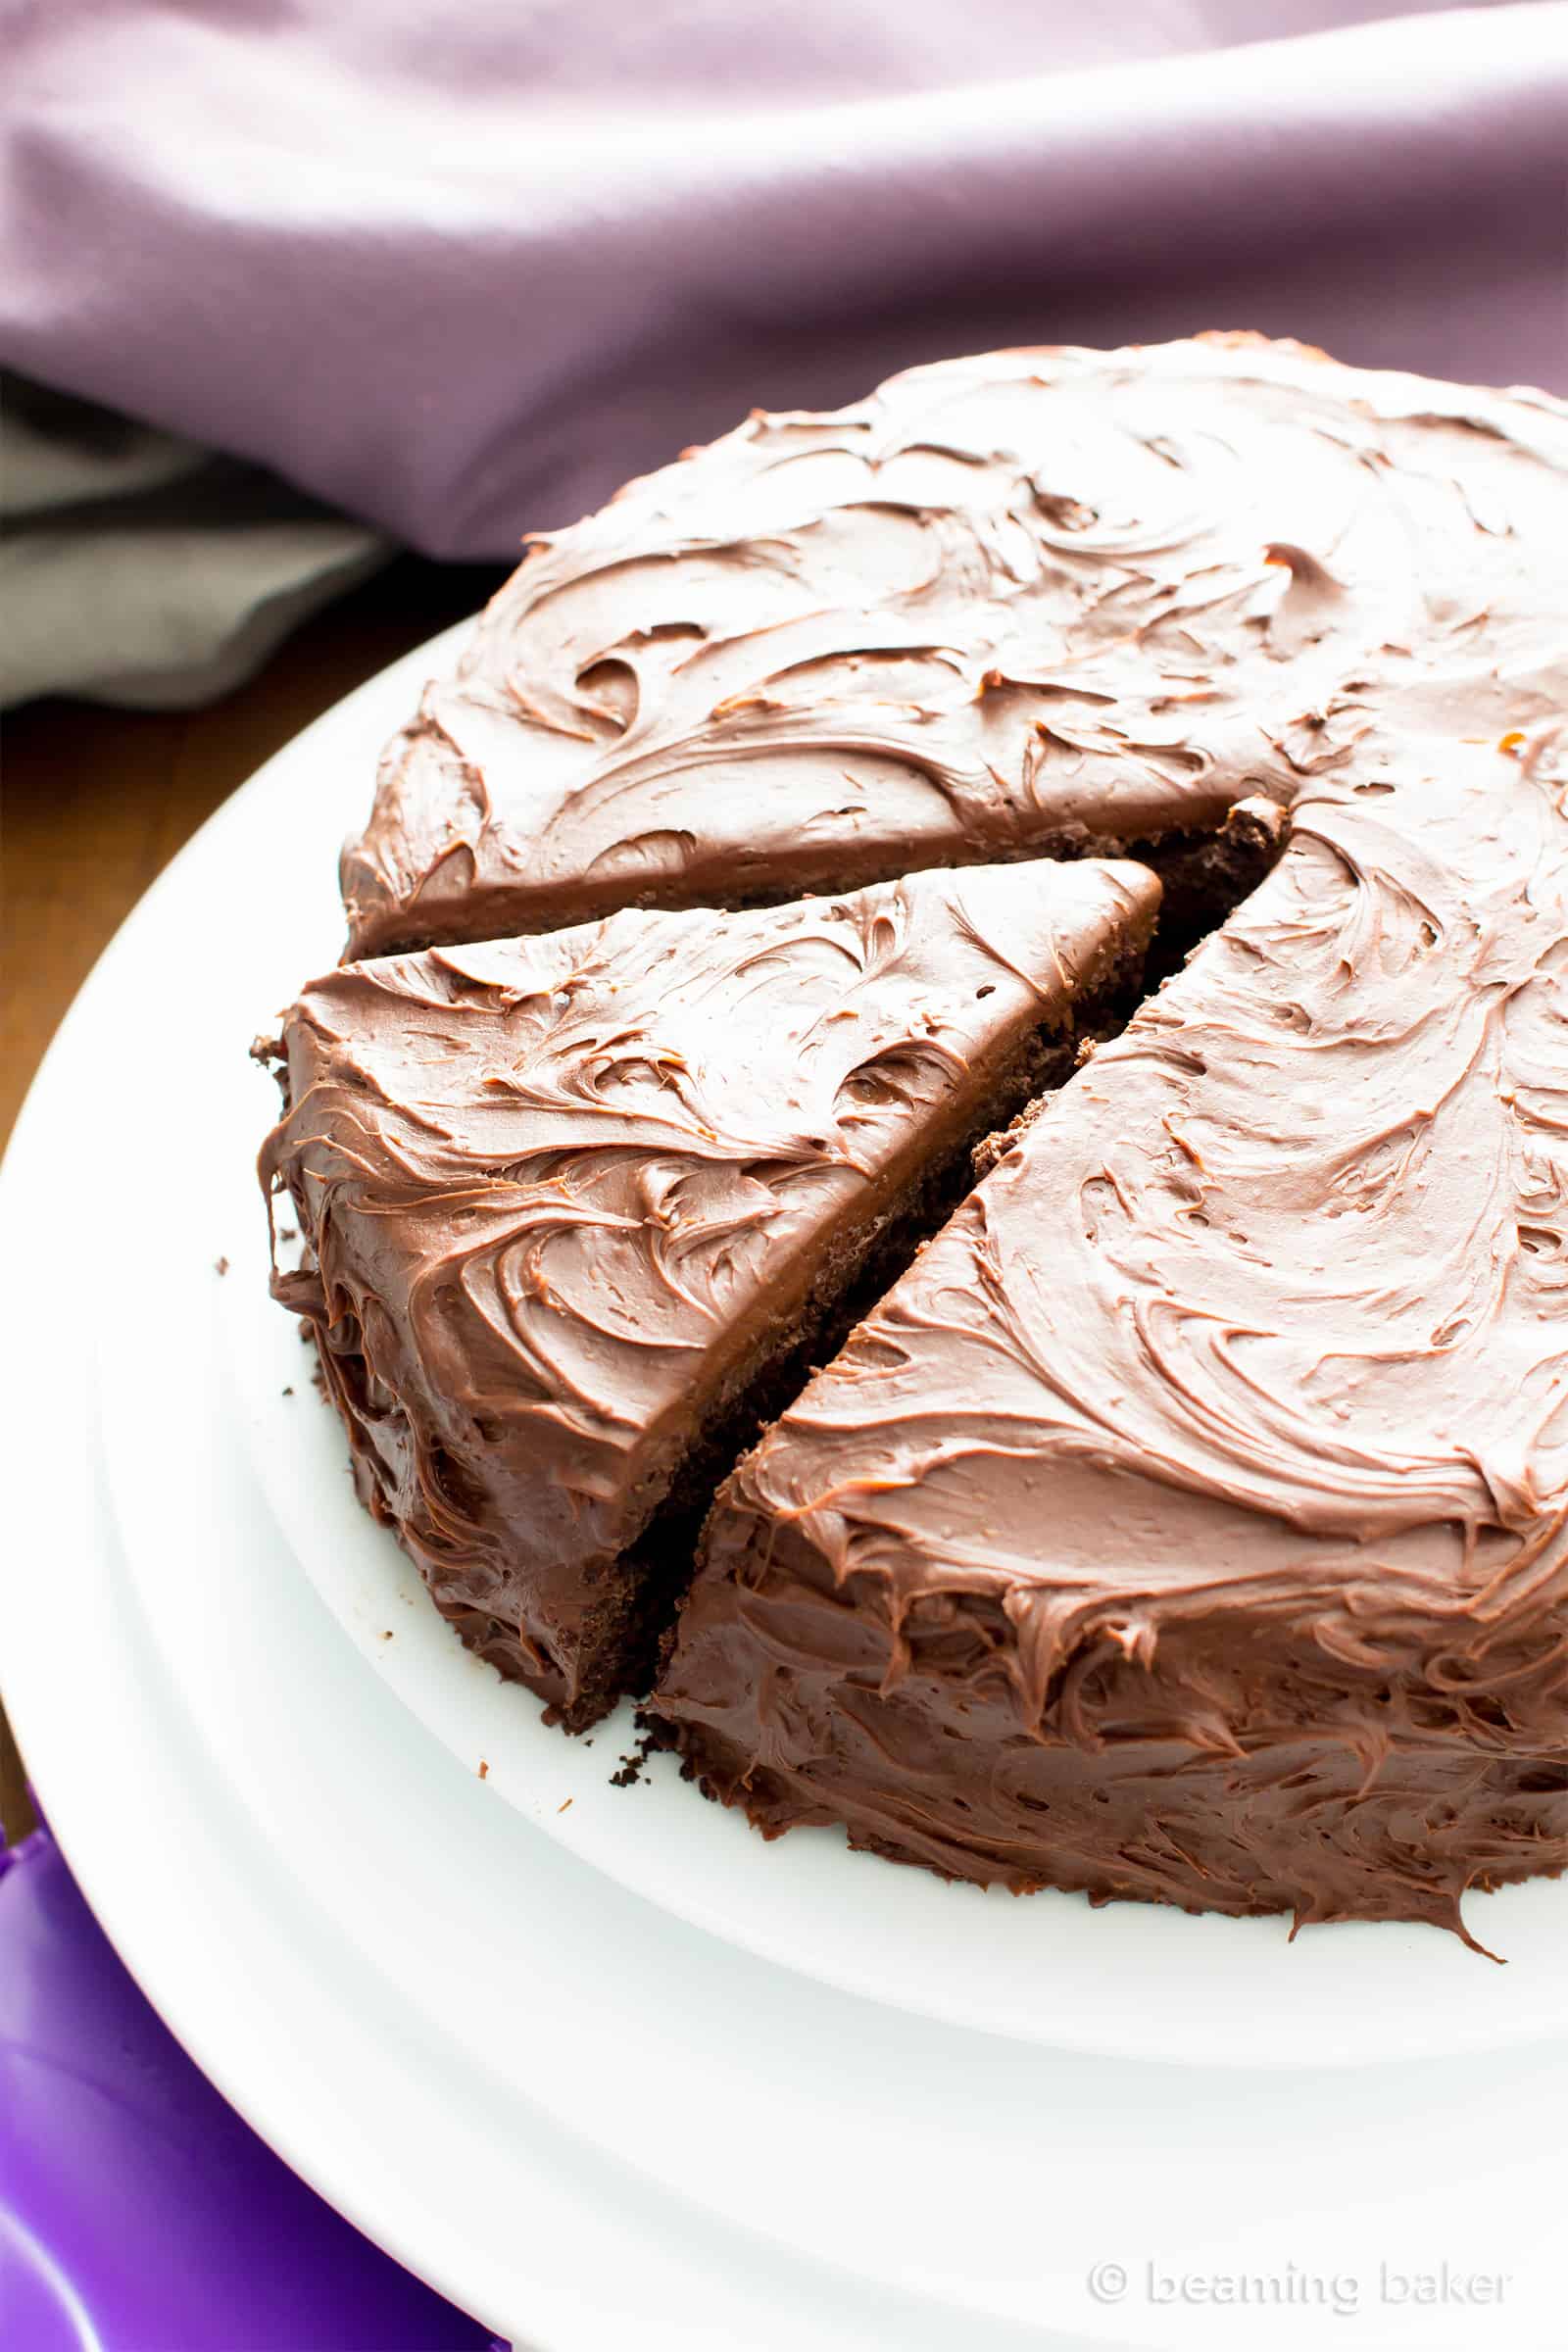
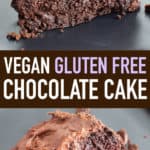
Two layers of rich chocolate cake are adorned with dreamy chocolate frosting and packed with intense chocolate flavor for the best vegan gluten free cake! The best vegan gluten free chocolate cake and my absolute favorite.
The Best Vegan Gluten Free Chocolate Cake Recipe Ever
For real. Today’s vegan gluten free chocolate cake is the best one ever! Think: rich chocolate cake, creamy, dreamy chocolate frosting, and beautiful cake layers… all for the best vegan gluten free cake you’ve ever made (and/or eaten!).
This cake recipe is not only one of the most popular recipes on Beaming Baker, it’s also the highest rated. Wanna see what the fuss is about? Grab your cake pans, a big ‘old container of your favorite cocoa powder and head into the kitchen with me. It’s time to make cake!
If you’re looking for more cakes and cupcakes to try, be sure to check out my carrot cake cupcakes.
All the Ingredients You Need to Make Vegan Gluten Free Cake
For the Cake
- Gluten Free Oat Flour
- Unsweetened Cocoa Powder
- Water + Non-Dairy Milk
- Melted Coconut Oil
- Coconut Sugar + Pure Maple Syrup
- Baking Soda, Salt, Vanilla Extract
For the Frosting
How to Make Vegan Gluten Free Chocolate Cake
Prepare the Frosting
First things first, prepare the frosting. You’ll want to follow every step up until you’re about to whip the frosting. Don’t whip the frosting until your cake is cooled and ready to be frosted.
Make the Cake
Preheat
I start every recipe by preheating the oven, then preparing my baking pan. Head on over to your oven and preheat it to 350°F. Grease your cake pans with coconut oil. Then, dust with cocoa powder until completely covered. Or, use a parchment paper circle at the bottom of the pan.
Sift
Set out a large mixing bowl and sift together your dry ingredients: gluten free oat flour, cocoa powder, baking soda and salt. Set it aside for later.
Heat
Add the water and milk to a microwave-safe bowl. You’ll heat the two ingredients together just until it’s warm—this will prevent the melted coconut oil from solidifying once it touches these liquids.
Whisk the Wet Ingredients, Add the Dry
Set out a medium mixing bowl and add in all of the wet ingredients: the heated water and milk, melted coconut oil, coconut sugar, maple syrup and vanilla. Whisk all the wet ingredients together until its well mixed. Now, pour the wet ingredients into the dry ingredients bowl. Make sure to use a rubber spatula to scrape the wet ingredient bowl clean. Now, whisk the wet and dry ingredients together just until no flour patches remain. You’ve just made your vegan gluten free cake batter!
Pour Batter & Bake
Pour the batter evenly into the two cake pans you prepared earlier. Bake for about 24 minutes.
Cool
Remove pans from the oven and cool for about 25 minutes in the pan, but on a cooling rack. Then, gently remove the cakes from the pan and transfer directly onto the cooling rack to complete cooling, about 1 hour.
Frost, Slice and Enjoy!
Now, it’s time to whip the frosting! Whip until creamy and smooth, then frost the cake, slice and enjoy the best vegan gluten free cake!
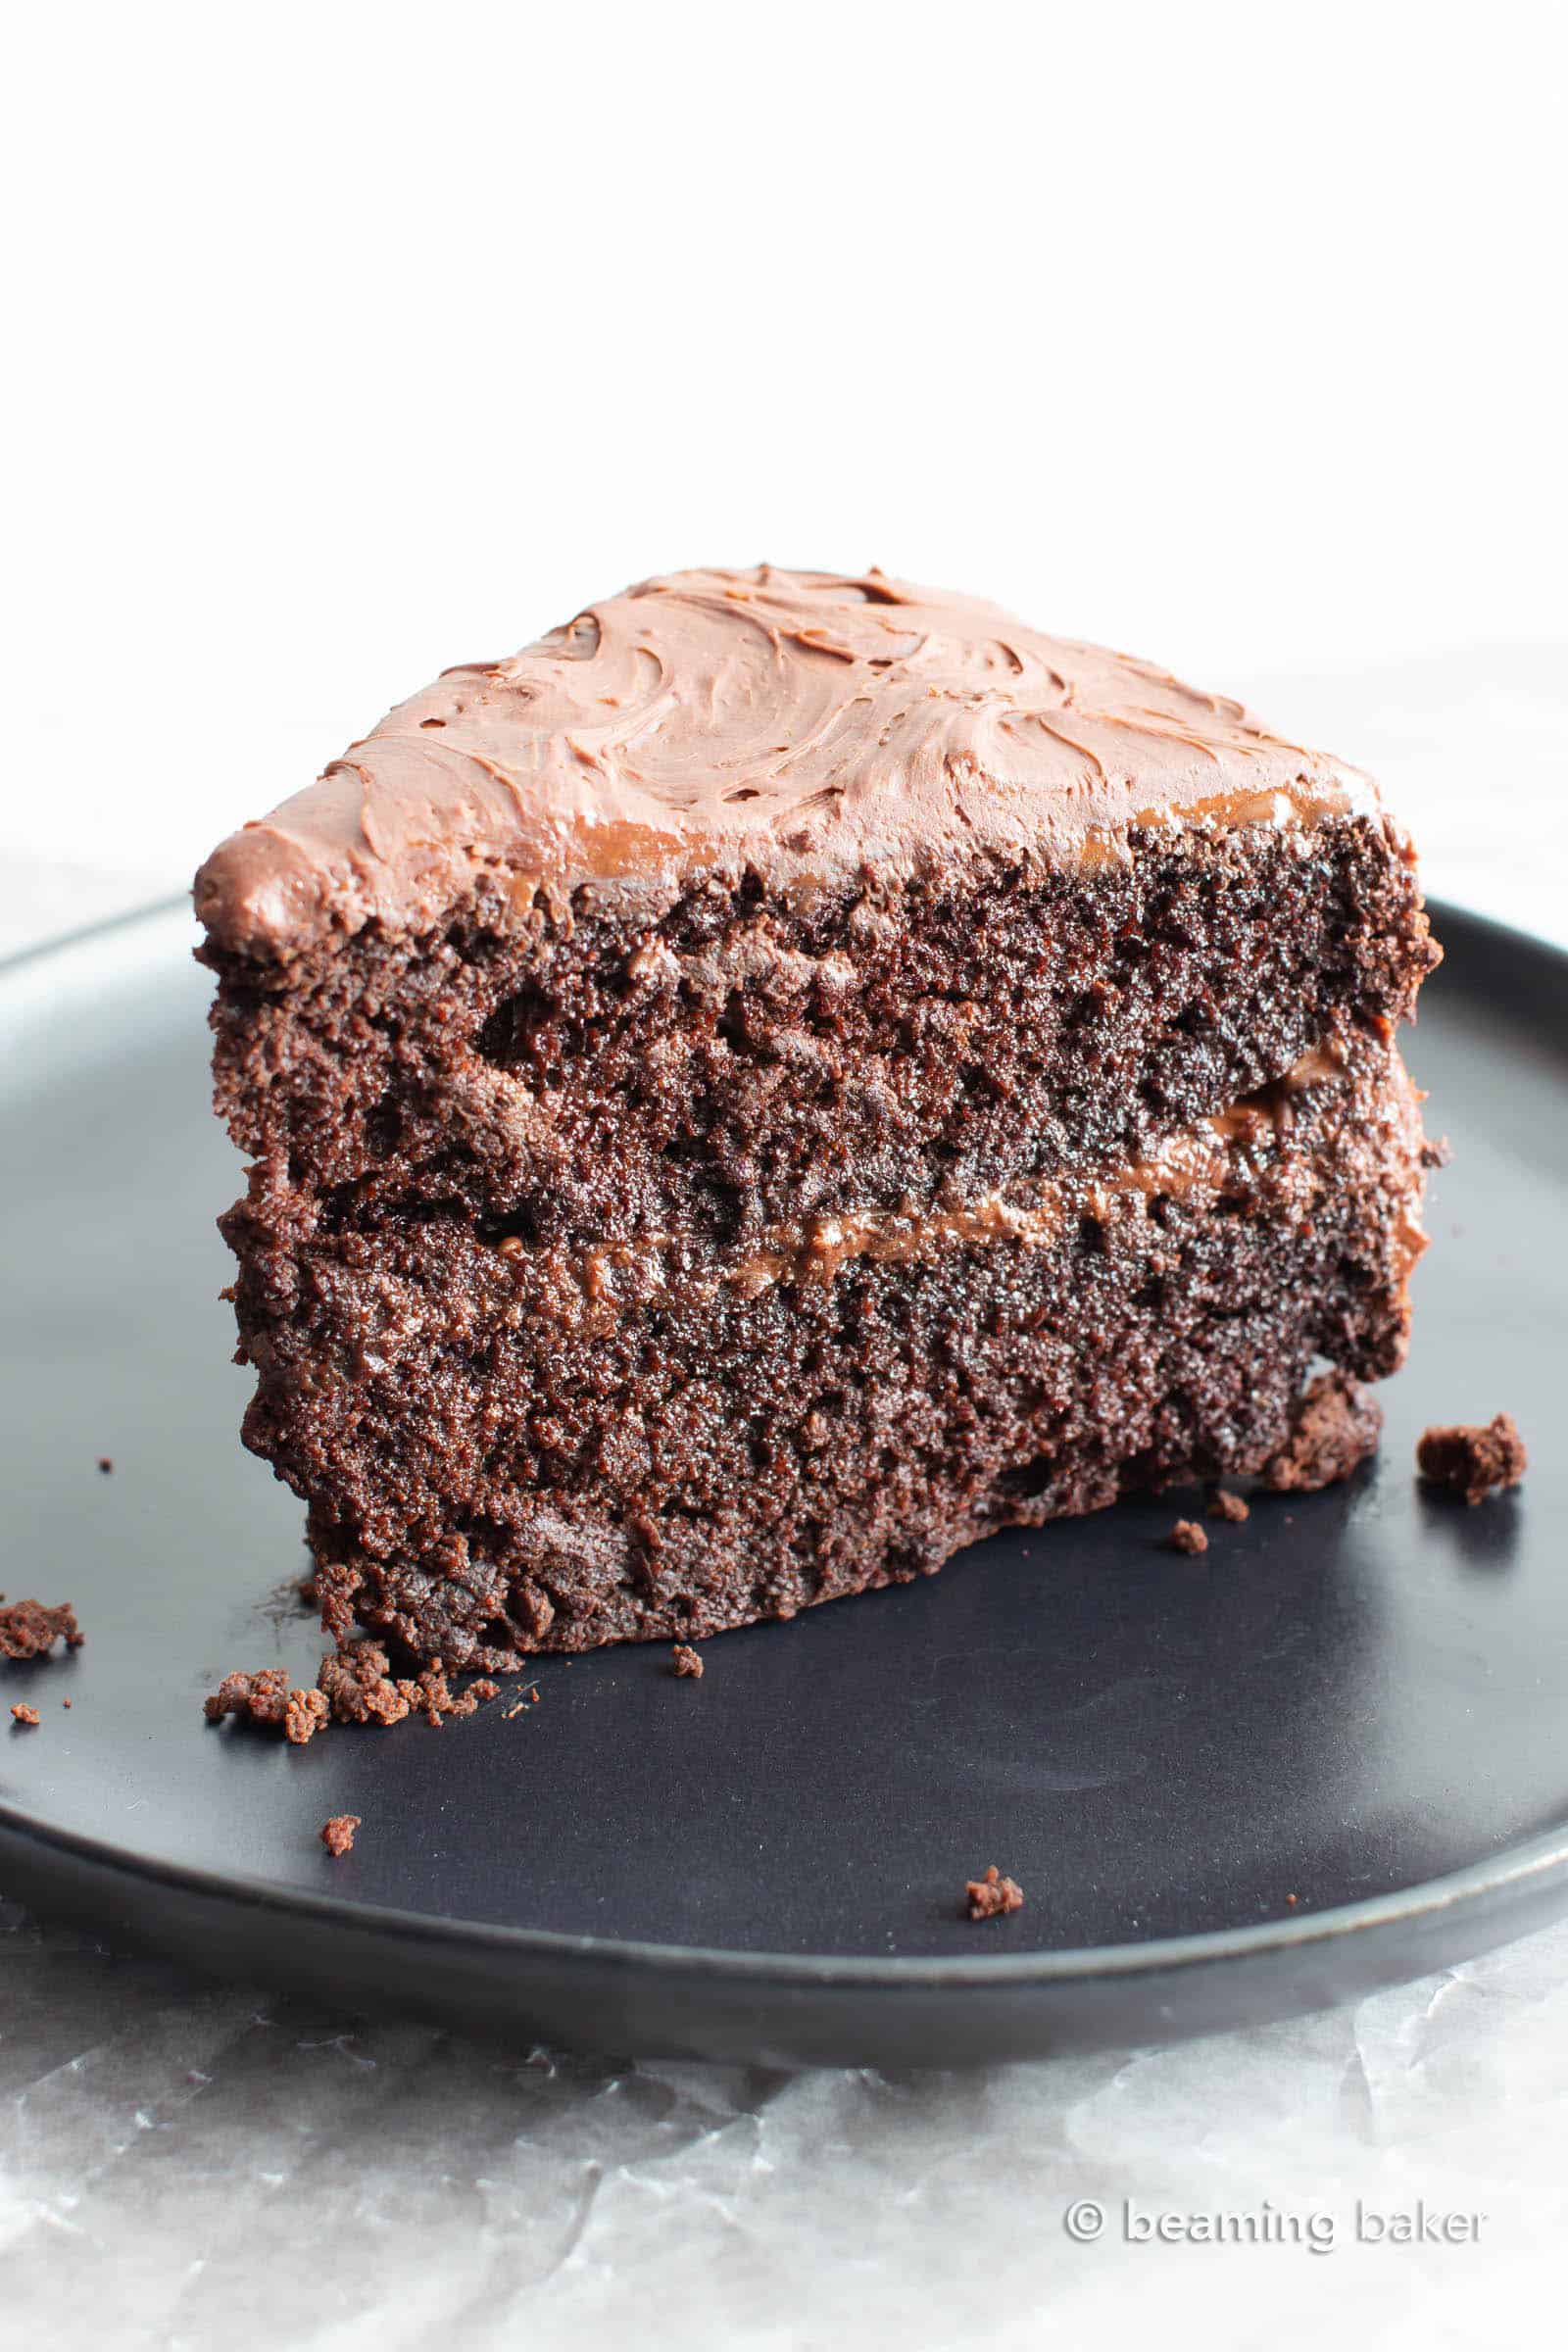
The Taste: Vegan Gluten Free Cake: Chocolate Edition
This vegan gluten free cake is one of the most popular on the internet for a reason. It’s GOOD. Like, hella good.
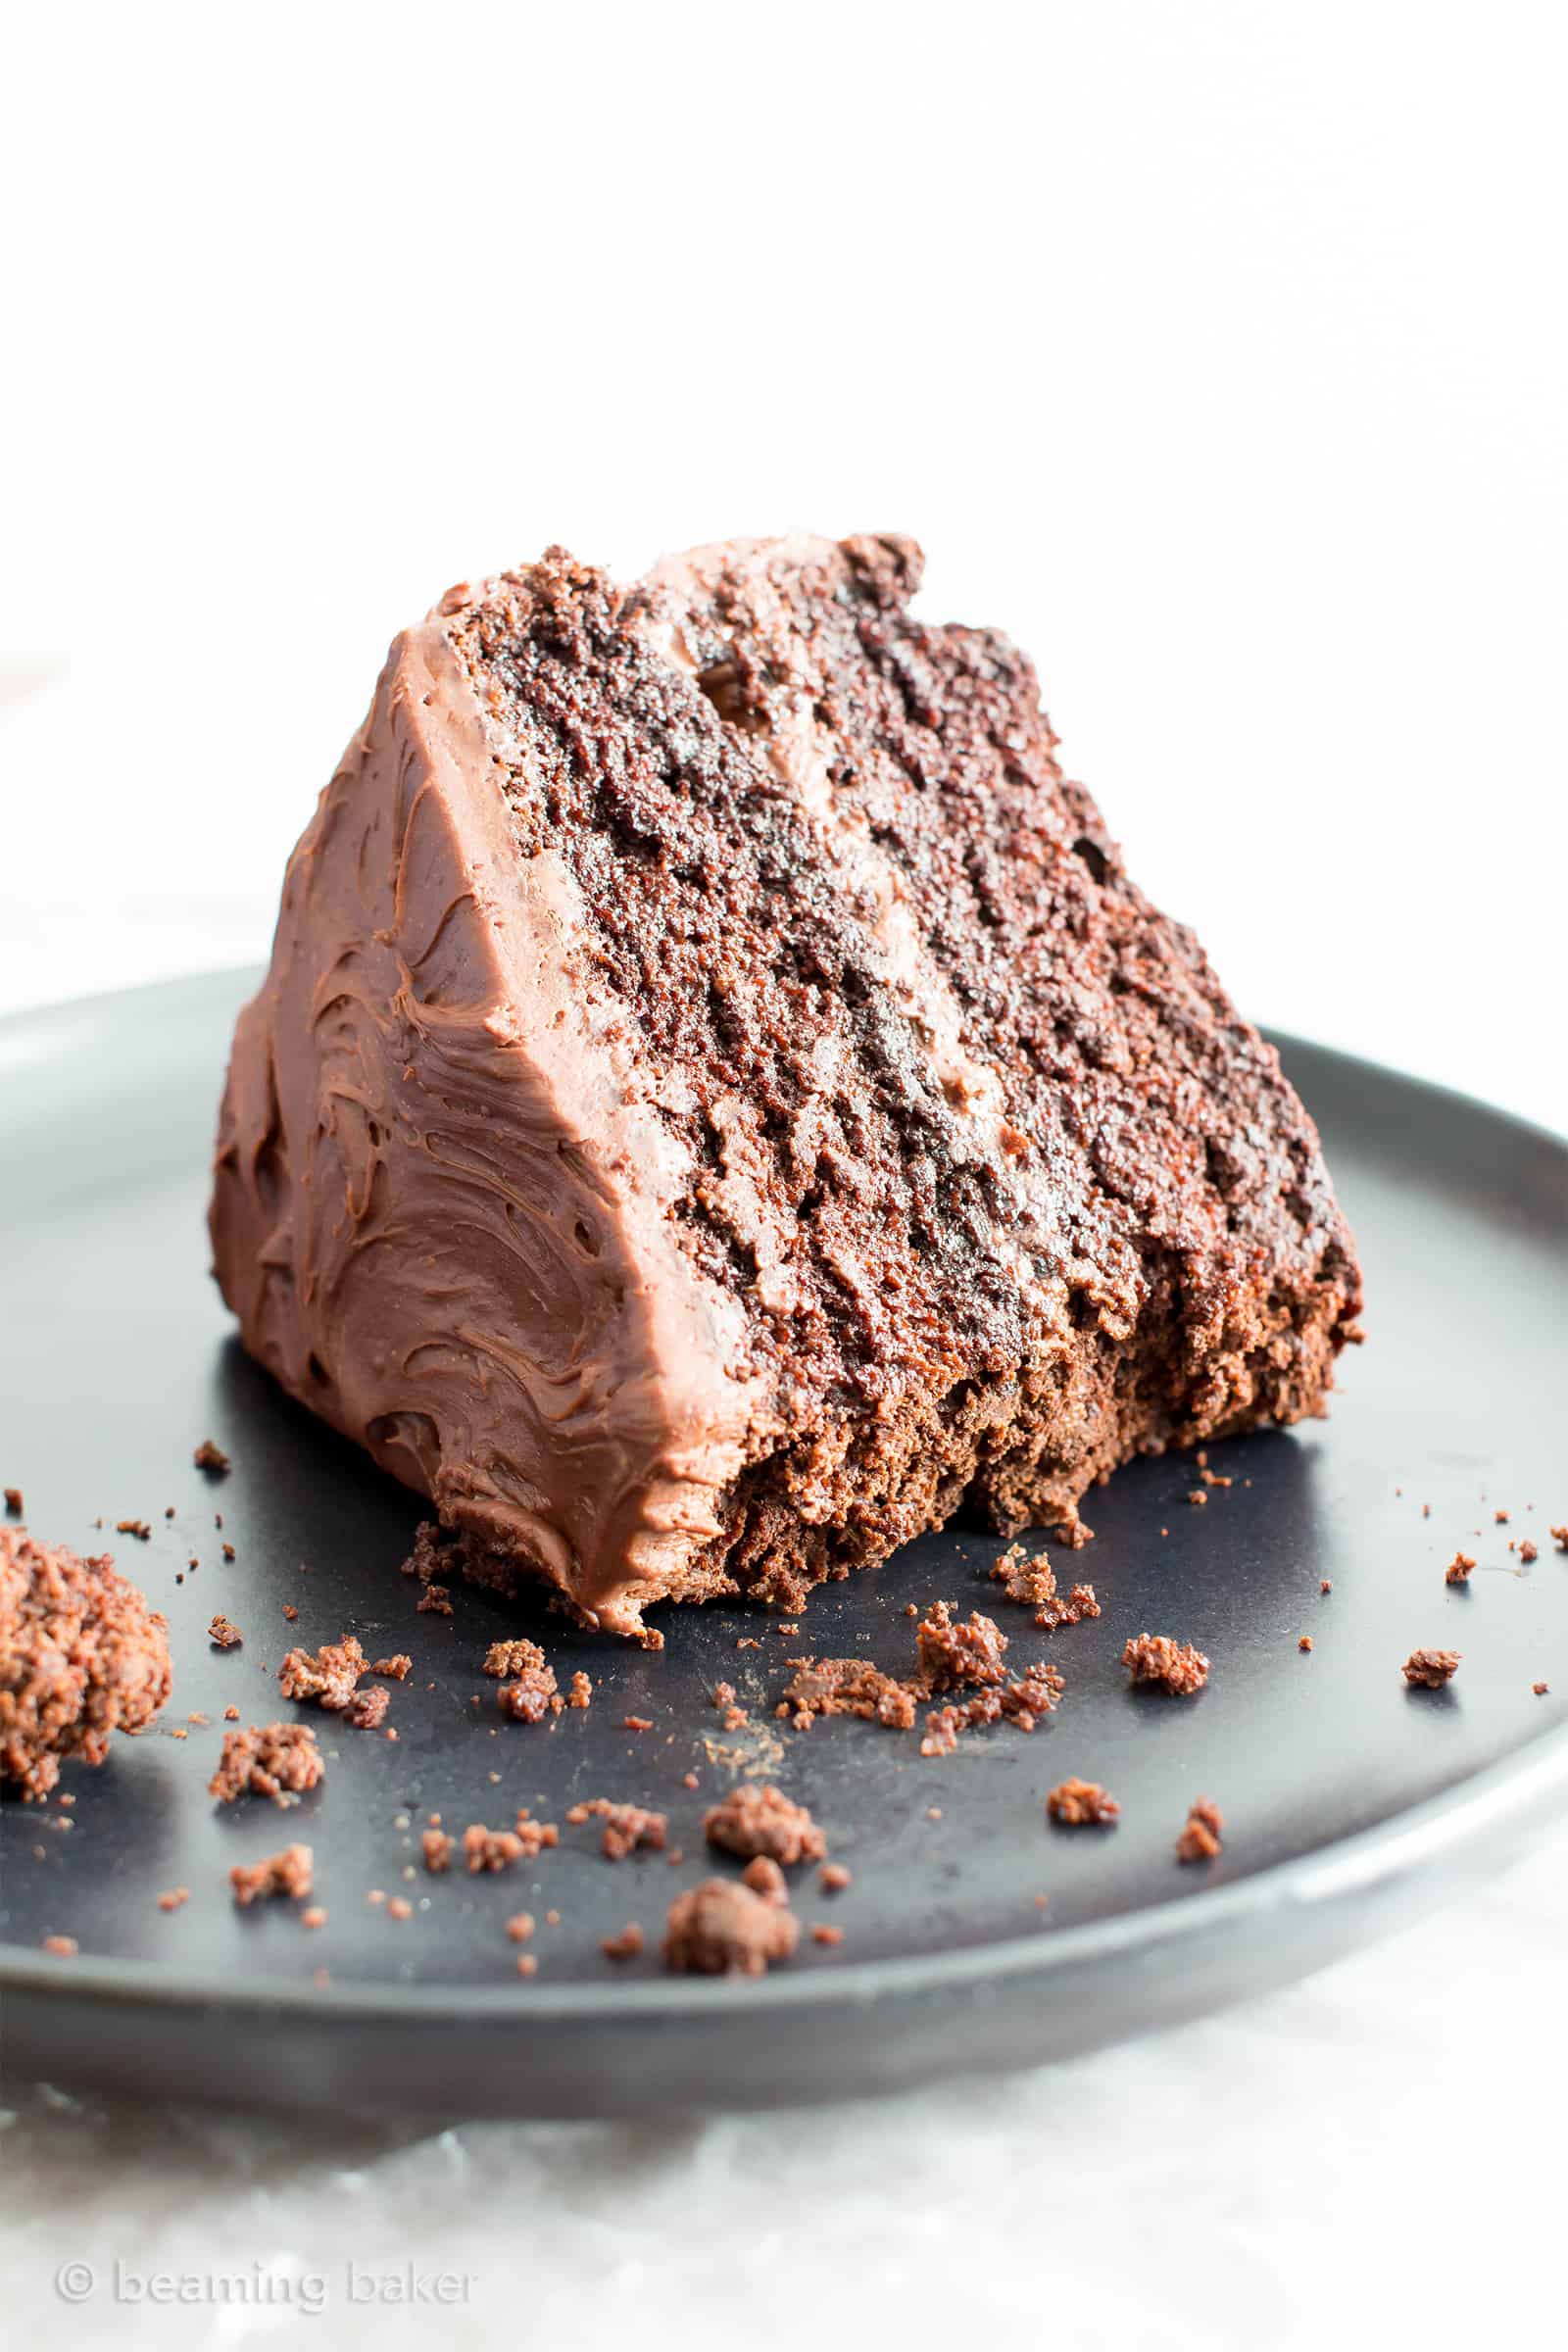
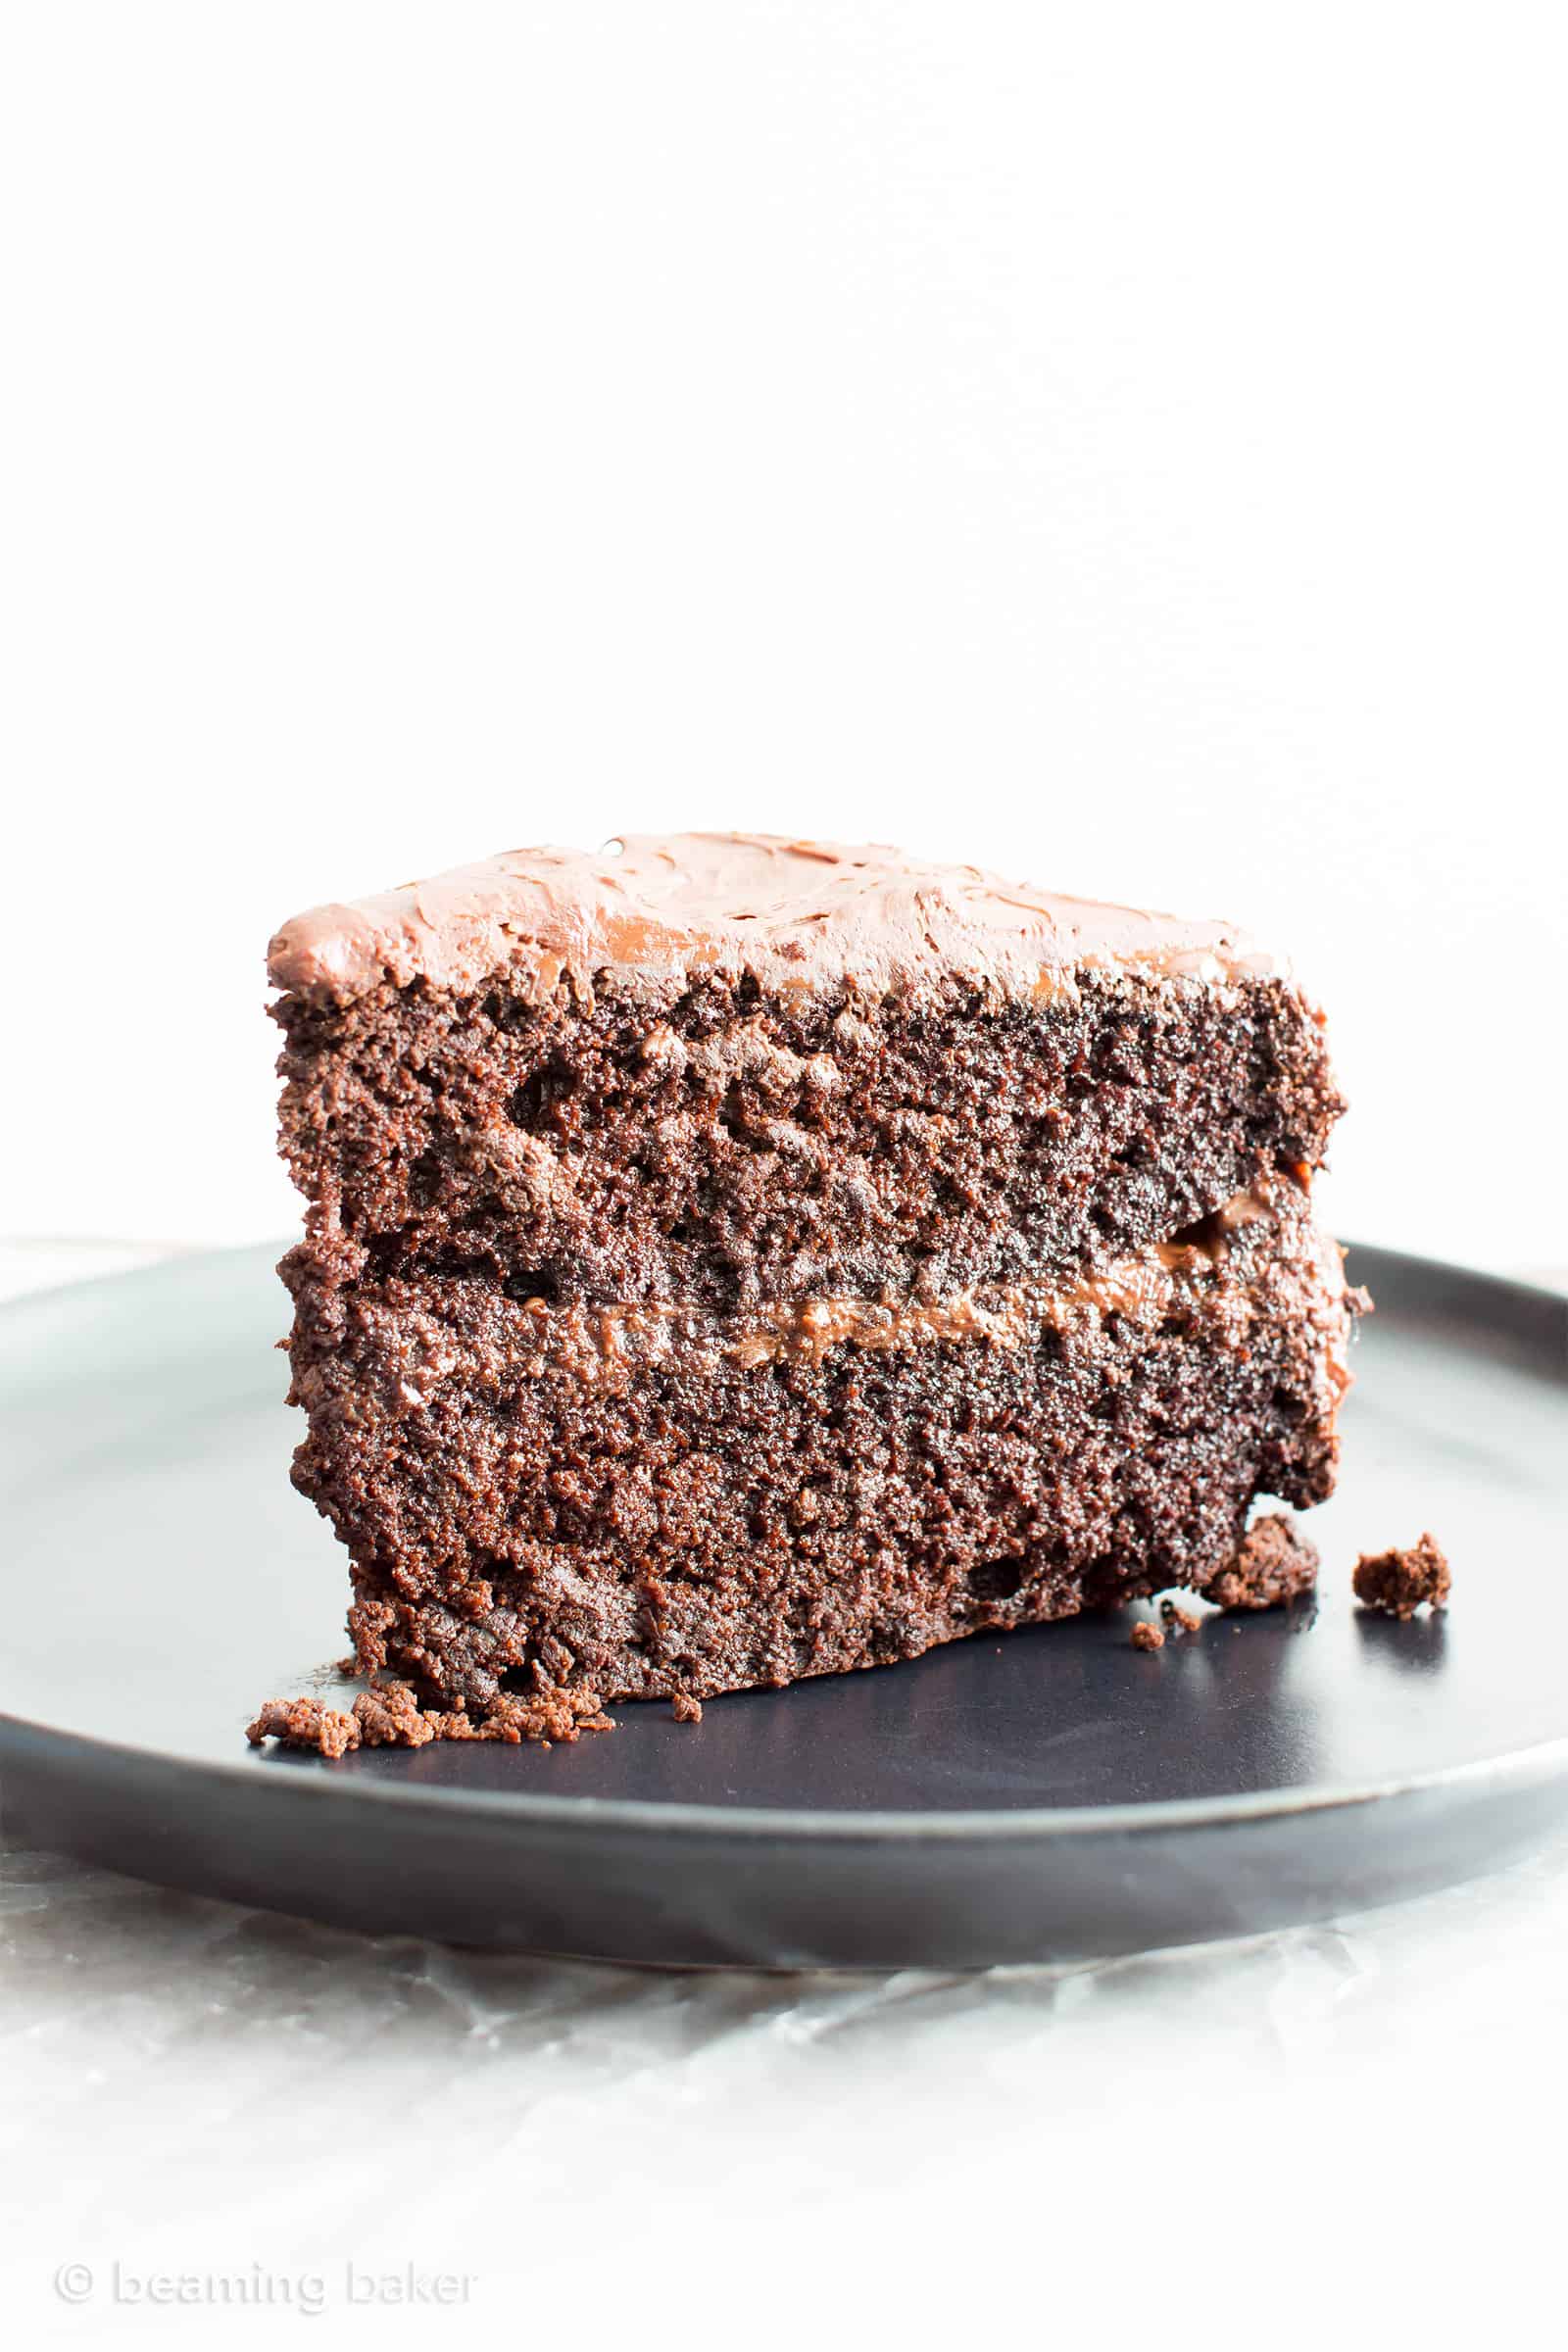
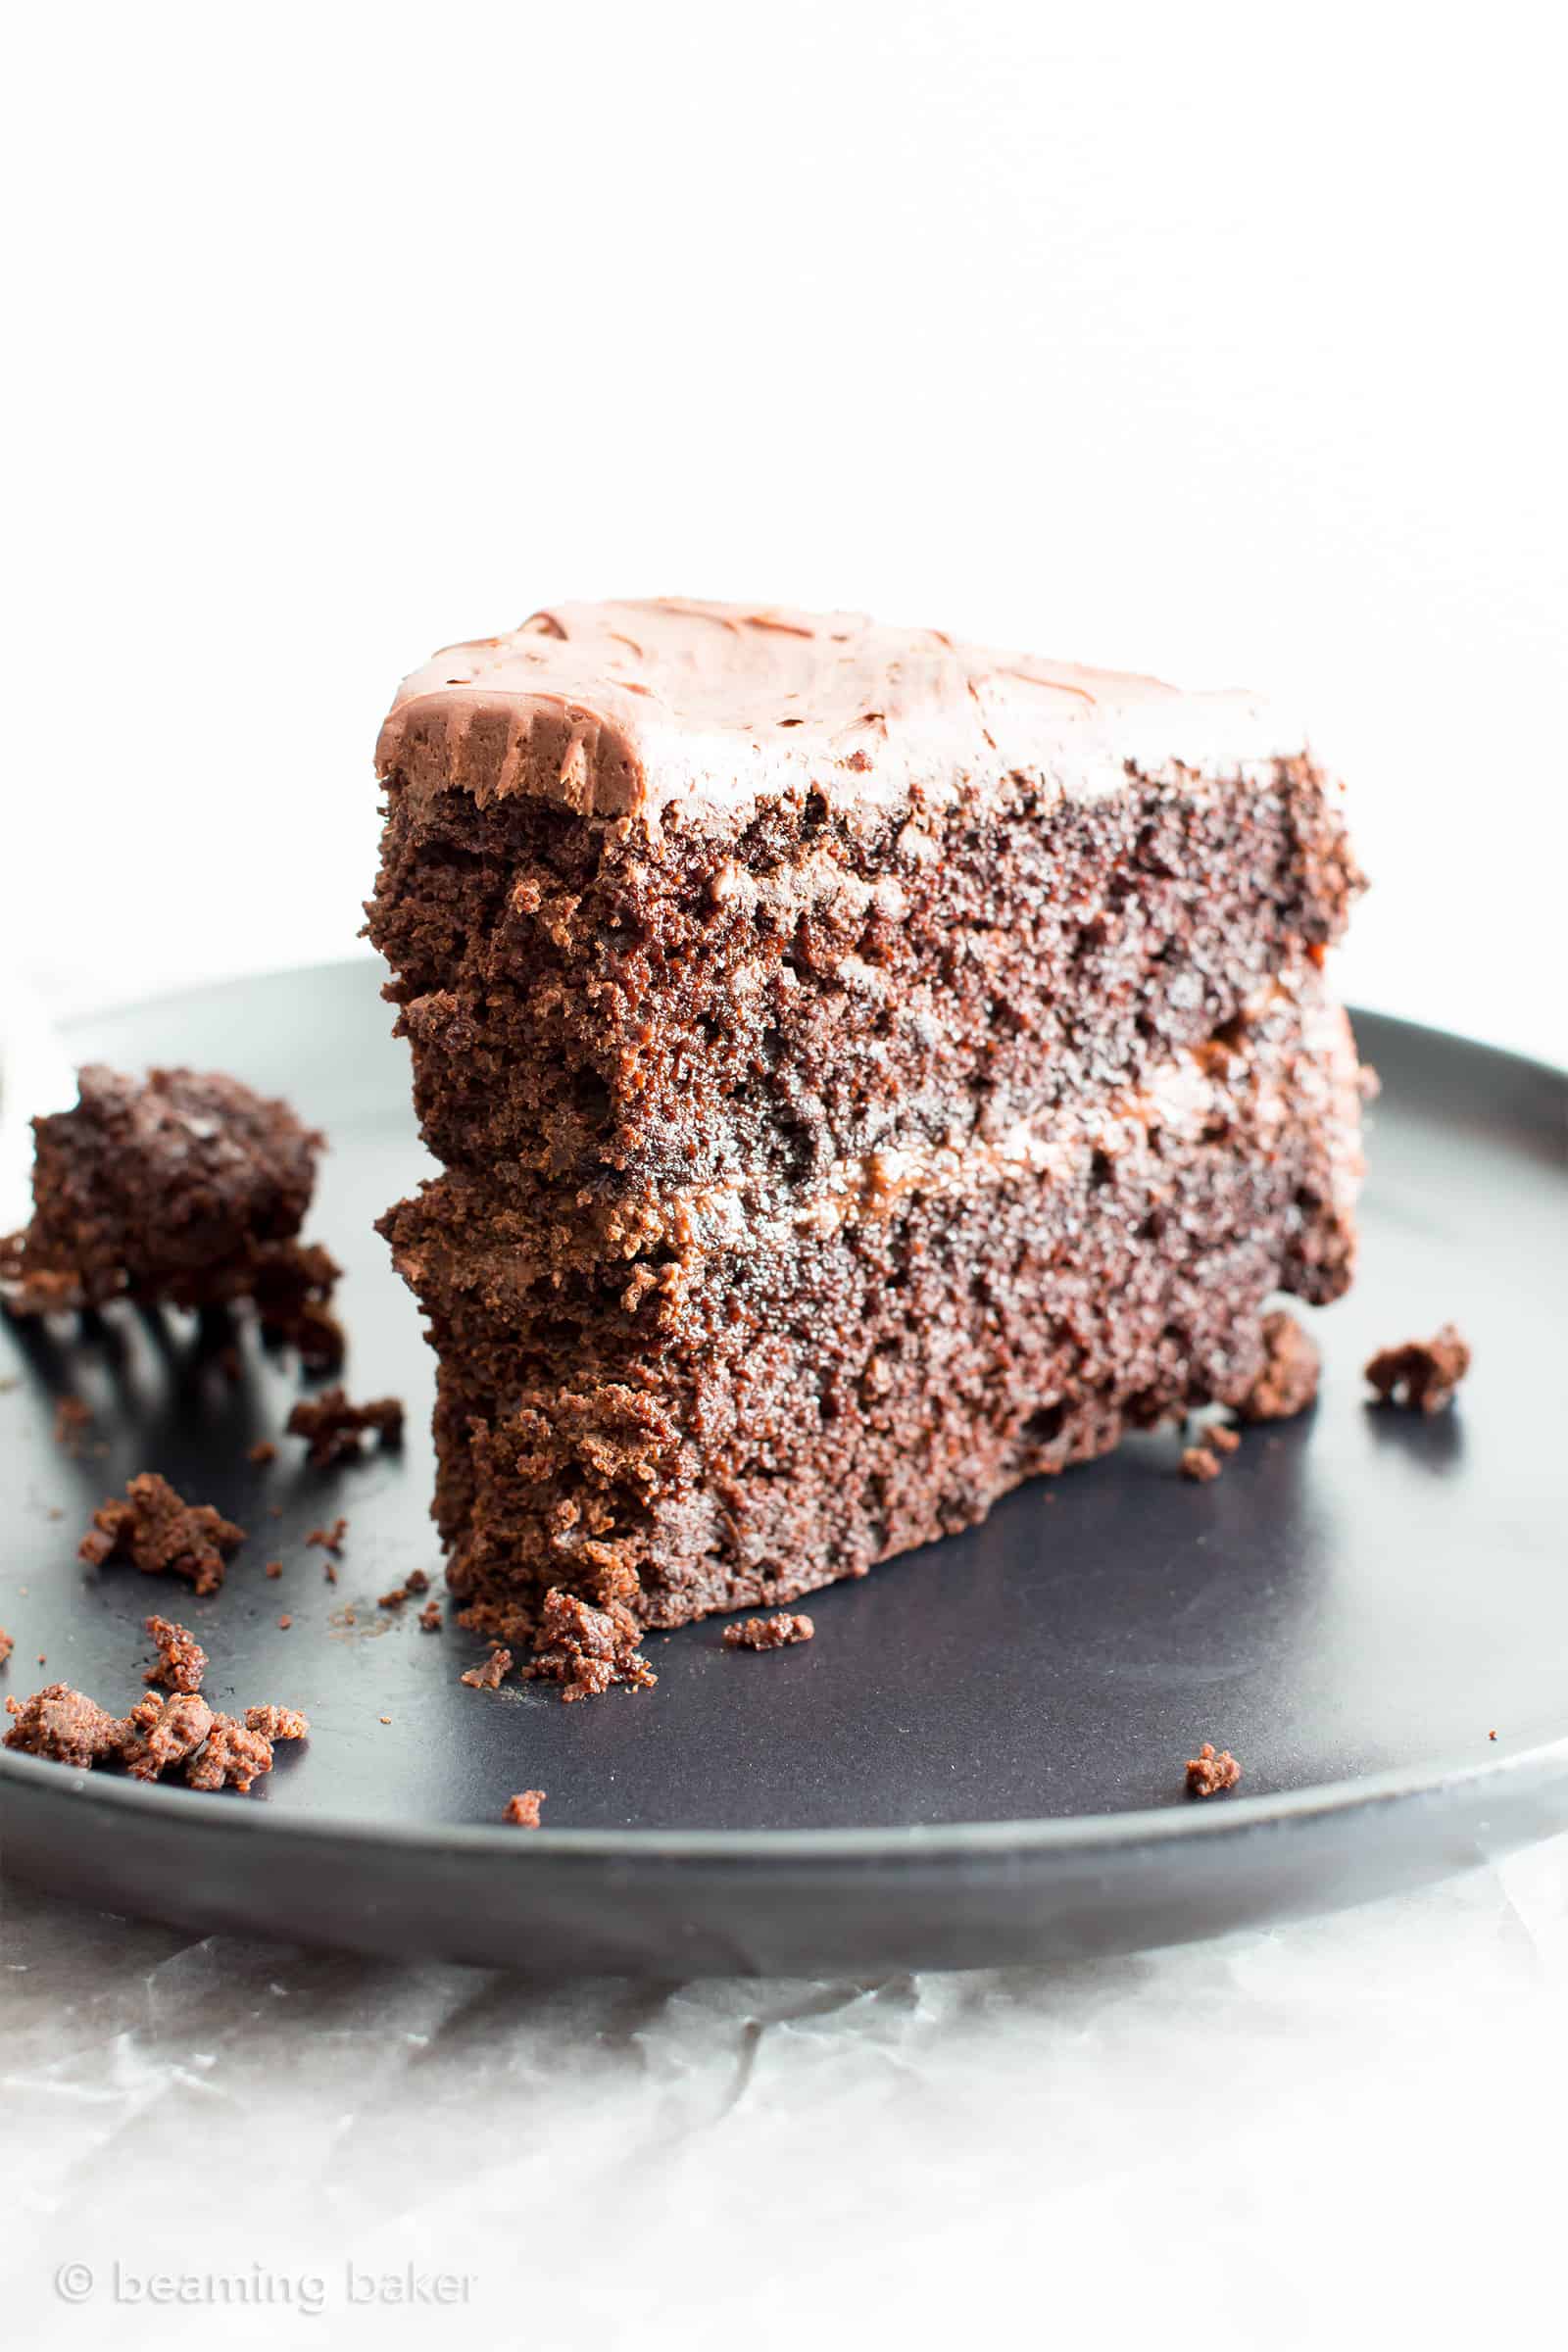
The Vegan Gluten Free Chocolate Cake: is moist and fluffy with rich, deep chocolate flavor and the perfect crumb. It’s not too light and not too dense—landing somewhere perfectly in between.
The Vegan Chocolate Frosting: rich, creamy and delightfully chocolatey. While the cake portion of this vegan GF cake is lightly sweet, the 2 ingredient vegan chocolate frosting is on the sweeter, creamier side to balance out the dark chocolate flavors of the cake.
Together, these two components make for the best vegan gluten free cake recipe ever. Try if for yourself and see. 😉
How to Store this Vegan Gluten Free Chocolate Cake Recipe
To store after frosting: store your cake in an airtight container like this one for 1-3 days, in a cool environment. Keep out of direct sunlight and way from heat sources.
To store before frosting: you may freeze the cake and frost before serving (up to 3 days before). Wrap cake layers in parchment paper or plastic wrap and store in an airtight, freezer-friendly container. Do not make frosting until you are ready to whip and frost the vegan chocolate cake.
Tips for Vegan Gluten Free Chocolate Cake
Here are a few tips to making your vegan gluten free chocolate cake a success!
Do not make substitutes.
I designed this recipe specifically around the ingredients and amounts listed. If you make any substitutes at all, the recipe is different and I can’t guarantee the results. Any small change, even if it’s swapping one flour for another, can cause terrible results. And definitely do not use almond flour, coconut flour or any other kind of flour expecting ideal results. All of those flours work very differently in this recipe. 🙂
If using homemade oat flour, remember to sift, sift, sift!
It is difficult to grind homemade oat flour to the degree that big companies with fancy equipment can. So, if you’re making your own, making sure to sift out coarse bits that can cause your chocolate cake to become crumbly, or overly moist. Then, after sifting, measure your oat flour and use.
To “Butter” Pans with Coconut Oil
Start with slightly softened coconut oil. Drop about 2 teaspoons onto a cake pan. Using a rubber spatula, spread coconut oil. The more you spread, the softer and easier the coconut oil will be to work with.
To “Flour” Pans with Cocoa Powder
- Use a sifter to evenly drop cocoa powder over pan (or else you’ll just get big clumps)
- Then, tap the pan around to get the cocoa powder to spread.
- For the sides, you have to aggressively tap and hold the pan on its side, getting the cocoa powder to fall down onto the opposite side. Rotate as you tap so the cocoa powder will fall and coat more and more of the side of the cake pan.
For a Visual Guide + Tips on Making Homemade Chocolate Frosting
- Check out this post: How to Make Homemade Chocolate Frosting.
Best Tools for the Best Gluten Free Dairy Free Cake
- Black Stoneware Plate & Black Cake Server – there’s just something about black stoneware & black utensils that scream “cool” and understated elegance. 😉 These two are the plate & server you see in all of the photos.
- Vegan Chocolate Chips – the key ingredient in my 2 ingredient vegan chocolate frosting.
- Cake Essentials: Frosting Spatula | Cake Stand | Cake Carrier
- The frosting spatula is actually secretly my go-to tool for doing everything in the kitchen. It precisely picks up everything like a champ, and, shocker, it’s awesome at spreading frosting! 😉
- The Cake Decorating Set + Stand make frosting the cake so, so easy. It grips the counter like a boss and allows you to spin the cake around smoothly so you can frost the cake like a pro.
- The Cake Carrier with Locking Lid is what I’ve used for years to transport my carefully made cake from one location to another. Also, it’s basically a big, perfectly shaped Tupperware for storing your vegan chocolate cake so you can enjoy it tomorrow! 😉
- KitchenAid Stand Mixer – one of the most quintessential baking favorites of bakers around the world. It’s sturdy, lasts decades and is the gold standard for bakers everywhere. 🙂
- KitchenAid Hand Mixer with Hand Mixer Whisk Attachment – let’s be honest, not all of us have the counter space in our kitchens for a stand mixer. That’s when this handy little guy comes in. I’ve lived in all of the small city apartments and this hand mixer was my go-to tool for whipping up the perfect vegan chocolate frosting. More importantly, you’ve got to get the hand mixer whisk attachment. Yep, I’ve tried using the attachment it comes with, and nope, it didn’t work! Boo…
- Where to Buy Ingredients: Vegan Chocolate Chips | Coconut Oil | Coconut Cream | Gluten Free Oat Flour | Maple Syrup | Coconut Sugar
Vegan Gluten Free Cake Recipes & More
- Vegan Gluten Free Chocolate Cupcakes
- Gluten Free Vegan Pumpkin Coffee Cake
- Vegan Chocolate Ganache Cupcakes
- 50+ Gluten Free Dairy Free Desserts!
- 35+ Best Vegan Gluten Free Desserts
- Chocolate Espresso Martini
- 3-Ingredient Cream Cheese Frosting
Who Says You Can’t Have Your Vegan Gluten Free Chocolate Cake and Eat It Too?
Ignore the haters! Haha. Just, don’t think that you can’t have your vegan gluten free cake and actually eat it too. This one’s not gummy, not weird, and totally can sneak by as a “traditional” chocolate cake. If you make this recipe, make sure to leave a comment and rating below. You know I love hearing from you! ‘Til our next sweet adventure…
Sending you all my love and maybe even a dove, xo Demeter ❤️
Did you make this vegan gluten free cake recipe? Take a pic and share it on Instagram with the hashtag #beamingbaker & tag @beamingbaker. I’d love to see it!

Vegan Gluten Free Chocolate Cake
Equipment
Ingredients
FROSTING
- 2 batches Vegan Chocolate Frosting
CHOCOLATE CAKE
- Dry Ingredients
- 3 cups gluten free oat flour – if using homemade, make sure it’s very finely ground (not coarse)*
- 1 1/3 cups unsweetened cocoa powder
- 2 teaspoons baking soda
- ½ teaspoon salt
Wet Ingredients
- 1 ¼ cups water
- 1 cup non-dairy milk
- ¼ cup + 2 tablespoons melted coconut oil
- ½ cup coconut sugar
- ½ cup pure maple syrup
- 2 teaspoons pure vanilla extract
Instructions
- Prepare the frosting: The night before, begin preparing a double batch of this Vegan Chocolate Frosting. Do not whip the frosting until the cake is cooled and ready to be frosted.
- Make the cake: Preheat the oven to 350°F. Prepare two 9-inch round cake pans as follows: coat with softened coconut oil, then dust completely with cocoa powder. Set aside.
- In a large bowl, sift together the dry ingredients: oat flour, cocoa powder, baking soda and salt. Set aside.
- Add water and milk to a microwave-safe bowl. Heat in 10-second increments until just warm. This will prevent the melted coconut oil from solidifying once mixed with these liquids.
- In a medium bowl, whisk together all wet ingredients: water, milk, coconut oil, sugar, maple syrup and vanilla. Whisk until well incorporated. Add wet ingredients to dry ingredients. Whisk until just incorporated, making sure no flour patches remain.
- Pour batter evenly into prepared cake pans. Tap the pans several times to even out the batter and release bubbles that have formed in the batter. Bake for 22-26 minutes. Mine took 24 minutes. Test for doneness with a toothpick—it should come out clean when done.
- Place pans on a cooling rack to cool for 25 minutes. Afterward, use a plastic knife to cut around the interior edges of the cake pan to loosen the cake. Shake the pan a few times until you hear the cake pop loose. Place a large plate or cooling rack upside down, on top of one cake pan. Grasping both the pan and the plate tightly, flip the cake onto the plate/rack. Repeat with second layer. Allow cake to cool completely before frosting (about 1 hour).
- Frost the cake: Whip the frosting as instructed. Frost the cake. Enjoy! Storing instructions below!
If you prefer cupcakes, try these Vegan Gluten Free Chocolate Cupcakes or these grain-free Paleo Chocolate Cupcakes!
Notes
This post may contain affiliate links, which allow me to make a small commission for my referral, at no additional cost to you.



Hi Demeter, I have a question regarding the texture of the cake. I followed your recipe pretty closely with no substitutions, except that I made it as a 9×13 sheet pan cake. The cake tastes wonderful but is really dense and really fudgy. It’s hard to tell from the pictures, but yours looks much fluffier. Was yours more cakey or more fudgy? What do you think the issue is?
Hi Rachel. Hm, it should definitely be fluffy and not fudgy. Did you make sure your oat flour is very finely ground and not coarse? Also, what kind of cocoa powder did you use? And how long did you bake it for?
This cake looks great. Do you have a recipe for gluten free carrot cake ? Thanks !
Hi Sherry! I don’t have one currently, but it’s definitely something I’ve wanted to do for a while. I just want to make sure it’s perfect before I share it. 🙂
Seems like a great recipe. Could I replace the maple syrup with honey?
Hi Jaya! I haven’t tried it myself, but it might work. Let me know how it turns out!
If i double the ingredients what size should have the cake pans?
Hi Laura, if you double the ingredients, you’ll be able to make a 4 layer cake using four 9-inch round cake pans. Or, you can make a two layer rectangular sheet cake using two 9×13 inch pans. Enjoy!
I don’t have gluten intolerance. Can I replace oatmeal with ordinary low-gluten flour?
If no coconut powder can be replaced with matcha powder?
Hi Annice! Hm, I haven’t tried this recipe regular flour, but I know readers have used GF AP blends with good results. As for the matcha, I don’t think that will work because of the way the cocoa reacts in this recipe. Hope this helps!
Is there a different gluten free flour I could try with this recipe? Daughter has an oat allergy also. Thanks 🙂
Hi Gretchen! I haven’t tried it myself, but I’ve had some readers use a GF all purpose blend with good results. Let me know how it turns out! 🙂
Can i find sonewhere the ingredients in metric size?
I made this cake using a gluten-free paleo flour mix instead (almond flour, arrowroot starch, tapioca flour), and substituted part of the maple syrup for honey because we ran out. We also didn’t have the correct pan sizes, so I baked it in one 9×5 rectangular pan. It came out dense and delicious! It was probably dense because of all the substitutions, but everyone loved it anyway. I used a different healthy vegan frosting than the one listed here, and they made the perfect combination. I have linked the frosting below 🙂 Thanks for a great recipe! I’ll definitely make it again.
Hi Lola! Glad to hear that you enjoyed the cake, especially with the subs. 🙂
Hi there,
Looking forward to trying this but will have to use Gluten free flour. As I’ve just learnt that oats labelled as Gluten free are still harmful to Coeliac’s due to something called Avenin in them that gives the same effect as Gluten. I nearly slipped up and made Anzac Biscuits on Anzac Day.
So much to learn when your Coeliac xx
Thanks Jacqui, let me know how the cake turns out! 🙂
My granddaughter has fpies and my daughter is still nursing . Rice is one of the trigger foods so can’t use the normal gluten free flour. They also need to avoid eggs and dairy, so this was a perfect recipe for them. I was impressed with the cake like texture and taste. It was a little bitter even with all the sugar and maple syrup but the frosting helped that. Thank you.
Hi there! I haven’t made this yet but I was wondering if I could sub the oat flour for a blend of coconut + tapioca + almond flour?
Hi Sihle! That might work—if you’re willing to experiment quite a bit. 😉 I’m currently working on a paleo chocolate cupcake recipe that contains some of those ingredients. Thanks for your patience! Xo